Signs Your Water Heater Needs To Be Flushed (And How To Do It)
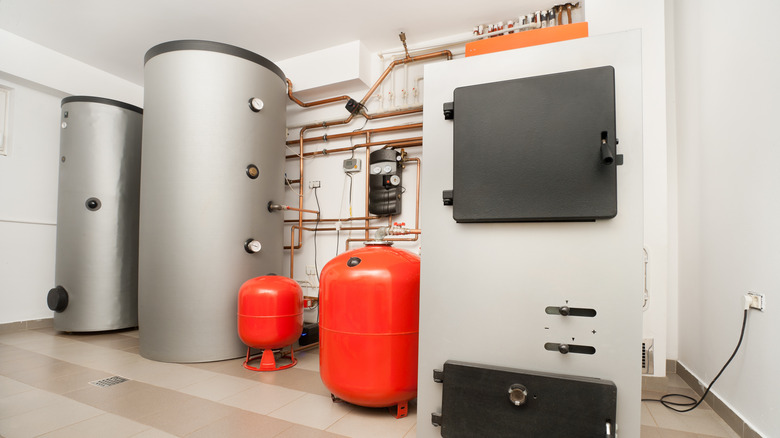
Flushing your water heater isn't a chore most of us even know we must do. But, regular flushing can improve the quality of the hot water we use by removing any impurities that may have accumulated in the tank. It also makes a relatively expensive appliance last a whole lot longer. Lots of different things can clog up a water heater over time. When you clean it out, you might find dirt, grime, a buildup of minerals, and other types of debris. As water flows into the tank and is heated, these pollutants settle to the bottom, forming a layer of buildup that can reduce the heater's efficiency and potentially cause damage.
If you don't fix it, this gunk barrier prevents the heating element from properly heating the water. This can then cause the unit to work harder and longer to produce hot water. All of this overworking can lead to higher energy bills and a shorter lifespan for the appliance. Flushing the water heater is important to remove this buildup and keep the system functioning at its best. Here are the signs to look out for to know it's time to complete this uncommon (but easy and vital!) chore.
Discolored water

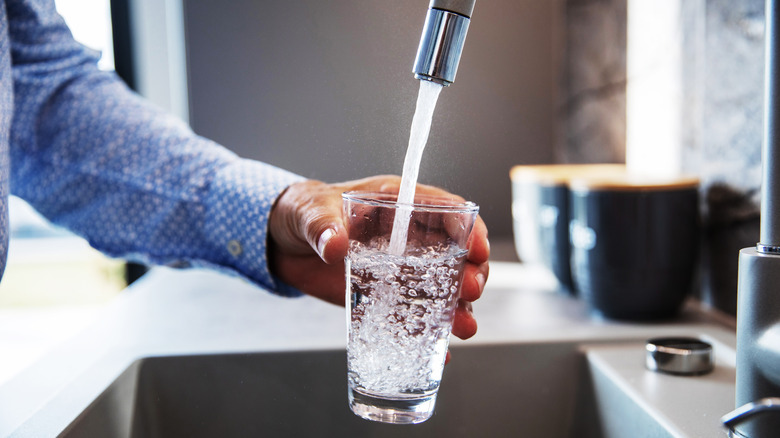
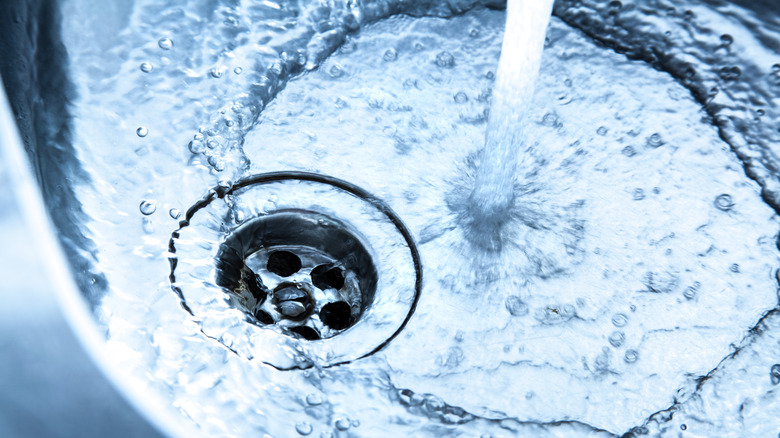
The easiest way to tell if your water heater needs to be flushed is simply by looking at the color of the water in your home. Is it completely clear as it runs out of the tap, or have you noticed it seems yellow or brown? Are your dishes suddenly not getting clean? Another great place to check your water's color is in areas where it pools, like in the bathtub. When you look at the pool of water, does it seem "clean?" Is the water clear, or is there dirt or gunk floating around in the tub? If so, it means you need to get rid of sediment in your tank. The only way you can do this is by flushing your water heater.
Remember, you must run the test with hot water. If you notice that even cool water seems discolored or rusty, the issue is likely with your pipes or a problem with the city's water supply. Cool water doesn't run through your water heater, so that's not the thing making it dirty.
Strange noises
Sometimes our water heaters are in the basement or utility room, so we might not know what sounds they make. Typically, most noises that are loud enough to be heard from the main living area are a sign of trouble. No, not the rushing water filling the tank, but any popping, banging, or hissing noises. These sounds can indicate that too much air is trapped in the tank, or that water is struggling to move around freely because of all the sediment building up inside. Hearing these sounds means there's something wrong, and you need to act on it ASAP.
If you are unsure if the sounds are coming from your water heater or another source in your home, there is an easy test you can run. Turn on a hot shower and immediately observe the water heater. As it begins to heat water and send it out, the sounds should begin. However, even if things are completely quiet, it still might mean your water heater needs to be flushed, as not every machine makes noise when it's in trouble.
Low water pressure

If you like a certain amount of water pressure, you can typically control the water's flow with certain fixtures. If you prefer a shower that packs a punch, you can increase the intensity with a good showerhead. If you like to keep things gentle when filling a glass of water, the opposite can also be achieved. However, if things suddenly slow to a trickle, it could mean you need to flush your water heater. This is because excess sediment inside the heater can easily restrict the water flow in and out of it. This problem carries over to the rest of the home, too.
Low water pressure due to an unflushed water heater typically builds up over time. You might not notice it until one day when you're trying to fill the tub and think, "WHY is this taking so long?" However, in some lucky cases, it happens overnight. Lucky because you can identify and correct the problem immediately instead of wondering why washing your hair has taken longer the last few weeks.
Foul odors or strange tastes

If your hot water smells like rotten eggs or sulfur, or even tastes like metal, there is too much bacteria in the pipes, and you must flush it out. Often, this bacteria grows in your water heater, and the only way to get things smelling sweet again is to flush the entire thing. Bacteria in your water heater is a serious problem, especially one called Legionella, which is known to cause a severe form of pneumonia called Legionnaires' disease.
Legionella bacteria thrive in warm water environments and can multiply rapidly if the water temperature is not high enough to kill them. Other types of bacteria that can grow in water heaters include Pseudomonas, which can cause skin infections and respiratory problems, and E. coli, which can cause gastrointestinal illness. These bacteria can all grow in a tepid water heater. A tepid water heater is one that is not functioning correctly, typically due to going too long between flushes. Because of the serious consequences to your health, if you notice stinky water or it begins to taste strange, you should flush your water heater that day to avoid issues.
Longer heating times

While it is normal for water not to be scalding hot the moment it comes out of a tap, water that is still freezing after a minute of waiting could be a sign of trouble. When you turn on the shower in the morning, you should expect things to get nice and steamy in under a minute. If it takes longer than this for your hot water to heat up, one answer is some things are clogging the tank. However, if flushing the water heater doesn't speed things up, it's time to look into other solutions.
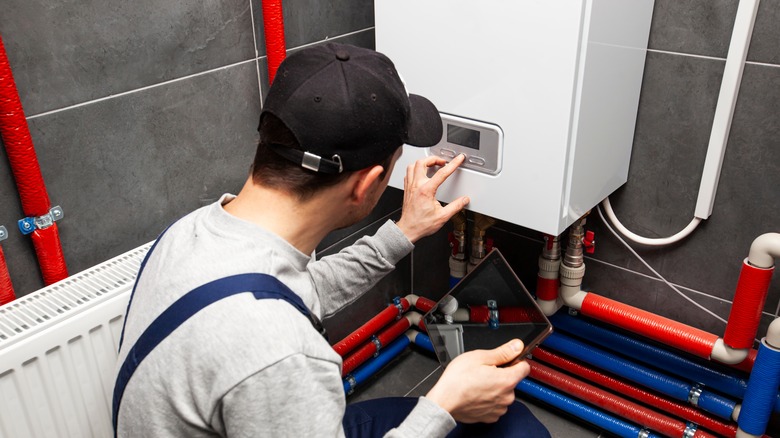
However, you don't need to call a plumber right away. First, confirm that this is a consistent issue. If you're walking into cold showers for at least a week, then it's time for action. If it only happens once, it might just mean you used up all the hot water in the laundry (or your roommate's shower was too long.) You'll need to wait at least 30 minutes for the supply to replenish itself inside the tank.
Leaks in the tank
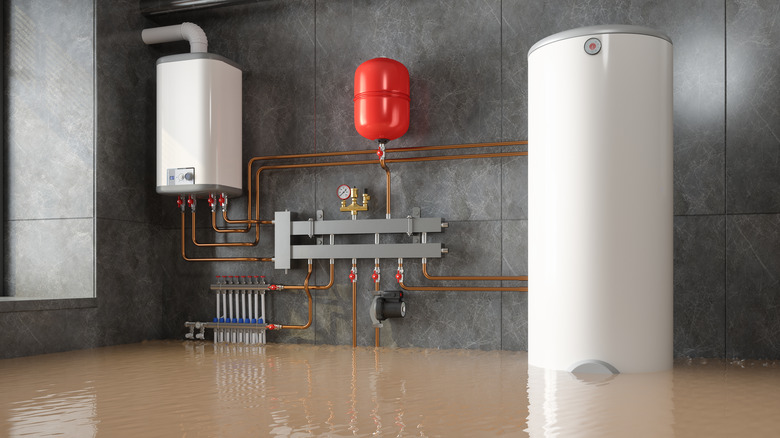
If you notice water pooling around your water heater or leaking from the tank, this may be a sign of sediment buildup and corrosion. Sometimes, minerals can build up in our water heaters. This is especially common if you live somewhere with hard water. The excess minerals can cause the tank to become weak at certain points, leading to leaks and other types of damage to the appliance if left untreated for too long.
Of course, a leaking water heater can be a sign of many other problems, like pressure issues and loose bolts. Even if that's the case, when fixing the issue, you should flush the water heater to make sure it's in the best shape possible after the repair. In fact, flushing your heater at least once every six months is a great way to ensure that it never actually starts to leak in the first place.
Age of the water heater
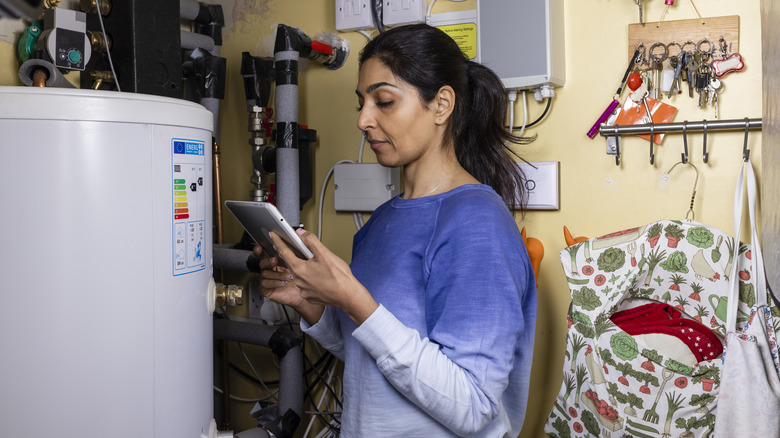
Even if nothing seems wrong with your water heater, sometimes the simple passage of time means it's time to flush things out. If your water heater is over a year old and you haven't flushed it in that time, it's overdue. Luckily it's an easy chore, but it's not something many people know to do. Both renters and homeowners need to flush the water heater, so when you move into a new place, ask the landlord or previous owner about its maintenance history.
If they are unsure, it's better to flush the water heater within the first few weeks, just in case. You can't overflush a heater, as it's just like rinsing it out. What would be harmful is leaving it unflushed for years past its due date, as the buildup of sediment can significantly shorten the appliance's lifespan. Try to flush your water heater at least twice yearly to ensure it runs at its peak.
Inconsistent water temperature
If your water is hot, then cold, and then suddenly scalding again without you adjusting the temperature, it could be a sign of buildup in the tank. Inconsistent water temperature alerts you that it's time to flush your water heater. This is because the layer of sediment and mineral buildup forms a barrier of insulation between the heating element and the water. This makes it a lot harder for the appliance to do its job, as the heat can't reach the water as it should. As a result, the water may heat unevenly or not at all, leading to fluctuations in temperature.
The tricky thing about inconsistent water temperature is it is easy to write it off as just a fluke. You might notice it while showering or washing your hands, and it happens quickly. However, it can actually be very dangerous because you run the risk of burning yourself. If you notice one instance, it's worth it for your safety to flush your water heater as a precaution.
Higher energy bills

A sudden jump in your energy bills is one of the most painful ways to tell your water heater needs to be flushed. If they have increased without any apparent reason, this may be due to a buildup of sediment in your appliance, which reduces efficiency and drives up energy costs. It does this by creating a layer of gunk between the water and the coils that heat the water. If they aren't touching as they should, the appliance has to work harder and longer to produce hot water. So the entire system consumes more energy to maintain the desired water temperature, and your wallet feels the impact.
If you haven't been taking longer showers than normal or leaving the lights on when you're not home and notice an increase, your water heater might be to blame. Once you've double-checked that your rates haven't increased and the power company isn't pulling one over on you, flushing the tank can bring things back on budget for next month. Here's how to do it.
Step 1: Turn everything off
The first thing to do when you are ready to flush your water heater is to turn everything off. This is for your safety, as handling an appliance filled with water with any power source can be very dangerous.
If you have an electric water heater, turn off the power at the circuit breaker. If you are unsure which switch belongs to your water heater, you will need to do a little investigating by turning the switches on and off. When you know which switch controls certain areas of your home, label the switch with a piece of masking tape for future reference. Things are a bit easier if you have a gas water heater, as you only have to turn off the gas supply valve. This is usually near the machine or attached to it.
Once the power to the machine is cut, you should also turn off the cold water supply valve that feeds water to your water heater. This way, no water will fill the tank when you try to empty it.
Step 2: Connect a hose
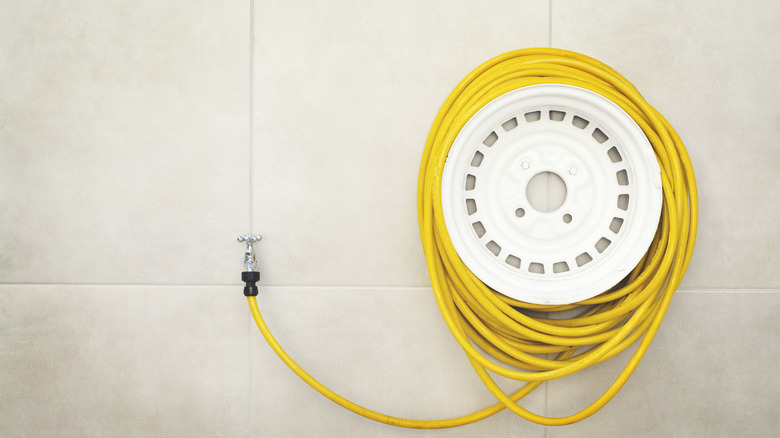
The next step is to connect a garden hose to the drain valve. This valve is usually located near the bottom of the water heater tank. Because garden hoses have a grooved opening to connect sprayers and sprinklers, attaching the two is typically pretty straightforward. You just have to twist them together. Something important to note is that unless you want a flooded room, don't open the drain valve yet! This step is just about connecting the pair.
Once connected, run the other end of the hose to a safe location where the water can drain, such as a floor drain or outside on the patio. If your water heater is in the basement, you might find you need to drain the tank into a large bucket or kiddie pool. Snaking the hose up through the window into the yard might seem like a good idea, but there usually isn't enough pressure in the tank to pump the water up and out.
Step 3: Open the drain valve
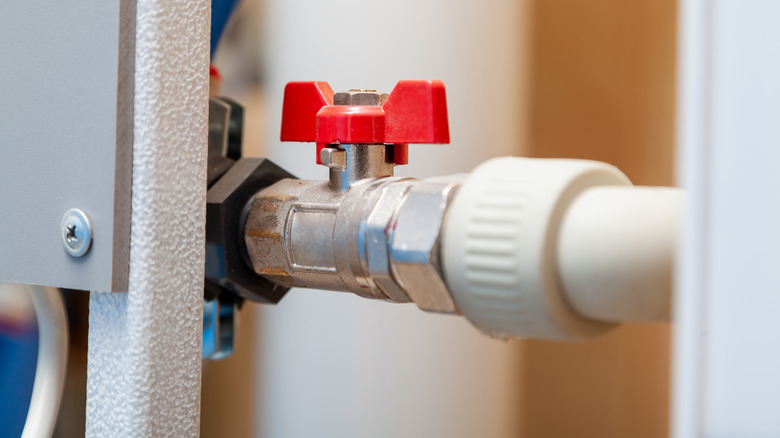
Once the end of the hose is safely in a place where it can drain, you can open the drain valve. But first, open a hot water tap near the tank, whether it's a nearby powder room or laundry room sink. This will help alleviate any pressure in the tank. Once that's done, you can open the valve. You can do this by either unscrewing the cap or flipping a switch — it just depends on the model of your hot water tank. If you are unsure what to do, check the owner's manual or look up your specific model number online.
Once opened, you will need to let all the water out of the tank. This may take a while; even if your tank is small, the drain valve might have calcification, restricting the flow. There is also no pump inside the tank pushing the water out. Instead, it drains out, much like a large bathtub might empty. No matter how long it takes to drain the tank, you must stand well back. You can't be sure if the water inside will be scalding or not, so play it safe.
Step 4: Flush the tank
Once the water stops flowing, most of the sediment trapped inside the tank should have been flushed out. However, it's always a good idea to turn the cold water supply back on for a few seconds to flush out anything that has been left behind. Keep a close eye on the water; it should be running clear within five to 10 minutes.
While you are done flushing the tank, remember that you should never add chemicals to the inside of your water heater. You just need to flush out the sediment with plain water. If you suspect something else is happening (presence of mold, severe rust leading to damage, etc.), you will need to speak to a technician, as flushing the tank will not fix these issues. However, you can feel free to clean the drain valve with a toothbrush or other stiff-bristled brush to remove calcification.
Step 5: Refill the tank
Once you are done draining and rinsing the tank, it's time to fill it up again. First, close the drain valve, then disconnect the garden hose. From there, you can let the water run until the tank is full. Remember, don't walk away while the tank fills; you never know how quickly it will reach its limit. You don't want to overfill it, as this can damage the appliance and cause flooding.
While refilling the water heater tank, you should also keep a few hot water faucets on to allow any trapped air to escape from the system. Once the tank is full, the water should run from the taps without any pops or hisses. When this happens, you can turn the power back on at the circuit breaker or relight the pilot light. Congratulations, you have successfully flushed your water heater. Remember to complete this chore twice a year to avoid the negative consequences of built-up sediment and increase the life of your appliance.