How To Make A 4-Step DIY Wasp Trap
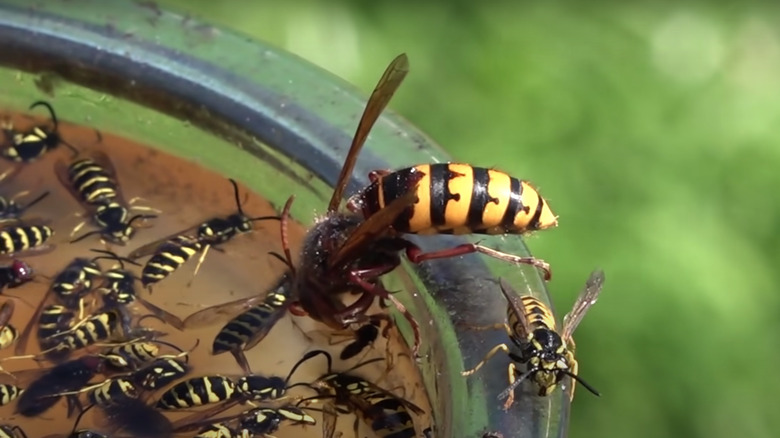
Warm weather months beckon pool parties, outdoor dining, and general fun-in-the-sun merriment. Much to the chagrin of outdoor lovers, it's also the time of year that wasps come out to nest. Their aggressive nature is annoying, to say the least, but they also yield stings that linger and swell and, in some instances, are downright dangerous where allergic reactions are concerned, per Healthline. What can you do to foil these pests other than spray a wasp nest? Make a do-it-yourself trap using an empty plastic bottle and homemade bait concocted with ingredients from your kitchen.
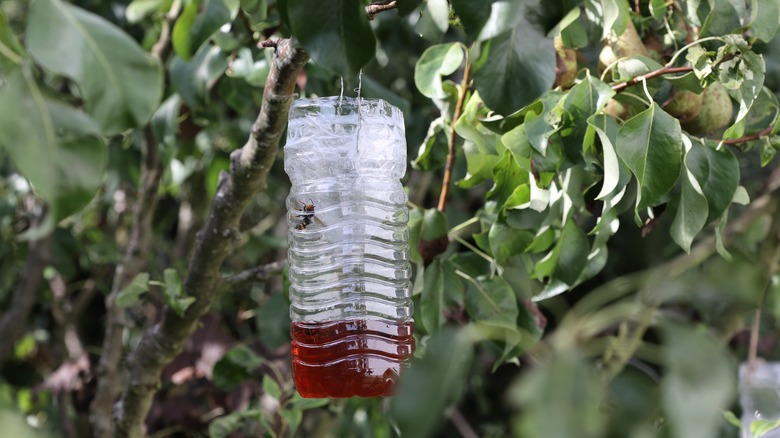
For your empty bottle, you want something large that will leave room for the liquid bait at the bottom and space for the wasps to buzz around. Soda bottles in the 2-liter size are good candidates, but 1-liter water bottles can also suffice. The first step is to remove the lid and cut the top of the bottle off right where it stops curving. You'll make a funnel out of the top that, when inverted, fits inside the bottom portion of the bottle. You may want to use tape to secure the funnel to the bottom. Lastly, make holes at the top of each side so that a wire or string can be inserted to hang the trap. Now, you're ready for step two.
Prepping the bait for your wasp trap
For your second step, prepping your bait is in order. There are several different "recipes," and they're all reported to work for attracting these flying insects. One suggestion is adding grease from cooked meat to a mixture of water and dish soap in the spring since that's when wasps are seeking protein. Others recommend sugar water akin to homemade hummingbird nectar, which is reportedly better for summer months when wasps are on the lookout for sugary substances.
If you prefer to follow the advice of a university extension department, one recommends using fruit juice added to water instead of sugar, per Utah State University Extension. Their suggested bait recipe includes 1 part juice to 10 parts water, 1 teaspoon of yeast, a piece of ripe fruit, and a few drops of liquid dish soap. Regardless of the type of bait you prep for your DIY trap, avoid using honey since you may inadvertently attract bees that are beneficial to the environment.
Positioning and cleaning your wasp trap
Step three involves finding a spot for your trap, or traps, since you may need to use more than one for the best results depending on the size of your yard. Hanging the trap(s) about 20 to 30 feet away from areas where humans generally congregate is a good idea. If you can determine where the wasps tend to build nests and hang them nearby, that's a good strategy. If you're using more than one, space them about 30 feet apart. Hanging them about 4 feet off the ground in a bushy area often works well.
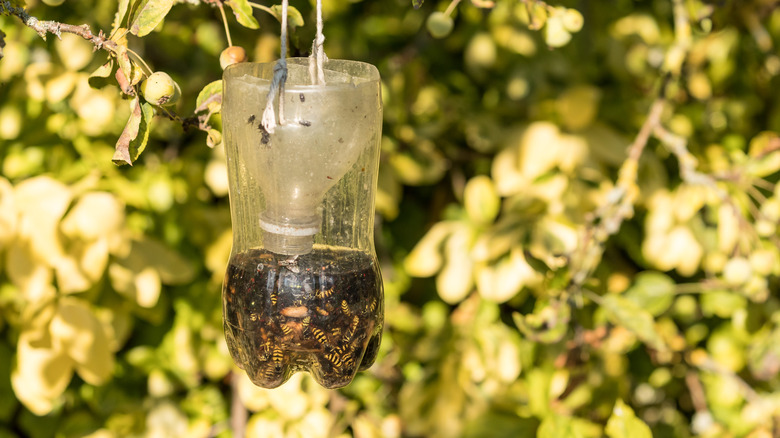
The last step in using DIY wasp traps is keeping them clean. That means tossing out the old bait containing dead wasps and then rinsing the container out with water to refill it with a fresh batch if you'd like. An easy way to accomplish this is to pour the liquid containing the dead insects into a plastic bag with a secure seal for disposal, which should be done every couple of weeks. You may decide it's easier to just toss the entire dirty trap (after proper disposal of the wasps) in the garbage and start fresh with a new one. Either way, these bottle traps can help you eliminate pesky wasps that ruin warm weather fun.