How To Fix A Blocked Can Of Spray Paint So You Don't Waste A Drop
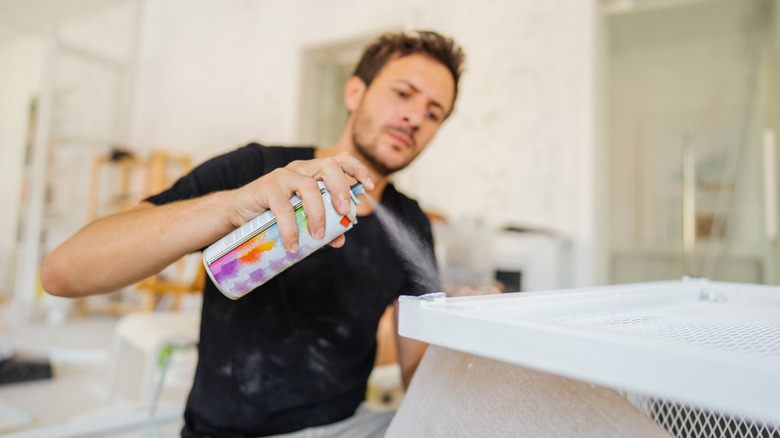
Have you ever taken a break while painting a project – maybe a furniture makeover — to find that your spray paint bottle is blocked? No one wants to spend money buying a new one and waste all the product stuck in the can. This problem usually occurs because the spray nozzle is clogged with dried paint that has caused it to seal. The simplest way to get back to painting is by taking off the blocked nozzle and replacing it with a clear one from another spray can you already own.
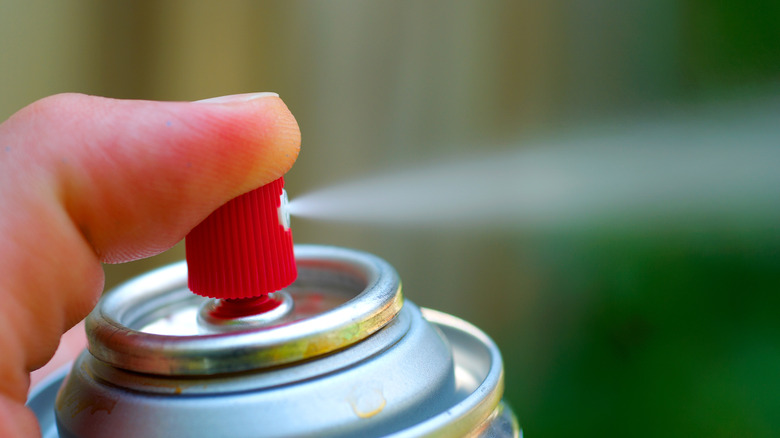
Not everyone will have a spare can lying around, but fortunately, there are other options. You can also clear the blocked nozzle with paint thinner. You may need to use an air compressor to flush out the straw if that's where the paint has dried and created a blockage. Once you've solved the problem with the can, make sure that you always follow an extra step before putting the bottle away, so it doesn't get clogged again. When you're done painting your project, hold the bottle upside down and press the nozzle until the paint is no longer spraying out. Doing this causes the aerosol to clear out the straw and nozzle so the paint can't dry and cause a blockage. Then you can easily continue your project without wasting any of the paint in the can.
Switch the nozzle
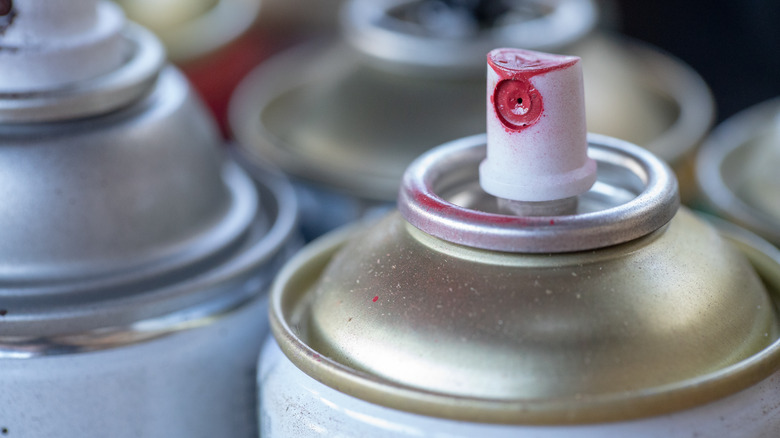
No matter what type of paint you're using (even the cheapest option from Home Depot), when a can of spray paint doesn't work, the nozzle is usually blocked. This happens when the pressure in the bottle is too strong. When the paint is pushed out, it's so powerful that it splatters everywhere. Then if it's not wiped away, it'll dry over the nozzle and prevent more from spraying out when you're trying to use the bottle again. If you've stuck in this predicament, one common way to fix it is by replacing the nozzle.
You can take the nozzle off a new bottle of paint or an old one that you have lying around as long as it isn't clogged too. It doesn't even have to be from a can of spray paint. The tip of WD-40 bottles will work just as well. The trick is to make sure the nozzle is compatible with your bottle. There are two different types to choose from. Your can of spray paint will have a cap that is either male or female. You can tell the difference if the nozzle has a tube sticking out. A male nozzle will have tubing sticking out of the bottom that connects to the straw in the can — while a female one will go over the straw that's coming out of the bottle. Once you have the right cap, all you have to do is pop it on, and you're ready to get back to painting.
Clean the straw and the nozzle
Replacing the nozzle isn't always the answer. If you don't have a compatible one, you'll need to clean the paint clogging yours. To do this, pour some paint thinner into a container and drop the cap into it. After a few minutes, remove it and use a pin to clear the nozzle. You can also soak it in alcohol or distilled white vinegar. If it's still not working, the problem isn't with the nozzle. Instead, it would help if you cleared the straw inside the bottle.
The straw gets clogged when your can of paint doesn't have enough pressure. This causes the paint to dry before it can get pushed out of the bottle. Fixing this problem may be more complex than just buying a new can. You should only try this hack if you already own an air compressor and an attachment that will fit into a can of spray paint. Otherwise, you will be spending more money on the supplies to clear the straw than the price of a new can of paint. To do this hack, set your air compressor to 120 psi, remove the nozzle, and place the attachment into the straw. You don't need to worry about the bottle exploding because they can take up to 200 psi. Let it fill for a few seconds. You should hear it filling with air. Then replace the nozzle and get back to painting.