The Best Way To Clean Stove Drip Pans
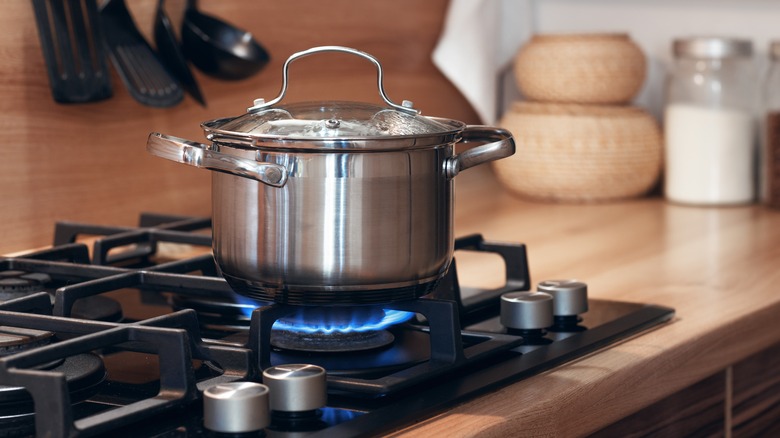
Stove drip pans can get extremely dirty and are sometimes difficult to get clean. A drip pan is a removable tray located underneath the burners on a stove. These are an essential part of the stove as it helps to prevent spills and drips from reaching the surface of the stove. Removing them and cleaning them off is much simpler than trying to figure out how to get burned-on grease off an immovable stove part.
Drip pans are often splattered with burned food, grease, and oil. If not cleaned regularly, this buildup can become a fire hazard and affect the performance of the stove. Particularly because as the heat from the stove burns off the residue, it can create a layer of sticky buildup on the drip pan, which can be difficult to remove with normal cleaning methods. To make things easier for you, these are the best ways to efficiently and effectively clean stove drip pans.
Before you begin, gather your supplies
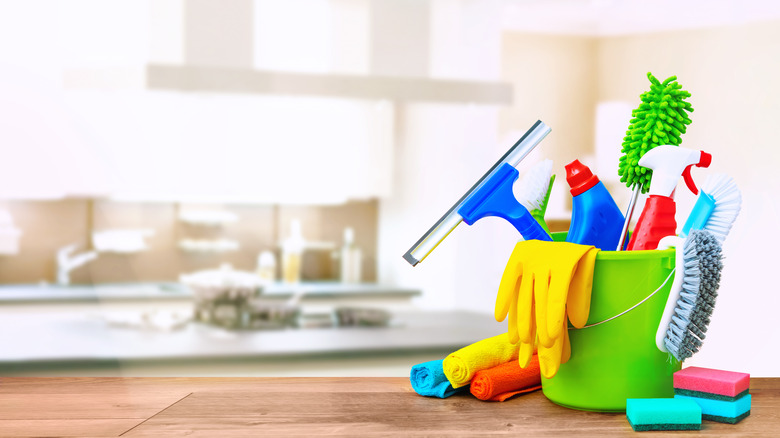
Before you start cleaning your stove drip pans, be sure to have all of your supplies handy. This way, you don't get halfway done with the chore and have to go off and buy new supplies, leaving the task undone and the kitchen a mess. It will also make the process more efficient if you have all of your supplies set up within arm's reach.
The staples for safe and thorough cleaning are rubber gloves (especially the heavy-duty kind that extend well up your arms), a mask to protect you from breathing in any fumes, and the cleaners you intend to use. For most, this will be dish soap and a sponge, brush, or a bit of steel wool. However, some drip pans need a little bit more effort to clean. If you haven't cleaned your pan in a while, you will likely need stronger chemicals and more elbow grease. If that's the case, and you're using chemicals, be sure you open the window to ventilate the area for your safety.
Soak the trays in hot, soapy water
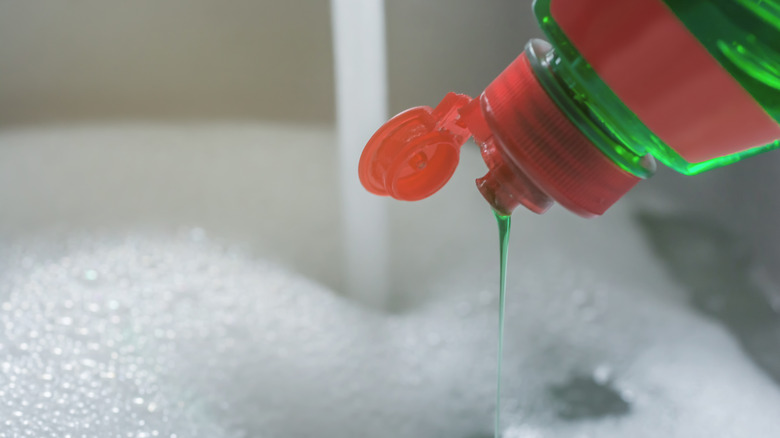
When you are ready to start cleaning, fill your kitchen sink or a large basin with hot, soapy water. You may not need any harsh chemicals to clean the pans, so using regular dish soap is fine. Many popular brands are highly concentrated, so you don't need to use much dish soap to get the job done. And "eyeballing it" is a completely acceptable measurement in this instance, as you typically don't need more than a few teaspoons.
The purpose of this step is just to allow the warm, soapy water to soften any caked-on grime. This way, when it's time to scrub, it will be nice and loose. Let the pans soak for a few hours. You can use a sponge or other non-abrasive scrubber (like a Scrub Daddy, Scotchbrite, or soft brush) to gently scrub away the loose dirt and grime that is left on the pans. The key is to use a sponge that has just enough grip to pull off chunks of build-up without being so rough it causes scratching and permanent scarring to your drip pans.
Use baking soda and vinegar to dislodge grime
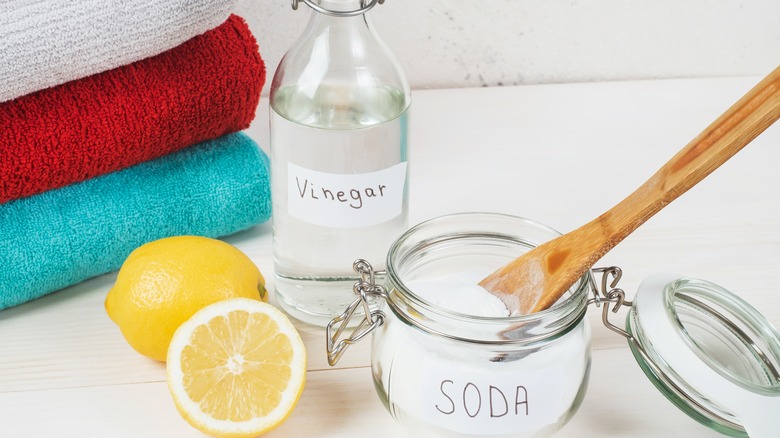
Sometimes using soap and warm water isn't good enough to get the drip pans as clean as you would like them to be. If your arms are getting tired from scrubbing, it's time to call in reinforcements. Baking soda and vinegar are the perfect cleaning duo because when combined, they create a chemical reaction that's great at dissolving dirt and grime. Essentially, baking soda is a base (alkaline), and vinegar is an acid. When they react, they produce carbon dioxide gas, water, and a compound called sodium acetate. This bubbling action eats up sludge, making it that much easier to clean surfaces.
To use the mixture for cleaning, combine baking soda and vinegar in a 1:2 ratio. You can mix it in a bowl, or sprinkle the baking soda onto the drip pans, then pour the vinegar over the top. Be sure to use white vinegar or apple cider vinegar for the best results. Let the mixture sit for about 15-20 minutes, then rinse it off. Then, it should now be easier to scrub off the remaining grime.
Use ammonia for a thorough clean
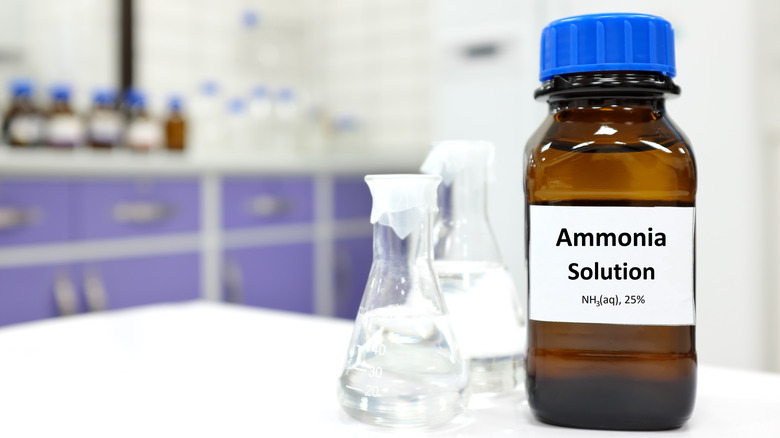
Ammonia is an alkaline substance, which means it has a high pH level. Its alkalinity makes the chemical good at neutralizing acidic substances and helping to remove tough stains and residues. First, clean your drip pans with soap and hot water to get the majority of the grime cleared off. Then, put the drip pans in a plastic bag with a small amount of ammonia. Make sure to use enough so that the entirety of the drip pan's front is covered when placed face down.
Seal the bag and then let it sit for several hours or overnight if possible. In case of leakage, place the bags in the sink or inside a baking pan. When they're done, rinse the drip pans thoroughly and pat them dry. Most of the grime should just flake off. Remember that ammonia is a strong chemical, so be cautious about breathing it in or letting it touch your hands. You can pour the discarded liquid down the sink, as it is a water-soluble substance.
Store bought degreasers and oven cleaners can work wonders
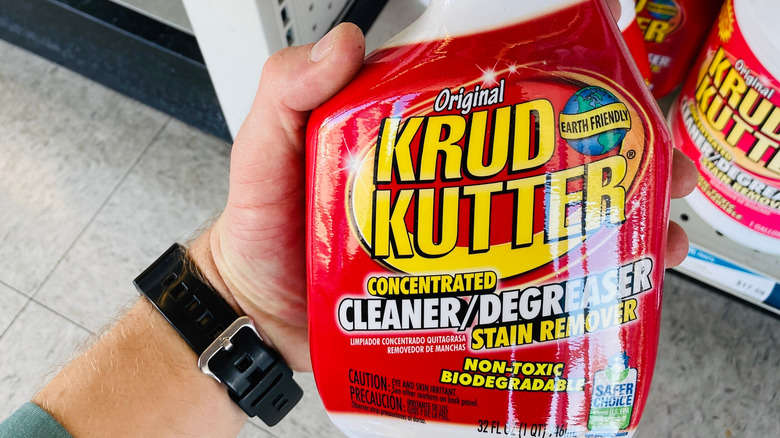
You can buy degreasers for your stove drip pans at most home goods, hardware, and even grocery stores. It's a good idea to invest in a degreaser if you are a particularly messy cook or just haven't cleaned your drip pans in a while. In all these instances, it's possible that the amount of grime burned onto the pans would be more than you could easily take off with some soap and elbow grease. Oven cleaner is also a great choice for cleaning drip pans because it is formulated to clean off burned bits.
Although the exact manufacturer's guidelines may vary, the best way to clean your pans is to place them in the sink, spray the degreaser generously onto them, then let them sit for several minutes. The reacting chemicals begin to break down the grime, making it significantly easier for you to scrub everything off with a sponge or brush. Don't be discouraged if the pans aren't completely clean after the first try. Often, it takes two or three rounds to get them shining like you want them to. When using either cleaner, be sure to follow the instructions on the product label carefully, as sometimes the chemicals can harm you if they touch your skin directly or you breathe them in for too long. When finished, thoroughly rinse your sink with warm water to ensure no chemicals are left behind.
Invest in a grill-cleaning brush
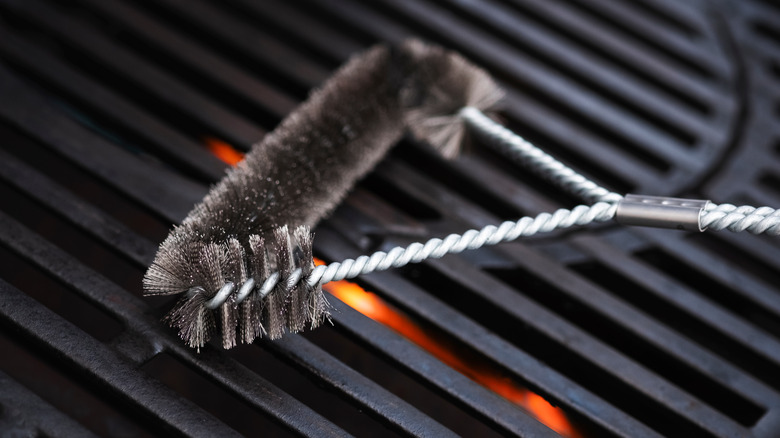
Sometimes using a regular sponge to clean your stove drip pans won't work. You need something stronger to clear away all the burned-on food. In this case, you could invest in a grill cleaning brush. Traditional grill cleaning brushes have stiff bristles that are perfect for scraping off carbon buildup. Avoid buying options with metal bristles, as they can sometimes break off and become a safety hazard. Instead, purchase a brush with nylon bristles as they are typically just as sturdy as metal and thus work well to lift carbon buildup and other grime from drip pans.
To use the brush effectively, it's best to combine it with other cleaning methods. This works well with presoaking the pans in warm, soapy water or coating them with a strong degreaser. You can also pair the brush with the baking soda and vinegar method for extra cleaning power.
Use a Magic Eraser for an easy clean
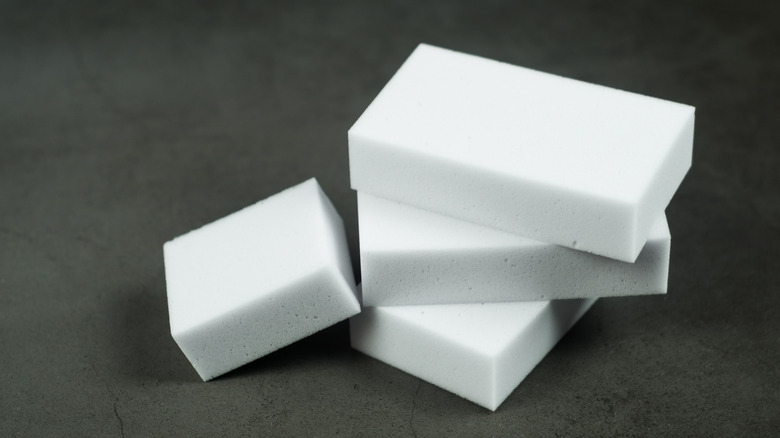
The Magic Eraser works so well on tough grime because of its micro scrubbers. These are tiny, wedge-shaped structures made of melamine foam. These micro scrubbers create a fine abrasive surface when you get the eraser wet. This helps to loosen and lift dirt, grime, and stains from surfaces without much effort on your end. Plus, Magic Erasers don't require the use of additional cleaning agents or chemicals. This makes using them a convenient and environmentally-friendly cleaning option. This is a great benefit if you don't want to use any chemicals in the kitchen, especially around the stove.
To use a Magic Eraser, simply hold it under running water until it becomes flexible. Once transformed, you can begin scrubbing the grime burned onto your drip pans. The sponge does a great job of softening the carbon buildup and removing it, so you don't need extra water or chemicals. You might find that you need to rinse the Magic Eraser from time to time during the task to get the best clean.
Use hydrogen peroxide to finish the job

For particularly stubborn pans, you can try pouring hydrogen peroxide onto them. While it might take a few rounds to get the pans as clean as you would like them, hydrogen peroxide is still a great option for kitchen cleaning. This is because compared to harsher chemical cleaners, peroxide is generally considered safer to use. It is less toxic and produces fewer fumes, making it the better option for those who are sensitive to strong chemical odors or have concerns about any health risks from chemicals.
This is easiest to do if you place the drip pans into a sink with a tight drain seal or a large plastic bin. You need to pour enough peroxide onto the pans so their entire surface is covered. Do it in smaller batches, as it will fizz when it first makes contact. Once the fizz begins to clear, you will be able to tell whether more is needed. After letting the liquid sit for about 30 minutes, you can scrub the with a sponge or brush to remove the grime, as it should be well-loosened. Hydrogen peroxide is a powerful oxidizer, which means it can break down and remove organic stains and residues, making them easier to wipe away.
Use a steam cleaner for an eco-friendly option
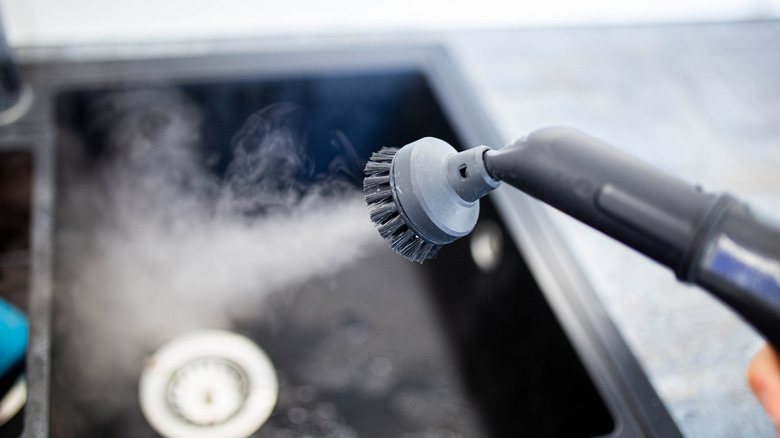
If you have a steam cleaner at home, you can use it to clean the drip pans. The steam's high temperature can easily soften and loosen tough grime that has been burned onto your drip pans. This leads to you saving time and effort compared to traditional scrubbing. The other beauty of steam cleaning is that it's chemical-free, which provides you with a safe and eco-friendly alternative when trying to get the drip pans clean. Plus, steam sanitizes surfaces, eliminating bacteria and germs, while also tackling any unpleasant odors.
Once you have filled the steam cleaner's tank with water and let it heat up, using it to clean your drip pans is simple. First, you should place the drip pans in the sink or in a large plastic bin to catch the debris. Then, concentrate a blast of the steam onto the dirtiest bits to loosen things up. You should be able to easily wipe off most grime with a sponge or paper towel.