9 Chic Tips To Make Your Pantry Look More Expensive
Kitchen pantries are generally considered storage areas for food, drinks, linens, and paper goods, but there's no reason to relegate them only to function, without thinking about form. They can be upgraded into chic, multi-functional kitchen centers that look expensive, with eye-catching design interest.
An organized pantry is essential, of course. But why not take it a step further? A chic, expensive-looking pantry can give your kitchen a more high-end feel, making it even more likely that you'll enjoy the time you spend there. The nine tips below ran the gamut from budget-friendly and easy to accomplish in an afternoon to a bit more costly and time-consuming. The choices will depend on the pantry's size, but feel free to use more than one of these tips for a customized result.
1. Switch out the door
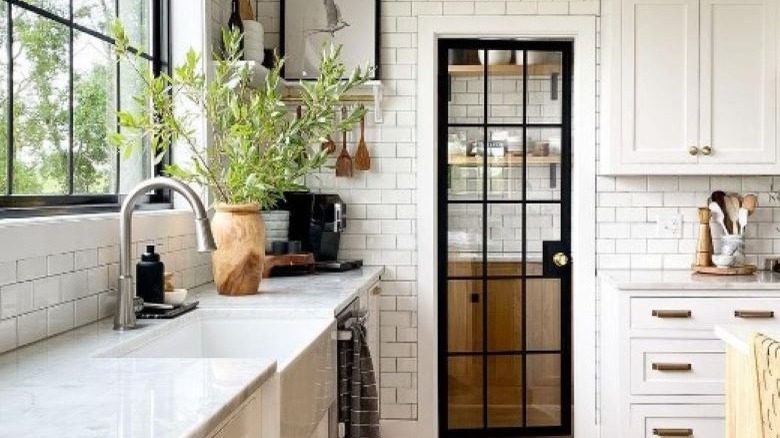
A standard builder's option pantry door cuts off part of a kitchen, particularly when it is closed shut. One option is to remove the door and leave the opening bare, as long as the inside is worth seeing. That can look unfinished though, so a better choice is to replace the old door with a new, attractive, metal and glass design.
Once the old door is removed, measure it and shop online for one that lets in some light. Check to see if the new one's hardware matches the original door's (or comes with any at all) because that might also need to be purchased. If new parts are needed, remove the old ones from the door frame and make any needed repairs.
Prehung doors are easier to install because they have built-in door frames. Once the new door is positioned, it must be checked to ensure it's plumb. Shims can be used to make the new door level and once it is, the frame can be nailed to the wall studs. The doorknob and other accessories are added last. Frameless slab doors are harder to install and are often handled by professionals, but hanging a pre-hung version is a good DIY option that can be installed in just a few hours.
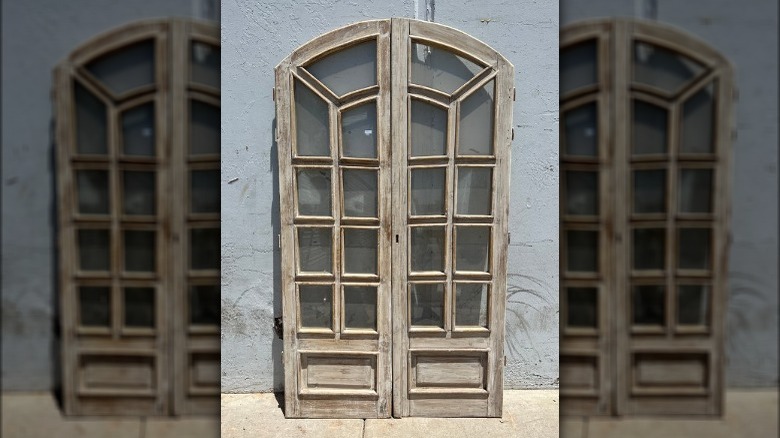
2. Consider upgrading to an arched doorway or door
An arched doorway will add a high-end Spanish-style influence to a kitchen pantry and can be installed by someone with intermediate carpentry skills. Once this upgrade is completed, a matching door can be purchased, but this kind of curved-top doorway looks fine when left without one.
This project uses plywood, 2" x 4" wood blocks, drywall, wood screws, and wood glue. The tools needed include a jigsaw, a circular saw, and a drill. Once the pantry door opening is measured, draw an arch in sections onto pieces of plywood. Cut the curves out with the jigsaw or circular saw. The 2" x 4" blocks get attached in between the plywood arches with the screws and glue. Once that step is completed, the arch can be screwed onto the top of the door frame with a drill. Next, pieces of drywall can be measured on the installed arches and cut to cover them, then taped and finished as usual.
Reclaimed arched wood doors can be a pantry's best feature and when the opening's large enough, a double set may give you exactly the look you're going for. These can be painted or left as is for a more natural look.
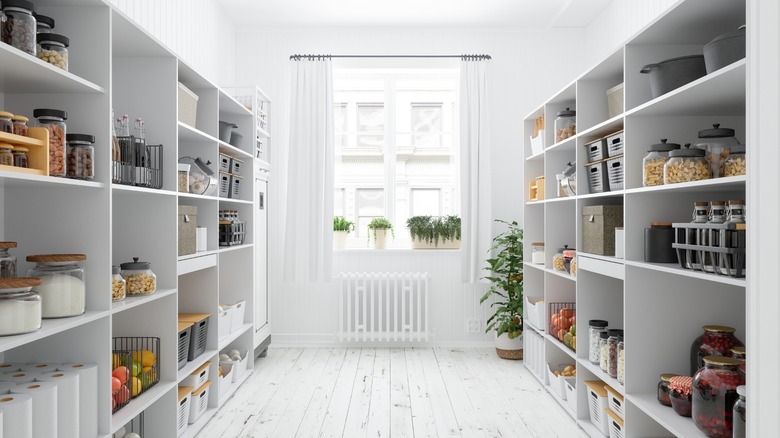
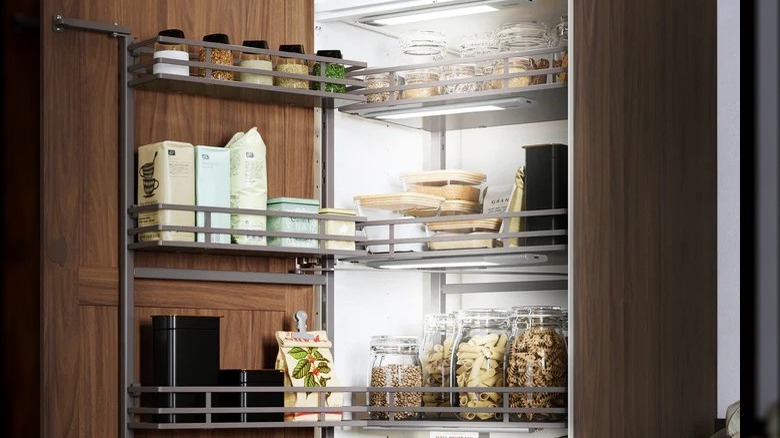
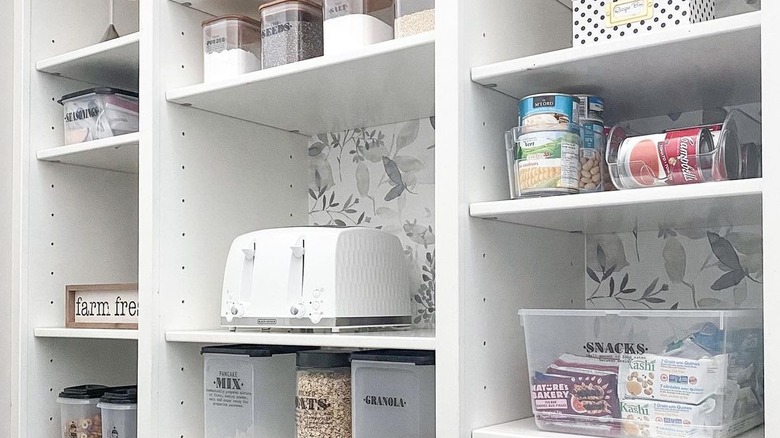
3. Think out-of-the-box storage and accessories
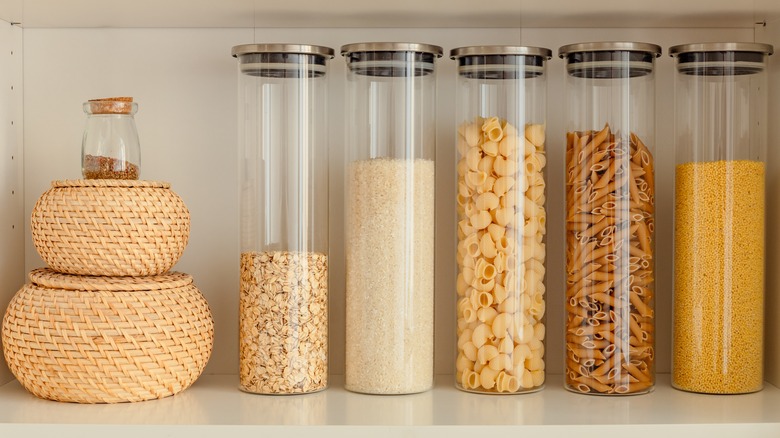
The old saying "everything has its place" is especially true with kitchen pantries. But when the goal is to make the final result look chic and expensive, cereal, pasta, and flour should come out of their original containers. Matching and airtight, glass containers look more sophisticated than plastic ones, but feel free to use some of both in different sizes. Baskets made from natural, woven materials are good for napkins and tablecloths, too.
These can be grouped according to the type of container: Keep sugar and flour together, group together cereal, and so forth. Vertical storage options are another great form/function option because they can save space and look clever. Options here include this Daraz wall-mounted hanging kitchen rod, installing hooks beneath shelves, and lining part of the pantry with a pegboard painted in an accent color.
If more storage is needed, additional hooks, racks, or cubbies can be installed on the back of the pantry door. These can match the storage in the rest of the pantry to provide a consistent backdrop for the interesting out-of-the-box items in and on them.
4. Install LED lighting
An old, harsh incandescent light bulb or fluorescent lighting can easily be replaced by a longer-lasting, more efficient LED bulb. But why not take it a step further by installing strategically-placed LEDs to highlight some of the pantry's key pieces? This kind of ambiance is more thoughtful than one sad light with a pull chain or a buzzing fixture on the pantry's ceiling.
LED lights can be hidden beneath shelves and on the sides of walls to shine softer, direct or indirect light on the pantry items. When they're under a shelf, they call attention to the walls below and items on countertops. It's almost like a floating feel that makes the space more upscale.
Circling back to function, make sure that the LED lights are bright enough to see what's in the pantry. Unlike incandescent bulbs, the brightness of LEDs should be measured by lumens because they have lower wattage. Lumens (lm) measure brightness, and a 75-watt incandescent bulb and a 9- to 13-watt LED bulb both provide 1100 lm, for example. LEDs also come in different colors, and the two best options for a chic kitchen pantry are bright white and soft white.
5. Use sophisticated paint colors

Paint colors like bubblegum pink and lime might be fine for a kids' room but more refined hues signal elegance and sophistication. Neutrals like beige and eggshell can work in a pantry and can coordinate with similarly-colored shelving and accessories. Stick with lighter colors like these when the goal is to make the space appear bigger and airier than it is. Gray has been a popular paint color for years and also looks elegant in kitchen pantries. A dark brown, brick red, or teal can also be beautiful in a kitchen pantry. Certain other earth tones, like forest green and muted saffron, also look expensive.
Be careful with loud colors or painting the pantry walls too dark when the space is small because that could make it appear closed-in or overpower the other elements. There's more flexibility with using darker paints in larger pantries, but it's still best to balance it with lighter accents like white canisters. In smaller pantries, darker paint can be used for shelving, to highlight architectural elements like window frames, or for just the pantry cabinets. Then, it can be brought out with storage items and decorations.
6. Hang up unique wallpaper
The right wallpaper can add energy to a pantry and can even distract the eye from a bit of clutter. Many homeowners go for common kitchen patterns like stripes, flowers, or fruit, but there's no reason to limit yourself. Turn it into a statement pantry by choosing a wallpaper pattern with a more unusual profile that accentuates the other elements: For instance, coral and white wallpaper go surprisingly well with teal-blue cabinets.
Opt for washable vinyl wallpaper for the pantry, since it will likely be splattered from time to time. These products are made from PVC and can be cleaned with all-purpose cleaners or a damp sponge and dishwashing liquid. And it doesn't need to be the traditional kind that has to be installed with wallpaper glue. Peel-and-stick wallpaper is available in more patterns than ever and is much easier to work with. The wall still needs to be measured out but instead of messy glue, the pieces have adhesive backings. Be sure to apply a wallpaper primer first, which will help if the pieces need to be removed.
7. Add some beautiful plants
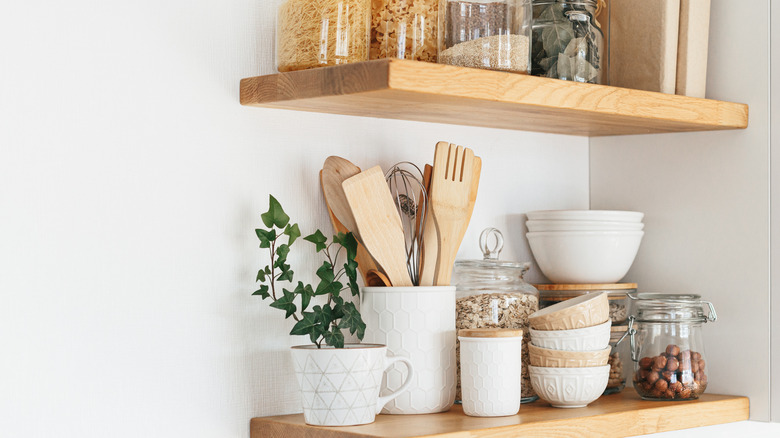
Carefully chosen decorative items like plants can make a pantry more welcoming and expensive-looking, particularly when the right kinds of pots are used. Consider using a coordinating accent color here, or a handsome pattern. Fake houseplants are fine and the best ones look just like the real thing, but some species are ideal for pantry windowsills. Others can thrive in some low light inside enclosed pantries with no natural light coming in.
One of the easiest plants to grow without light is Chinese evergreen , known for its air-filtering properties. The ones with the darkest leaves need the least amount of light. English ivy is another good choice that does well in low light and after a few years, its vines will trail down gracefully along the pantry's shelves and countertops. Zebra plants also like living in the shadows and have pretty white and green striped leaves. Remember to water these plants and keep them out of direct light, or the leaves will turn brown. Faux houseplants only need to be dusted every now and then.
8. Install a backsplash
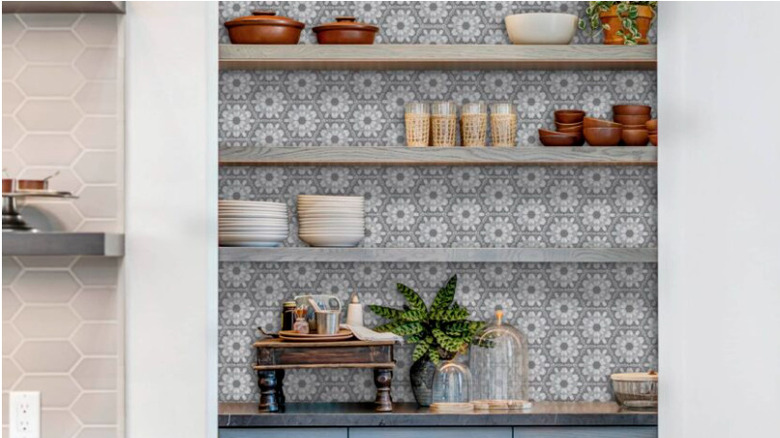
Tile backsplashes are traditionally installed in a kitchen's main area, but they can also make pantries look luxurious. As with paint and wallpaper, tile backsplashes must be installed before the shelves go up. The options here are endless – bold ceramic tile, clean-lined subway tiles, and glass tiles are only three of the categories found in stores and websites.
The easiest-to-install backsplashes are peel-and-stick ones. Some are made with a natural, thin-cut stone that resembles thicker pieces. They weigh less than the real thing and no grout is required. But like the thicker tiles, these thinner ones still need to be trimmed with a saw when smaller pieces are needed. Peel-and-stick mosaic-style backsplashes are also perfect for adding a bit of depth and shine to a pantry wall. These come in different price ranges but investing in quality ones increases the chances of them not loosening over time. To ensure a good bond between the tile and the pantry wall, use a degreasing product to clean the wall prior to installing the tile, and make sure it's completely dried before getting to work.
9. Add an elegant area rug
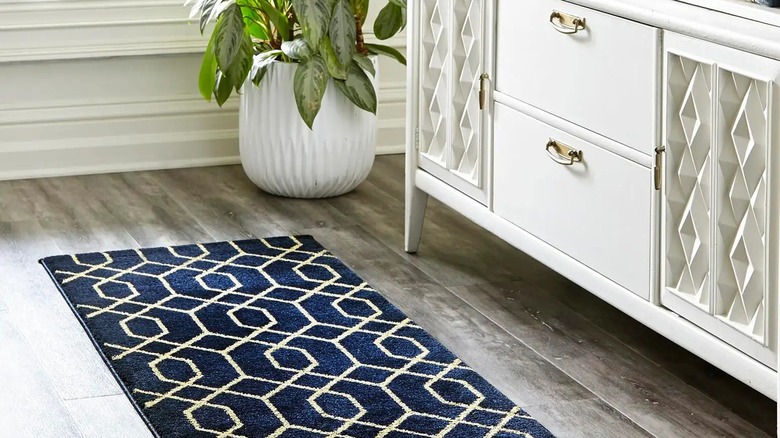
A well-placed kitchen pantry rug will create a more relaxing atmosphere as long as there's enough floor space. Some pantries have enough room for runners, while others might only fit a 2' x 3' mat. Stick with a similar style instead of going in a different direction, because the rug will look out of place: If the pantry is farmhouse chic, don't throw in a boho, fringed rug. And since a pantry contains spillable items, shop for a durable yet tasteful outdoor rug that can stand up to a mess. It's also best to attach a non-skid backing to the bottom to prevent slips and falls.
Once the rug is placed, it should be centered with about 8 to 24 inches on each side. It can be hard to determine which size rug is most appropriate and the best way to figure this out is with masking tape. Use one that won't damage the floor, and stick it on there in different ways until the shape and placement look right. Measure the pieces, write down the sizes, and start shopping.