The Affordable Way To Level A Bumpy Lawn (Without Heavy Equipment)
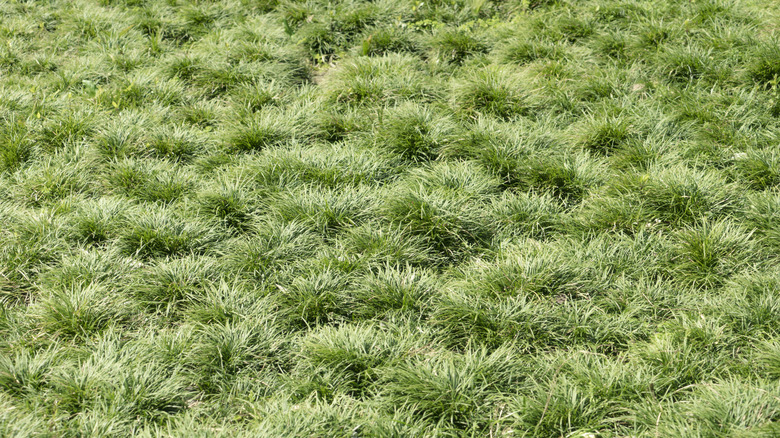
If your lawn feels like a patchy quilt of soft dips and unexpected lumps, you're surely looking for an affordable way to level it. Uneven lawns are a common problem caused by natural settling and animal activity, among other things. But you don't need expensive tools or a landscaping crew to fix it; one of the best ways to level a bumpy lawn without the use of heavy equipment is by using a simple topdressing method.
This technique involves applying a thin layer of soil mix (usually a blend of topsoil, compost, and sand, which you can make at home) across uneven areas of your lawn to smooth them out. After gently raking your mixture into the lawn, light watering helps it settle into lower spots without suffocating your grass. This is a great method for homeowners who want to refresh their lawn without disturbing the root systems of their flowers and trees or compacting the soil with machines.
Topdressing works especially well for minor to moderate surface-level issues, and it's arguably the easiest way to get better-looking grass on your lawn. Topdressing can help you revitalize the appearance of your lawn by evening out shallow depressions and dips and encouraging healthy grass growth over time. Best of all, the materials you can use to topdress your lawn are inexpensive and tend to be readily available at garden centers or local nurseries.
Tips for topdressing your lawn to smooth out bumps
To level your lawn using topdressing, start by mowing your lawn down to an inch of grass and dethatching to expose problem areas and improve soil contact. Dethatching with a rake or fork increases soil aeration and makes topdressing more effective. Next, mix your leveling blend, which will consist of topsoil and sand. These items are both incredibly easy to get from any garden center. Aim for roughly half topsoil and half sand because this promotes good drainage while filling depressions and supporting grass growth. Compost can also be added if desired to provide more nutrients and introduce beneficial microbes.
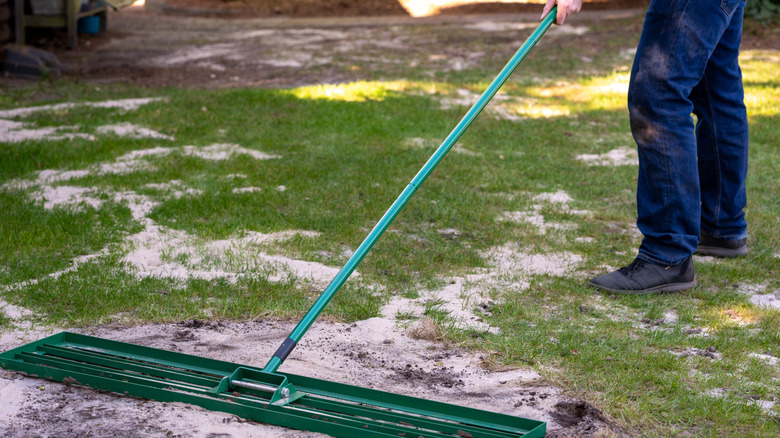
Spread a quarter to half an inch of the mix over low areas, then use a leveling rake to smooth it out. Afterwards, all you need to do is lightly water the area so the topdressing settles naturally and fill any remaining dips as needed. After leveling, water your garden consistently and mow it as usual, and the grass will grow through the new layer you've created, anchored by the added soil. This low-cost solution gives you professional-level results without the need to rent or buy any expensive equipment. Plus, spring is one of the best times of year to topdress your lawn for a healthy landscape, you can enjoy the bright season while creating a lawn that has a clean, uniform finish.