What Is Crackle Paint And How To Achieve The Distressed Look
We may receive a commission on purchases made from links.
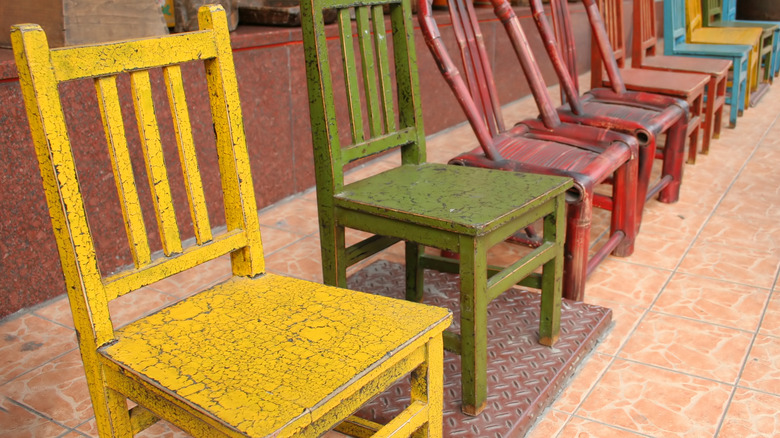
Are you a fan of antique furniture but can barely afford the real deal? Or maybe you want to channel the contemporary farmhouse style for your home but aren't sure how to go about it. Whatever the case, achieving a distressed look for your interior space is easier than you might think: Just tap into the crackle paint effect. There are no limitations to the surfaces you can age using this technique, as it works equally well on walls as it does on furniture, picture frames, and woodwork.
Employing this budget-friendly painting technique is a DIY even beginners can take on. To achieve this antique and distressed look, all you'll need is to use two varied shades of paint — a top coat and base coat — and a crackling medium, such as glue. The crackle finish fractures the top coat, allowing the base coat to show through in those spots for a distressed look and feel.
The cost of applying a crackle paint finish
Think of the crackle paint finish as a sandwich. Your base and top coat form the two layers of bread, wherein a transparent, water-based crackling medium serves as the filling. To realize a DIY distressed-painted look, you'll need a dark base coat that complements a lighter top coat. To get the authentic look, you can go with any type of acrylic or latex paint, and a clear crackle medium.
Now, the cost for the top and base coat will be determined by the type of paint you choose, the amount of paint you need, and the color you select. In comparison, a crackle medium from The Home Depot can run you around $9 for an 8-ounce jar, which will provide coverage for about 40 square feet. But, depending on what surface you intend to crackle, if you don't want to turn your weathering project expensive, you can use any regular glue as a crackle medium instead.
Achieving a distressed look with crackle paint
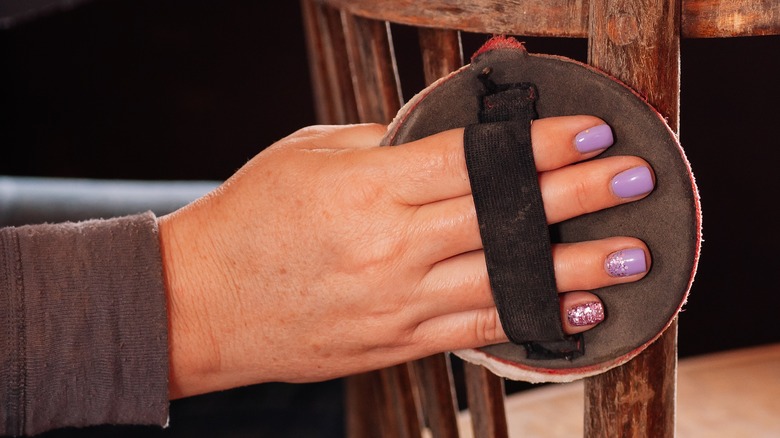
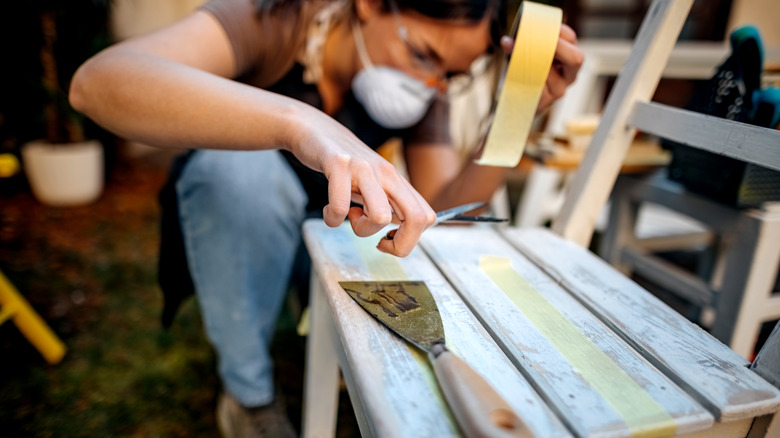
To start distressing your walls or furniture with a crackle paint effect, you'll need a few additional materials aside from your top coat, base coat, and choice of crackling medium. You will also need sandpaper (note: an orbital sander can prove helpful, but is optional), paintbrushes and rollers, primer, a water-based polyurethane sealant, and cloth.
Begin by sanding the surface using sandpaper or an orbital sander to prepare it, and remove any debris and dust using a cloth. Now, apply a thin coat of primer and let it dry per the manufacturer's instructions if you don't want the current paint color to show through. However, if you do, you can skip this step.
Next, apply the base coat and let it dry overnight. After your base coat is completely dry, apply the crackle medium. To achieve the look you want, keep in mind that a thin layer will result in fine cracks and a thick coat will give you bigger ones. Let the medium dry before applying the topcoat.
When you apply the topcoat, you should see the cracks forming immediately. Let the surface dry overnight before touching it. Finally, apply a coat of sealant to protect the surface, or skip this step if you want the surface to show natural signs of aging.