How To Start A Mini Greenhouse In A Leftover Plastic Clamshell Container

While many plastic products can be recycled, the clamshell containers your cherry tomatoes and berries come in typically can't. Thankfully, you can save them from the landfill by turning them into adorable mini greenhouses. These pint-sized greenhouses can be used for germinating seeds, hardening off seedlings, propagating cuttings, growing microgreens, or even as a miniature terrarium to add to your houseplant hoard, and converting them only takes a few simple steps.
Greenhouses work to amplify the power of sunlight, creating a warm and moist environment. As light enters the transparent greenhouse, the plants inside convert it into heat energy, helping them grow. The plants inside the greenhouse also respire, and the water they release condenses on the roof and walls. This creates a warm, humid environment ideal for seed starting, plant propagation, and root development. A mini clamshell greenhouse does all this on a much smaller scale than a backyard greenhouse, but it can be just as effective.
Constructing your mini greenhouse
Find a transparent clamshell container, as you want the light to get in easily. Next, consider how big your seedlings will become. If you're growing microgreens, you can get away with a small, flat clamshell; if you're growing beans, you'll need something taller that gives the ultra-fast-growing sprouts room to stretch. Plastic eggshell packaging has a handy divot for each seed, making it another great greenhouse choice.
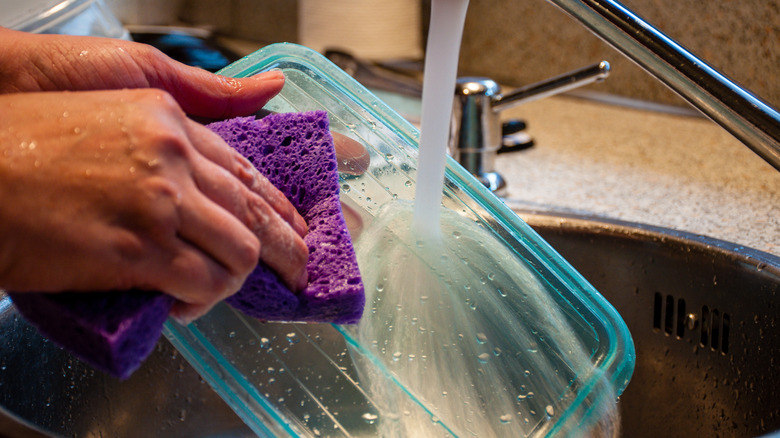
Wash the clamshell container thoroughly using biodegradable soap and water and let it dry. Make a few drainage holes with a handheld drill or awl and hammer. Some clamshells, like those for berries, already have drainage holes in the bottom, saving you this step. If the lid seals shut when closed, you'll also need to add a few aeration holes on top. You can fill the tray with any sterilized soil, but a seed starting mix is preferable. Plant your seeds directly into the soil or divide the tray into sections with a makeshift cardboard grid. Write the plant name on the lid of the greenhouse or note it on extra-small plant markers. Add a pinch of worm castings or seed starter fertilizer to give your plants a little boost.
Caring for your seedlings
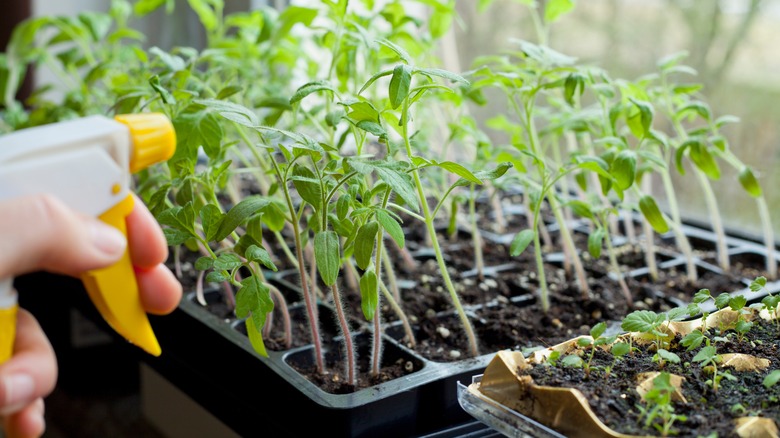
Place your new mini greenhouse in a sunny spot inside or outside. If you place the greenhouse outside in hot weather, place it in dappled — rather than direct — sunlight. If you don't have much sun indoors, use a grow light. Regularly water your seeds and seedlings when the top part of the soil has dried out. Be on the lookout for signs of rot, and crack the lid with a popsicle stick to let in air if there's too much moisture inside. Water gently with a spray bottle rather than a fast-pouring watering can.
Lift your greenhouse every few days and look through the bottom. Once you see plenty of roots forming under each seedling, it's time to replant them. If your seedlings are left too long, their roots can become tangled, making them hard to separate without damaging the plants. Clamshell greenhouses are excellent for sowing seeds in the winter: Start your seedlings indoors, slowly harden them outdoors as the weather warms up, then plant them in your garden come summertime.