How To Cure Vegetables For Storage
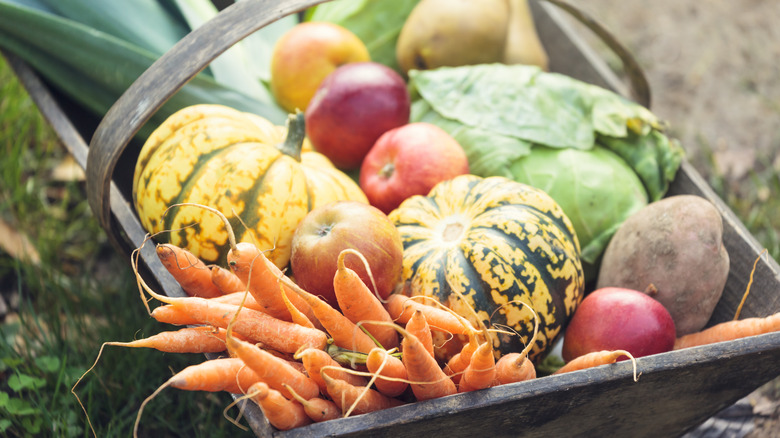
Most of the vegetables you grow can go straight from garden to table. Or, if you're like us, they might go directly into your mouth if you enjoy a sun-warmed cherry tomato plucked from the vine. This list is not for those veggies. While many of our favorites, like lettuce, bell peppers, or zucchini, will only stay fresh for so long in the kitchen, others can be kept fresh for a long time if they are cured properly.
In this context, the word "cure" is not anything medically-related. This term refers to the way vegetables are prepared for long-term storage, but the process is not exactly the same for all storage crops. Some need to dry out a bit before they are stored because excess moisture will cause them to rot. Others need to grow thicker skin to help retain moisture, keeping them from drying out in storage. If you are growing any of these vegetables in your garden, here's how to cure them so you can store them safely.
Potatoes
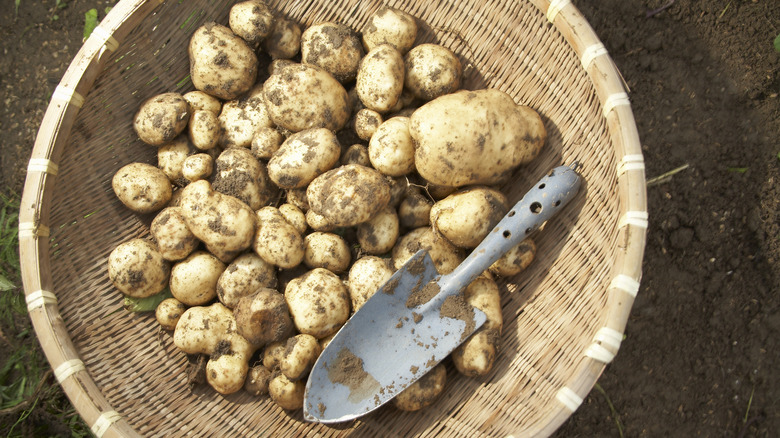
Knowing when it is time to harvest root crops, especially potatoes, can be difficult because the vegetables are completely underground. One sign that it may be time to dig up your plants is when the green tops start to turn brown and die back. Sometimes potatoes will bloom, which is a sign that your plants are reaching maturity, but that does not always happen. If you think it may be time to dig up your potatoes, start with one plant. Loosen the soil around the root area, and pull up your plant to see what it has produced. You will see potatoes that are different sizes. They are ready to cure when you rub the skin, and it does not come off. If you can easily rub the skin off with your finger, try again in a few days.
Cure your harvested potatoes in a cool area, between 45 and 60 degrees Fahrenheit, with high humidity for 14 days. During this time, the skin will grow thicker, and any wounds that occurred during the harvesting process will heal over. Dispose of any mushy or badly damaged potatoes before storing your harvest in a covered cardboard box or a bin with some holes for ventilation. Place your boxes in a cool, dark place like a garage or basement. In the right conditions, storage potatoes can last for several months.
Onions
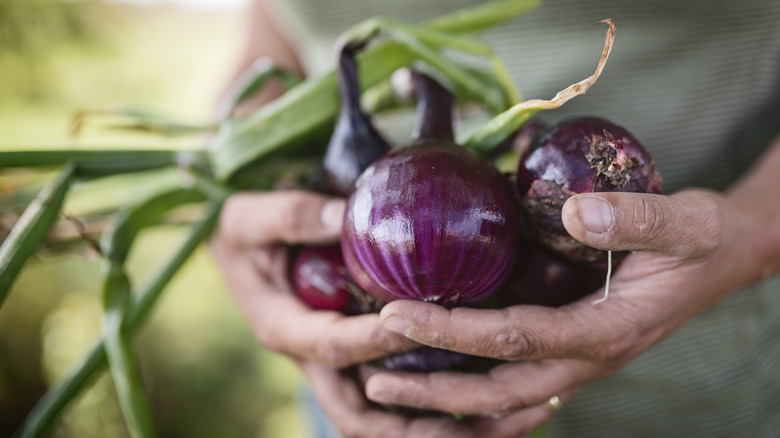
Not all onions are suitable for long-term storage, so plan ahead to ensure you plant the right type. Varieties that make a large bulb are called globe onions, and they come in mild and pungent types. Mild cultivars include sweet onions, like Vidalias, which should be eaten fresh. Pungent types, like many red onions, are excellent for storage, and when they are cured and stored properly, they can last up to one year!
It is a little easier to tell when it's time to harvest onions. Since part of the bulb is actually visible above the soil line, you can watch them grow. When those bulbs start getting big, the necks will get soft, and the tops will fall over. Once the majority of your onion tops are lying down, it is time to harvest. Leaving the brown tops intact, lay them in a single layer in a warm area, like a shady part of your yard. Flip them every few days to ensure they dry out evenly. After a few weeks, the green tops will completely dry up, and you will notice the outer layer of onion skin will be snug around the bulb. Cut off the roots and tops, and brush off any excess dirt before placing them in a basket or mesh bag in a cool, dark spot.
Garlic
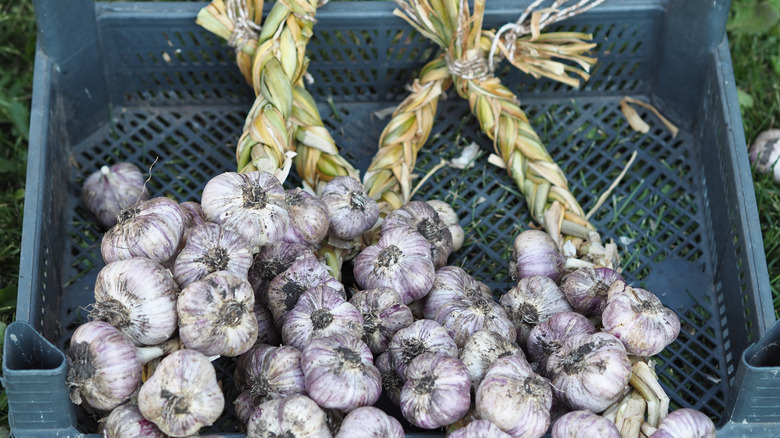
Garlic is one of the easiest and most rewarding plants to grow. It is not terribly finicky about soil conditions, it tolerates extreme cold, and you can plant it in the fall to harvest the next summer. Garlic could almost be considered a "plant it and forget it" crop. Of course, you can only forget it until it's time to harvest. Like onions, there are two types of garlic: softneck and hardneck. For long-term storage, plant softneck varieties. Have you ever seen braided garlic strands? They are made of softneck garlic as a pretty and functional way to store cured bulbs for nine months or more.
When almost half of the leaves on your garlic plants turn yellow, it's time to harvest. Loosen the soil around the bulbs, and simply give each one a light tug to pull it out of the ground. Gently brush off excess soil and place your harvest in a warm, shady spot where there is ample airflow for two weeks. At this point, you can remove the stems and roots or just trim the roots, braid the stems, and place your garlic in storage. If you opt to remove the stem, a basket with open ventilation or mesh bags are good container options. It will keep for a few months at room temperature, but the cooler the space, the longer the bulbs will last.
Winter squash
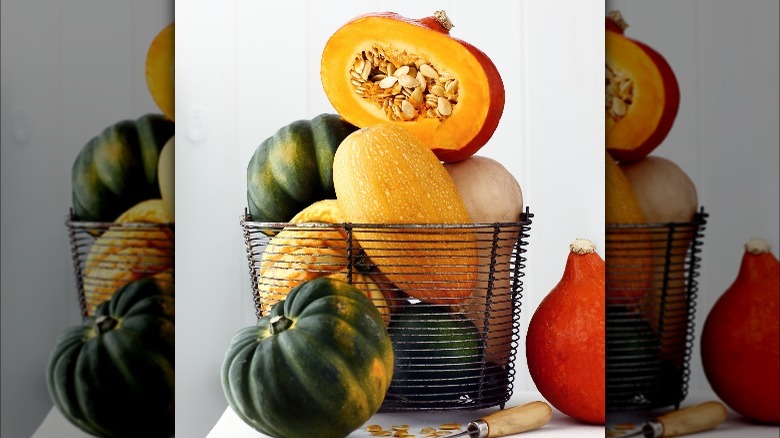
Unlike the name implies, winter squash is not grown over the winter, but rather it is grown for winter storage. This group of squash includes many favorites, including acorn, spaghetti, and butternut. Harvesting your winter squash correctly will help ensure it stores well. When the skin starts to look dull, you cannot easily pierce it with your fingernail, and when the low temperatures in your region average around 45 degrees, it is time to harvest. Use pruning sheers to remove summer squash from the vine leaving about 2 inches of stem attached. Use a dry cloth to wipe away any dirt or debris on the fruit.
Winter squash is not harvested in the summer like potatoes, onions, and garlic. Since these root crops are cured when the weather is warm and humid, they can be left outside. Because winter squash is harvested in late fall, you will need to cure your vegetables indoors. Place your harvested squash in a single layer in a warm room in your home. While around 80 degrees is ideal, a cozy spot like under the bed or in your kitchen will work. Allow the squash to cure for two weeks. This provides the perfect environment in which the skin can dry out and harden, protecting the soft flesh inside. Keep your harvest in a cool, dry place. Storage time for winter squash depends on the variety but can last between 1 and 6 months.
Sweet potatoes
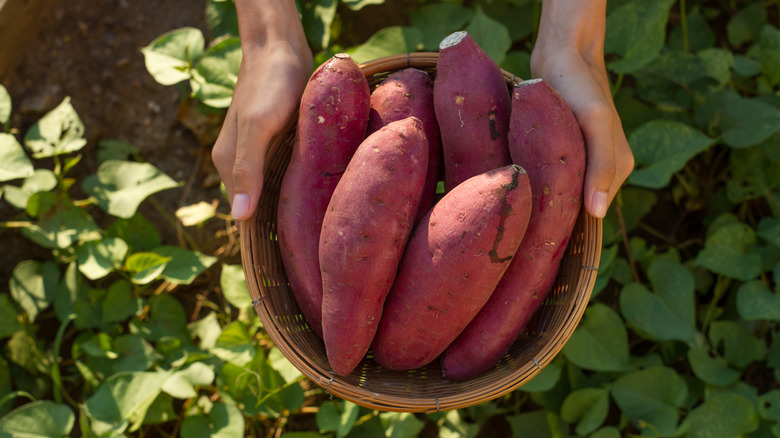
Unlike the other storage vegetables on this list that you can eat fresh or prepare for storage, sweet potatoes should be cured before consumption. Fresh sweet potatoes do not cook well or taste good until after they have spent some time out of the ground. Like regular potatoes, these sweet tubers require curing to develop a thicker skin, allowing them to retain moisture while in storage. Perhaps most importantly, sweet potatoes need this curing time to convert starch to sugar, which gives them their wonderfully sweet flavor. Harvest your sweet potatoes when the vines start to turn yellow or immediately following the first frost – whichever comes first in your area. Losen the soil with a spading fork, gently pull up the vines, and dig up your harvest. Remove any excess soil.
Sweet potatoes require a warm, humid environment to cure efficiently. A sunroom or a greenhouse can provide ideal conditions with temperatures around 85 degrees Fahrenheit and about 80 percent humidity to fully cure these vegetables within a week. The process can take up to two weeks in cooler spaces. Sweet potatoes can stay fresh for several months when stored in an area that averages around 60 degrees.