The Simple Trick That Makes Any Wallpaper Renter-Friendly And Easy To Remove
We may receive a commission on purchases made from links.
If you rent your home or apartment, you still want to be able to customize it, beautifying every corner. When it's someone else's property though, chances are slim that you can pull down a wall or add a skylight. But what you can do is apply your design and decor skills by choosing a wallpaper you love, and hanging it the renter-friendly way. We have a simple trick to wallpaper a room without permanently affixing it to your walls.
Of course, you may be a homeowner and still want to maintain maximum flexibility by hanging wallpaper that you can easily change to another style. For example, what starts out as a purple palace for a little girl will need to morph into a teenager's cave. Eventually, the room could then become a den or an office.
Although we've uncovered the best method for removing wallpaper from drywall, ultimately, you may prefer the option of hanging wallpaper or removing it with minimal fuss. When the aesthetic changes or it's time to sell your home and you want to maintain its value and marketability, consider keeping your wallpaper temporary while making it look smart.
How to make wallpaper renter-friendly
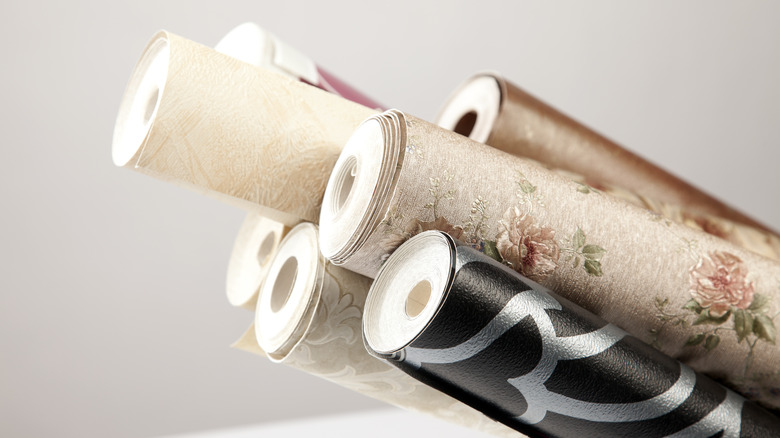
Applying wallpaper securely is a project best tackled by experienced DIY-ers. First, gather supplies. Prioritize the look and cost and order your wallpaper, whether it's pasted, non-pasted, or removable. You'll need a sufficiently tall ladder; rolls of painter's tape (pro tip: to prevent color bleed-through, get it in a light color if your wallpaper's light); many rolls of double-sided tape; optional carpet tape for heavier wallpapers; good scissors; a yardstick; a pencil; a smoothing tool; and an X-acto knife or a utility knife with changeable blades.
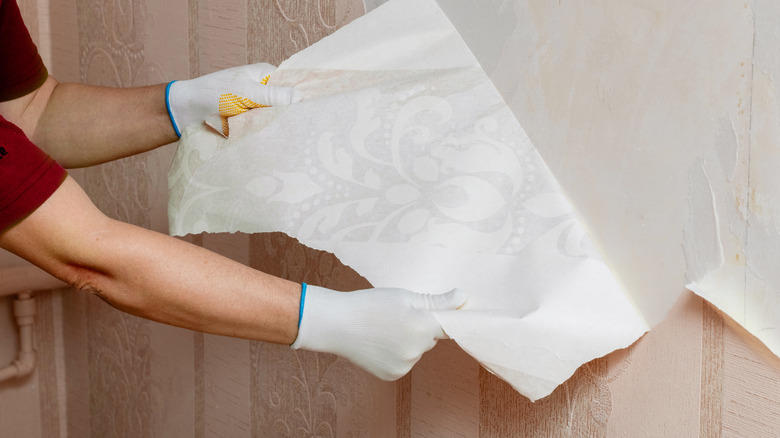
Take away art, shelving, and switch plates. With moistened microfiber cloths, wipe the walls to get off the dust, wash them with a degreasing cleaner, then allow them to dry fully. You'll use your painter's tape to create a grid on every wall to be papered. Surround windows with tape too. On the floor, measure and cut your wallpaper, lay sheets next to each other, and match seams. Leave a few inches of extra paper on the top and bottom that you'll trim once the sheet is secured.
You'll apply double-sided tape on top of the painter's tape and then affix your paper but do one section at a time. You'll need the most double-sided tape where the seams meet. For its sheer strength, consider using carpet tape as the topmost horizontal strip next to the ceiling. You'll press the wallpaper from the top down with your smoothing tool, then trim the excess.
The pros and cons of this method
On the plus side, this is a fail-safe way to prevent wall damage because you can pull the paper and tapes off easily and without worry. If there's any residue from the painter's tape, it would likely be minor and you could simply wash the walls again with a degreaser. Your design choice will energize the space, and this might be a great solution for a child's room or a walk-in closet. There are other unusual ways to transform your home using temporary wallpaper; Bobby Berk has some cool ideas.
On the con side, because your paper isn't affixed to the gaps in your grid, that just about guarantees a little bit of bubbling even with the use of a smoother. This method is an exceptionally labor-intensive process that simply can't replicate a professional, fully pasted installation. Be alert to temperature and humidity levels — work when it's neither too hot nor too cold and with moderate humidity levels.