Everything You Need To Know To Start A No-Till Garden
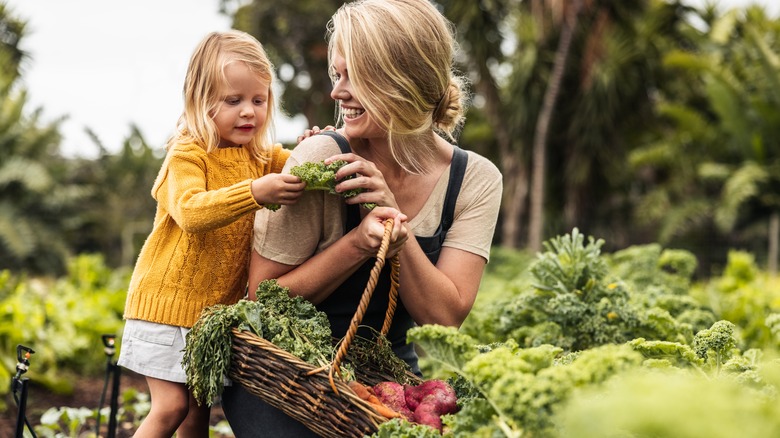
There's nothing new about no-till gardening; it's been around for thousands of years. But modern-day gardeners are seeing a boom in popularity for the no-till approach to home gardening, especially when it comes to producing vegetables. This method promotes healthy soil, reduces erosion, discourages weed growth, and doesn't require as much labor as traditional gardening.
No-till gardeners observe a few simple rules to produce healthy plants and abundant harvests. First, they set up planting beds separate from pathways so that they never compact the soil by walking on it. As a regular practice, they add mulch and compost, building up rich layers of soil, season after season. The mulch deters weed growth, and the decomposition of organic material nourishes the soil. Finally, the no-till gardening enthusiasts never dig in and turn up the soil. Instead, they plant seeds and bedding plants with as little soil disturbance as possible. Thinking of starting one yourself? Here is everything you need to know about it.
The downsides of tilling
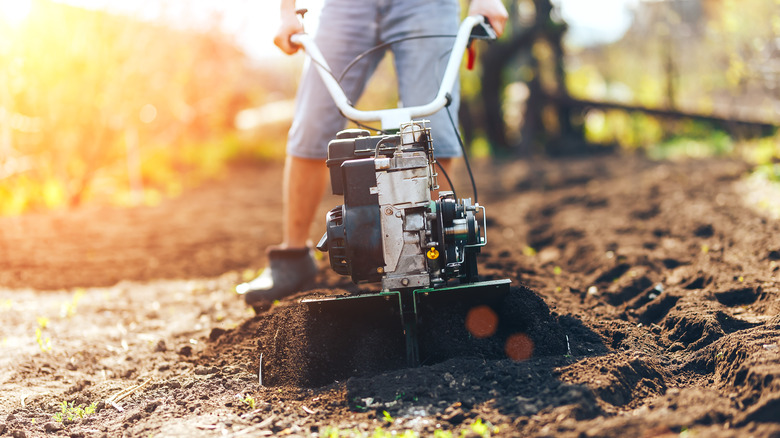
You need healthy soil with a robust soil structure for a productive garden. Tilling does incredible damage to that structure. Digging in and turning the soil only harms the life-giving, organic network that feeds your garden plants. Stored carbon and nitrogen are lost as the soil turns over. A healthy soil structure consists of 25% air, 25% water, 45% minerals, and 5% organic matter. Tilling the soil upsets this balance by causing a loss of moisture and air pockets. Additionally, it destroys the ecosystem of earthworms, insects, fungi, microorganisms, and arthropods that help your garden plants thrive.
Another problem caused by tilling is the proliferation of weeds. As the tiller turns the soil, the dormant seeds of weeds come to the surface, where they receive sunlight and water for germination. Suddenly, you've created more work for yourself as you battle the weeds that threaten to choke out your garden plants.
Tools and supplies you'll need
Obviously, you won't need to purchase or rent a motorized rototiller for a no-till garden. However, you'll need a few tools to aerate and loosen the soil. These same tools will come in handy for planting and harvesting your vegetables and fruits.
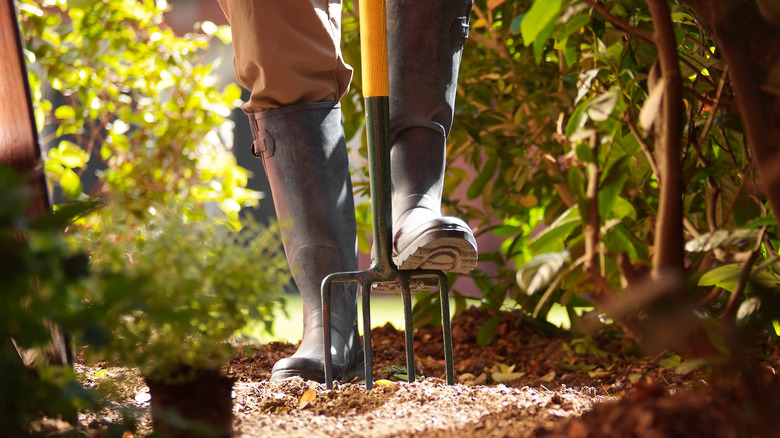
With a long-handled digging fork or a broad fork, you can loosen the soil for weed removal and aeration without turning it and upsetting the structure of the soil layers. Additionally, the tines of these large forks make holes for planting seeds. A stiff rake is convenient for smoothing out planting beds, and a handheld trowel is a must for planting.
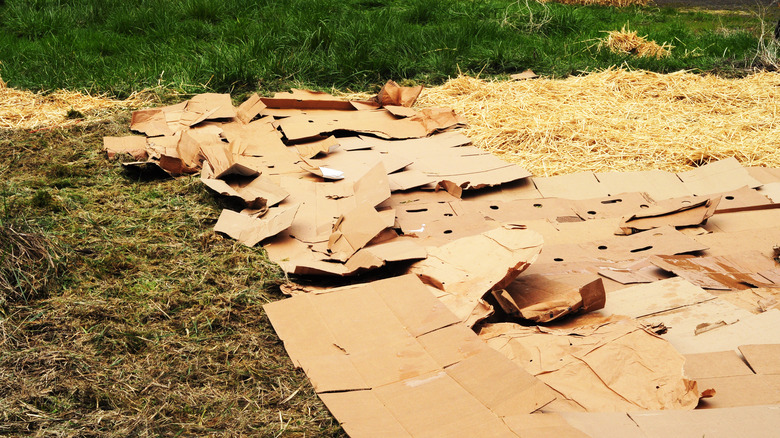
In addition to a few tools, you'll need something to cover the ground for weed control. Sheets of cardboard, newspaper, plastic, and garden mats work well for suffocating weeds. Atop these ground covers, you'll want to add mulch or compost consisting of wood chips, shredded leaves, grass clippings, or straw.
How to transform an old garden into a no-till space
Many gardeners till their gardens every spring out of habit. For years, they thought the soil should be turned up before planting. However, if you want to transform your old garden into a no-till space, you can easily do so. Specifically, the time to take action is in the fall, after the harvest.
As winter approaches, wait until your plants begin to die back naturally. Then, cut them off at the soil line rather than pulling them. The roots will decompose underground, adding nutrients to the soil. Cover your garden beds with 1-2 inches of mulch or compost and again in the early spring.
When the spring thaw arrives, forget about tilling. Simply pull back the mulch from your planting beds and use a garden fork or broad fork to create holes in the soil where you'll sow the seeds. If you prefer bedding plants, a handheld trowel is useful for digging small holes. Keep in mind that you should avoid deep digging and turning the soil over with your garden tools.
How to start a new no-till garden
If you want to start a new garden in a location where you've not previously planted one, it's an exciting opportunity to apply no-till methods. First, select a level area with plenty of sunlight and where the soil gets adequate drainage. Next, you'll need to sketch the design for your planting beds and walkways. These areas stay consistent from one year to the next, so start with a workable arrangement.
Lay down newspapers (8-10 sheets thick) or flattened cardboard to smother any weeds and grass that are currently growing in the area. Use a garden hose to thoroughly soak the newspaper or cardboard with water. Then, spread a thick layer (3-4 inches) of organic material over the ground cover. This can be your preferred type of mulch or compost. Over a period of about six months, the newspaper or cardboard will break down along with the organic material, and the garden will be ready for planting. As the years go by, you'll continue to add more layers of mulch and compost to your garden soil.
When planting time rolls around, you'll want to disturb the soil as little as possible. Pull back the organic matter and loosen the ground enough to plant seeds or plants. Then, gently distribute the mulch around your plants to help them retain moisture and to discourage weed growth.
How to establish planting beds and pathways
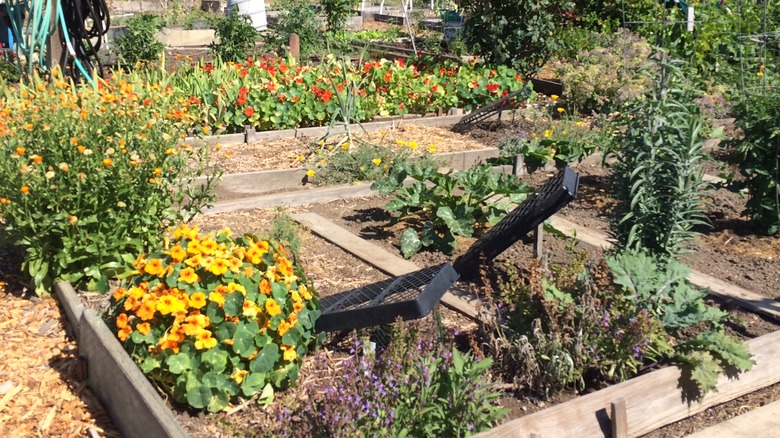
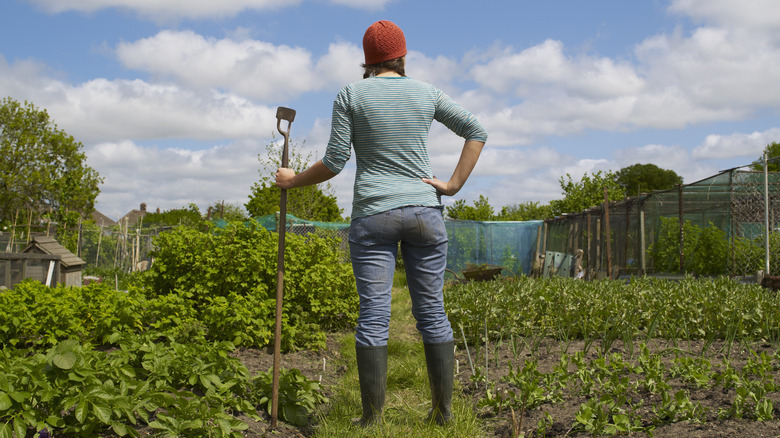
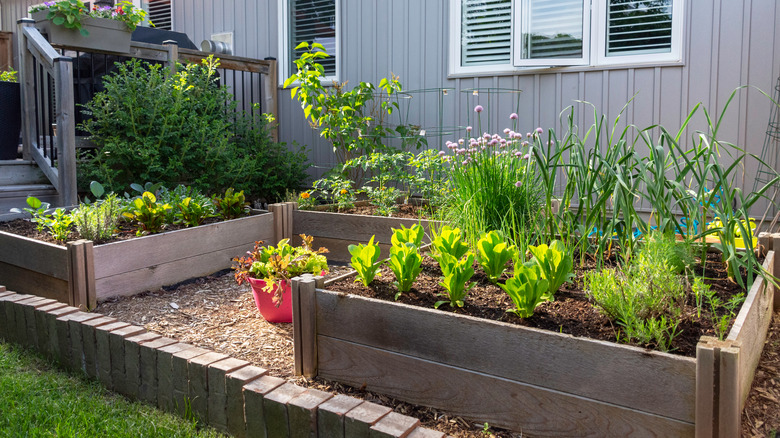
Now that you know the overview, let's jump into the details. When gardeners till their soil every spring, they plant in new rows each year. Alternatively, no-till gardening requires establishing permanent planting beds no more than 3-4 feet wide. This ensures you can reach all your plants without stepping on the soil. You may want to construct raised beds for several advantages. They promote maximum productivity within a limited space, better drainage, minimal soil compaction, and easier maintenance. For greater definition, it's helpful to border the raised beds with wooden boards, stones, cinder blocks, or corrugated metal. Permanent edging materials hold the soil in place.
Additionally, it's important to establish pathways between the beds so that you never walk in the planting areas. This practice ensures that you do not compact the soil in the sections where you will sow seeds and bedding plants. On the other hand, you need space to move around as you accomplish the planting, fertilizing, weeding, and harvesting tasks throughout the seasons. Design your pathways to be at least 3 feet wide for maneuverability. Keep the pathways clean and uncluttered by adding cardboard or ground-cover fabric and layering it with a dry mulch like wood chips, straw, or gravel.
How to create mulch and compost
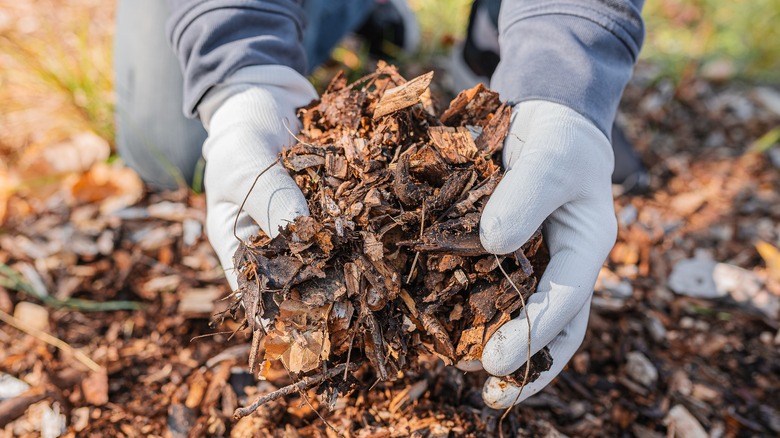
Mulch and compost are crucial ingredients for a no-till garden. So, what's the difference? Mulch is organic material that has not yet broken down completely. Wood chips are an example. On the other hand, compost is organic material that has completely broken down and transformed into soil. Grass clippings, dead leaves, and kitchen scraps may be added to the pile. Over time, with aeration and water, these ingredients decompose and become rich soil for planting and sustaining new plants.
Several options serve well as mulch for no-till gardens. These include wood chips, grass clippings, straw, sawdust, dead leaves, and rocks. The materials that you use for mulch should be seed-free to eliminate the germination of unwanted plants.
Due to the decomposed state of compost, it's ready to enrich your soil, provide a weed barrier, and hold moisture in the ground. You want to have a balance of brown and green matter to ensure it doesn't become too dry or wet. Examples of brown matter would be anything dry and woody, such as leaves, paper towels, sawdust, wood ash, paper bags, and old straw. The green matter is anything rich in nitrogen or protein, such as coffee grounds, food scraps, eggshells, and animal manure.
Plant cover crops to save your soil during winter
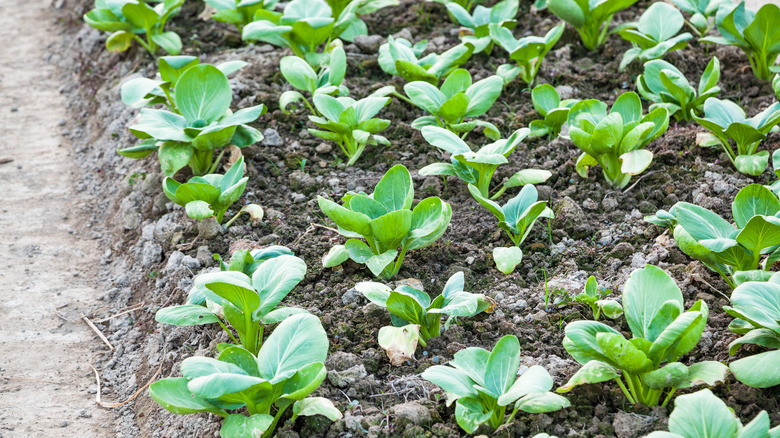
After the fall harvest of fruits and vegetables from your garden, you'll want to prepare the garden for the winter. For best results, you can plant a cover crop that serves as living mulch and performs vital functions in the garden. These include adding nutrients to your soil, keeping roots warm during winter, and preventing soil compaction and erosion. While warm-weather crops produce a harvest to feed you and your family, off-season cover crops feed the ecosystem of your garden soil. You'll want to plant them in the early fall, allowing enough time to establish them before the winter frost.
Commonly used cover crops include Brassica plants such as kale, cabbage, mustard, radishes, and arugula. Grasses and grains work well too, winning out over weeds and nourishing the soil. For example, you can sow buckwheat, oats, barley, or rye to prevent nitrogen leaching from your soil.
Consider the square-foot gardening method
According to the Square Foot Gardening Foundation, Mel Bartholomew invented this no-till gardening method in 1976. It's an efficient system that requires minimal space and water while it saves you time and labor. To start a square foot garden, you'll need to construct a 4-foot by 4-foot box that sits atop a ground covering of plastic or weed-deterrent fabric. Fill the space with a weed-free planting medium made of equal parts coarse-grade vermiculite, sphagnum peat moss, and organic compost. Then, insert a grid that delineates 16 sections measuring one square foot, each.
The depth of a square-foot planting bed should be 6-to-12 inches. Within each square foot section, you can cultivate different plants, depending on their sizes. One square foot of the nutrient-rich and water-retentive growing medium supports anywhere from one large plant up to 16 small plants. It's a convenient method for growing vegetables and herbs close together in a confined area. On the downside, a square foot garden may not be the best setting for large vegetable plants like melons and squash. However, you can space larger plants to take up two square-foot sections each.