HGTV's Trick For Removing Popcorn Ceilings Has DIYers Attention
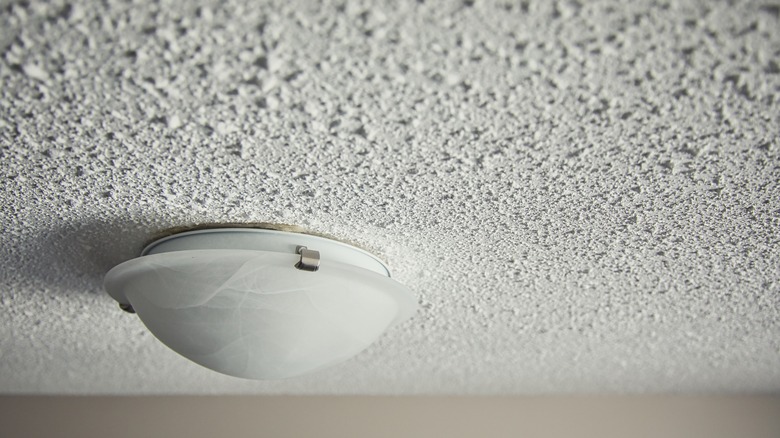
There are several different types of ceiling finishes, and popcorn ceilings are arguably the most dated ones. Popcorn ceilings were all the rage in the mid to late 20th century, as it was a cheap design that disguised imperfections and acted as a sound barrier. But the grainy paint job also harbors dust and scares off buyers, so the textured design is better left in the past. If you look up and see this bumpy decor, you don't have to fear an expensive removal, as HGTV has an easy DIY trick to smooth out the spiky surface.
Using a wet/dry vacuum, drywall knife, tape, file, sander, primer, and paint, you can kiss that outdated ceiling ceiling goodbye. This simple process lets you smooth out the area with limited mess. In the end, you are left with a flushed look that you can transform to your heart's desire. If you wanted to, you could even turn your popcorn ceiling into its modern-day cousin, the orange peel ceiling. However, before you start this process, you may want to test for asbestos — if it's found in the material, it may be best to get it professionally removed.
Before getting started, check the date on which your popcorn ceilings were applied. According to the International Journal of Occupational and Environmental Medicine, asbestos was used in popcorn ceiling applications in houses built between 1945 into the 1980s. If you suspect that your textured ceilings were applied during this time period, please contact a professional for removal.
Scrape and vacuum away your popcorn ceiling
To easily remove your popcorn ceiling, start by taping the drywall knife to the mouth of the vacuum. This contraption will act as the scraper to remove the textured paint while the vacuum will suck everything up as soon as it drops. Next, file the corners of the drywall knife to create round edges. The smooth ends will prevent gashes in the ceiling. Then, you'll have to mist the popcorn finish with warm water to loosen everything up.
Now for the fun part. Run the drywall knife vacuum combo across the popcorn ceiling. The outer layer will peel off and fall into the vacuum. A slow and steady pace is ideal to ensure every lumpy speck is removed. Once all the kernels in your popcorn ceiling are gone, use a sander to smooth the area. Now, you're officially free of the vintage look. You can prime and paint the ceiling to finish off your new design. With wallpaper, tiles, panels, beams, or another element that will create a trendy look, you won't miss the popcorn ceilings at all.