How To Easily Remove Popcorn Ceiling
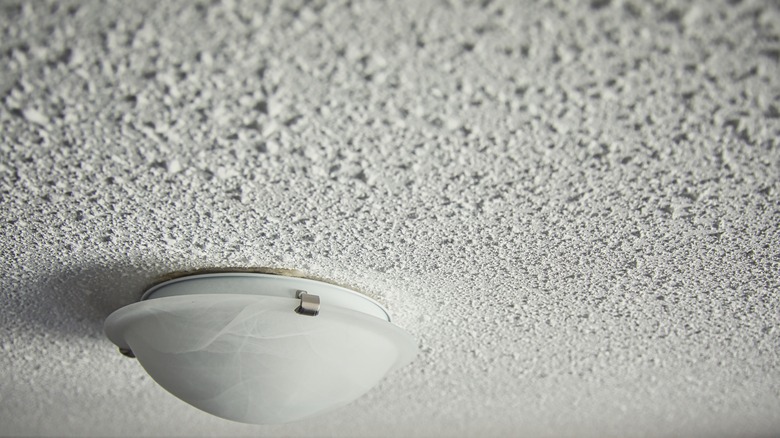
Let's face it, popcorn ceiling isn't the most visually appealing type of ceiling out there. However, there was a point in time when popcorn ceilings were highly in demand. According to Redfin, popcorn ceilings were all the rage from the 1950s to the 1970s due to the low cost of installation. In addition, the popcorn texture made it more challenging to spot damage to the ceiling and could cancel out noise.
However, the popularity of popcorn ceilings dwindled in later years due to how challenging they were to maintain. This type of ceiling was a magnet for dust and dirt, which is difficult to clean, and could cause allergies to flare up. Moreover, many popcorn ceilings back in the day contained asbestos, a mineral that causes lung damage when inhaled.
So, out with the old and in with the new, right? If you're considering replacing your popcorn ceiling in exchange for a modern smooth one, here's everything you need to know in a handy step-by-step guide.
Do a scrape test for asbestos
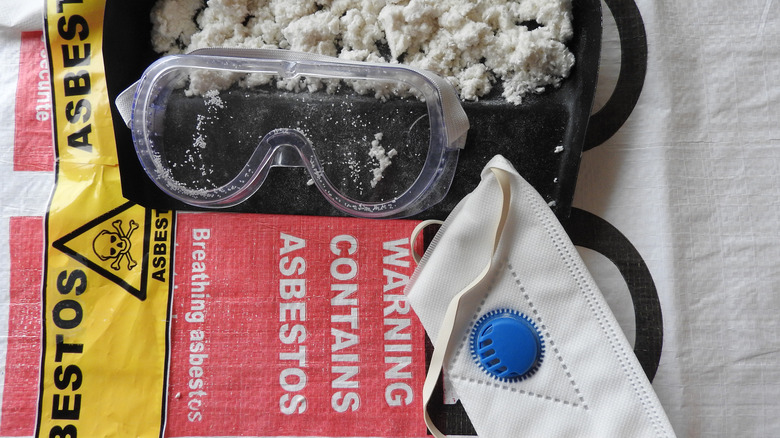
Before you start buying different tools at the hardware store and scraping the popcorn texture off of your ceiling, it's essential to conduct a scrape test. This is especially important to do if your home was built or remodeled during a time in which asbestos was commonly used, since as mentioned, inhaling it can be harmful to your respiratory health.
Testing your ceiling can be done with a simple asbestos test kit, which is typically sold in most hardware stores. Asbestos testing kits require you to collect a sample and send it to a lab. Many of these test kits will provide easy-to-follow instructions, sampling containers, and a pre-paid return envelope, explains Certified Kit. If you're uncomfortable testing the popcorn ceiling yourself, you can hire an asbestos testing company to do it for you. Once you're sure your ceiling is free of asbestos you can proceed to the next step and complete this project yourself. However, if the test result is positive, it is wiser to employ a professional to carry out the removal for you.
The necessary tools and protective equipment
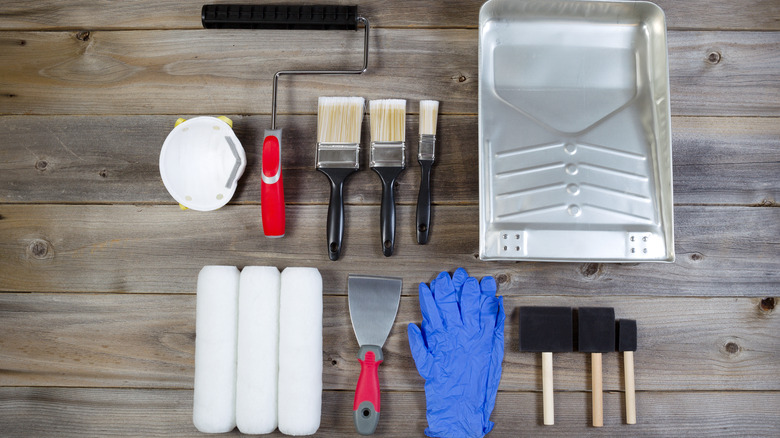
You can purchase many of the tools for popcorn ceiling removal at your local hardware store. The materials you'll need include a garden sprayer, drywall knife, plastic sheeting, painter's tape, and a ladder. You'll also need sandpaper, primer, and paint to give your ceiling a fresh and smooth finish. Keep in mind that you may need different tools for different types of ceiling finishes. According to Unika Vaev, there are many ceiling designs, for example, a high gloss ceiling has a shiny, reflective finish that may need more work to remove.
Even if your popcorn ceiling doesn't have asbestos, it's best to wear the right gear to protect your eyes, nose, and mouth. Doing so can ensure you don't breathe in harmful particles or that debris doesn't get in your eyes. Equipment that may be useful includes safety goggles and masks specifically designed for home projects such as popcorn ceiling removal. Don't be afraid to ask for advice on the best products at the hardware store. Yale School of Medicine suggests you wear eye and face protection any time you work in areas with flying particles and dust. Secure and snug-fitting goggles and masks can shield your eyes from old paint as you sand and paint splatters. Moreover, wearing a mask can stop you from breathing in the chemicals found in paint.
Prep your walls, floors, and furniture

Popcorn ceiling removal isn't a clean and simple project. In fact, this project is the opposite, so expect a bit of a mess. To protect your walls, floors, and furniture, it's a good idea to cover them in plastic for the duration of the project. Simply cut the plastic sheeting to your desired size and tape it to your walls and furniture using painter's tape. Alternatively, if you have furniture that can be moved out of the room, it's better to do so instead of covering them with plastic.
You can also use drop cloths or plastic sheeting on your floors. Not only does this create a barrier between your floor and ceiling debris, but it also helps with an easy clean-up. Keep in mind the canvas drop cloths aren't spill-proof since they're made with porous materials, so avoid large spills, warns Angi. If you have any light fixtures or ceiling fans, you can uninstall them temporarily or ensure their power is shut off completely.
Scrape off the popcorn ceiling
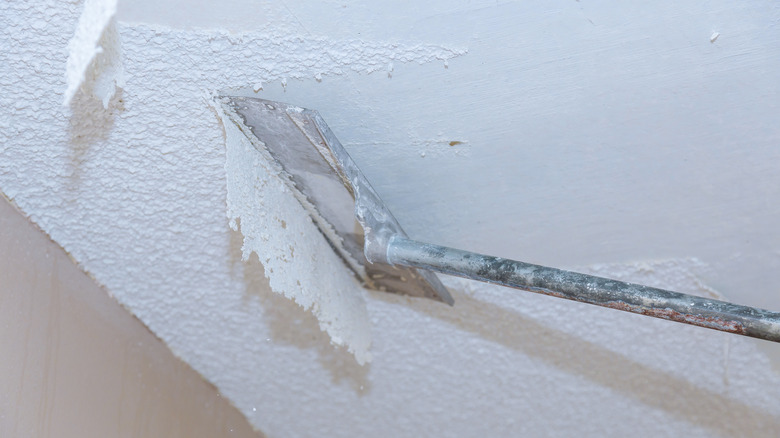
Finally, it's time to get to work and scrape off the popcorn ceiling. First, grab your garden sprayer and fill it with water. Then, working in small sections at a time, lightly spray your popcorn ceiling and wait 15 to 20 minutes before scraping. According to Valley Restoration and Construction, this allows the popcorn texture to be scraped off more easily. However, be careful when spraying your ceiling — the last thing you want is to damage the drywall behind the popcorn texture.
Once the popcorn texture is nice and moist, you can begin to scrape it off with a metal scraper. While it may be tempting to scrape off the popcorn texture as quickly and forcefully as you can, it's best to go slowly. Work in small sections and apply enough pressure to only remove the textured finish. If you notice that you are damaging the drywall, you can round the corners of your scraper with sandpaper.
Paint your popcorn texture-free ceiling
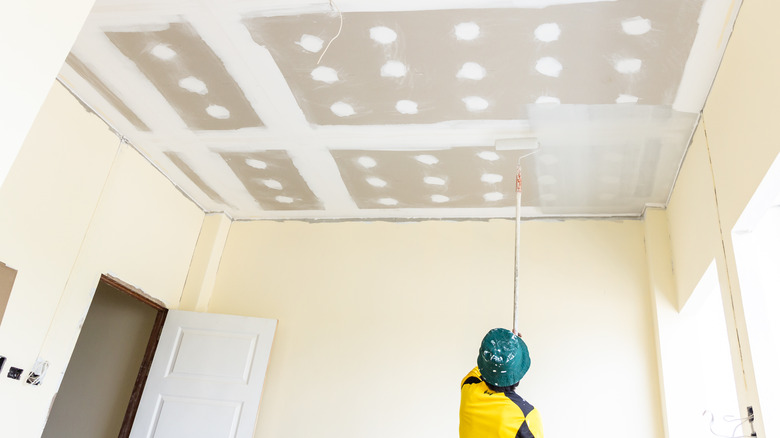
Once all the textured finish has been removed from your ceiling it's time to sand, prime, and paint. We recommend using 150-grit sandpaper to ensure a smooth finish on your ceiling. Remember to wear a respirator mask and goggles to block out debris. Make sure to identify any areas that need to be filled with joint compound (also known as drywall mud) before sanding. Moreover, close all windows and doors prior to sanding to prevent particles from flying everywhere.
After the prep work is completed, it's time to think about ceiling paint. According to Improovy, it's vital to use paint specifically made for your ceilings and not your walls. This is because ceiling paint often has a different consistency than wall paint, making it easier to apply. There are many types of paints that can help you spice up a boring ceiling, including matt, satin, and semi-gloss. Ultimately, the best ceiling paint for your project will depend on your budget.