The Best Way To Properly Prep Your Kitchen Cabinets Before Painting
We may receive a commission on purchases made from links.
Venturing into the world of home décor, you quickly realize that painting kitchen cabinets isn't merely a swish of the brush. Rather, it's like conducting a symphony, harmonizing the right colors and bringing together the right tools. This task outshines pricy alternatives in refreshing your kitchen's vibe, all while offering a wide latitude of customization. But beyond the abstract strokes of creativity, the heart of successful cabinet painting beats firmly within the rhythmic metronome of preparation. Your journey starts with assembling the necessary supplies, such as drop cloths, painter's tape, a ladder, a drill or screwdriver, wood filler, sandpaper, a shop vac, primer, paint, paint trays, a degreasing agent, and a putty knife.
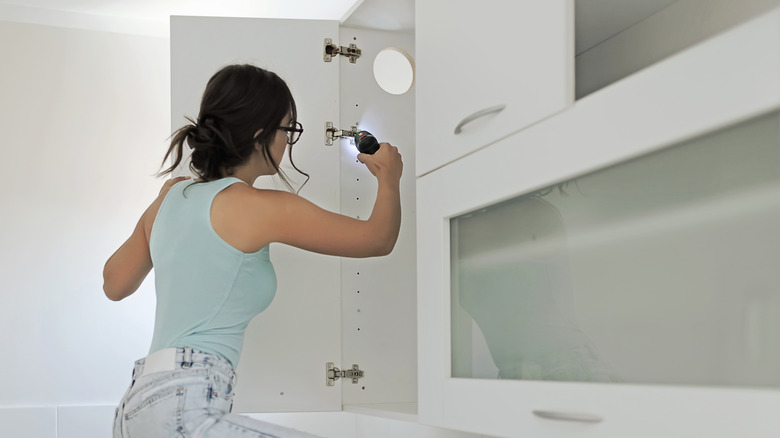
Next, evict any obstructive furniture and empty the cabinets. Shielding the kitchen flooring and countertops with rosin or tarp paper and masking the adjacent walls guarantees protection against wayward paint droplets. Your drill or screwdriver finds its calling in unfastening the cabinet doors, drawers, and all hardware. For smooth reassembly later on, label the cabinet doors and drawers based on their exact location (Think A1, B2, and so on). Kitchens bear the brunt of delightful homemade spaghetti sauce mishaps, and over time, this joyful mess can leave a greasy film on your cabinets that could compromise the adhesion of paint. Toss that grime out by scrubbing it with water and dish soap. But should the dirt persistently cling on, summon one of the kingpins of grime eradication — denatured alcohol.
Sanding and priming your kitchen cabinets
Sanding is akin to staging a coup d'état, stripping the glossy surface of its past glory. This task is best tackled with medium-grit sandpaper (120 and 150 grit), adept at readying the wood pores for a renewed bond with primer. If you doubt your arm strength, let an orbital sander like the GoGonova 3.0A (360W) Orbit Sander on Amazon be your superhero. While this tool can sand the daylights out of large and flat surfaces, narrow paneled sections are best left to the typical folded sheet of sandpaper. Post-sanding, whip out a shop vacuum with a brush attachment to oust the dust remnants. If machines aren't your cup of tea, achieving dust-free surfaces is still possible with a moist rag or tack cloth.
And for the unadvertised guests in the shape of dents and dings? Employ a wood filler to perform the appropriate repairs. Once this friendly helper dries off, sand it to match the rest of the cabinet surface and clean off the residue. The march towards the final stage begins next. Priming beckons with a preference for oil-based or shellac primer — latex isn't quite firm enough to prevent the wood's natural oils from gate-crashing the paint party. In this mission, roll the primer onto large surfaces; however, nested edges merit a paintbrush's attention. Thus far, your kitchen cabinets are one step closer to enlightenment, ready to don their new coat of paint.
Precautions and alternatives to consider
Adding new paint to the kitchen cabinets is thrilling and potentially unpredictable, and, much like preparing a meal on your hiking stove, it needs a plan B. That's usually a matter of pulling out your camping spirit and improvising an exciting, temporary cooking or counter corner somewhere else in your home. Nurturing ventilation (enter fans and open windows) helps reduce the clutches of bothersome fumes and dust. But should Mother Nature be in a benevolent mood and the weather's ideal, take your kitchen cabinet makeover outdoors for a real plein air experience. Talking about plein air, avoid a cavalier attitude — safety goggles, dust masks, and gloves ought to be your besties.
Picture a patch test as your dress rehearsal, flagging potential mishaps before the big primer performance. A pre-stain wood conditioner will suffice for cabinets made of softer, more porous wood varieties like pine, spruce, juniper, or redwood. It ensures the primer sinks in evenly, saving you from a blotchy showing. Despite the excitement, respect your primer's drying time: Oil-based primers dry in 30 minutes and four hours, while shellac variants require 30 to 60 minutes. Insufficient drying can lead to dire sequels, like peeling and chipping. Finally, the noisy orchestra of the orbital sander or spray gun might demand scheduling for when you won't shatter the tranquility of your co-dwellers.


