Keep Pests Out Of Your Garden With This Simple DIY Fence
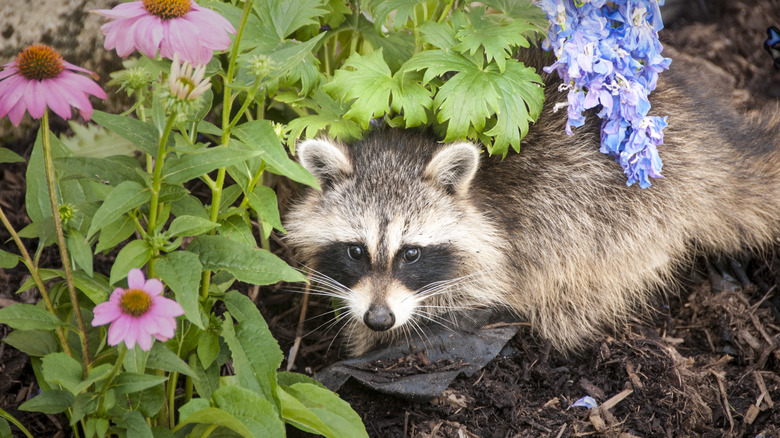
When you take the time to plant, care for, and grow vegetables in your garden, you hope to use them to make your favorite meal. However, when animals like rabbits, deer, raccoons, etc., invade and destroy your hard work by eating what you've grown and stomping on the soil, you have to start from scratch. While you can use many home remedies to deter pests, sometimes even the spices in your kitchen cabinet aren't enough to keep them away. Instead of letting the wildlife win, DIY a simple garden fence to protect your plants. TikTok user @hollymt98 built a tall fence with wooden poles, wire netting, and two wooden door entrances.
A fence around your garden creates the perfect barrier to ward off pests. Even if you don't live near any wildlife, a garden fence can still benefit your home if you have domestic animals like dogs that enjoy running around the backyard. So, if you're tired of placing random household bathroom items in your garden, like Irish Spring soap, to repel animals, it's time to DIY a garden fence.
Materials needed and first steps

The materials you'll need for your garden fence will be enough to fit around a 10 x 8-foot space in your backyard. If you have a larger area, you can definitely adjust the measurements for each item to ensure it fits your garden's size. Everything listed can be found at Lowe's. You'll need one pack of 24 wooden sticks that are 36 inches tall and two rolls of 3 x 15-foot-tall black plastic netting for the surrounding fence. You'll also need a couple of hinges for the doors to enter and exit the garden, one small door lock, eight screws measuring 1 to 1 ½ inches long, a few nails for the fence door, a hammer, a leveler, and a staple gun.
Before starting the fence, build the gate door to have it ready to install. You'll have a few pieces of wood left over, which you can use for the door. Cut two wooden pieces to measure 24 x 1 inches long and two other wooden sticks to measure 30 x 1 inches. After the pieces are cut, nail each one together to create a square. Add half the hinges to the door, leaving about 1 to 1 ½ inches of space between each one. As you're building your fence, you'll add the other hinges. Set your door aside for the meantime, and let's start on the barrier.
Construct the rest of the fence
Once you've gathered all of your materials and built your gate, take everything outside and place it near your garden. Start by installing each of the wooden poles to make a base. Place one stick in each corner of your garden, hammering it at least 6 to 8 inches deep into the soil. You'll need to adjust the depth of the wooden stick if your garden is growing on a slope. Use a leveler to help keep everything balanced.
After installing the wooden sticks in each corner, measure 1 ½ feet from one pole and insert another wooden stick 6 to 8 inches into the soil. Repeat the step until you run out of space to place more sticks. Add your door after the third or fourth pole on the longest side. Use an extra stick to connect the remaining hinges to the door. Place another post on the other side of the entrance to install the lock. Next, staple the black net to each wooden pole. You'll need help from someone to ensure the net stays neat and straight as you staple it into the wooden sticks. Finally, hammer the staples to secure them, and you're done! You don't have to worry about your pets or any roaming wildlife destroying your garden ever again.