Give Your Hydrangeas A Healthy Start With This Crucial Planting Tip
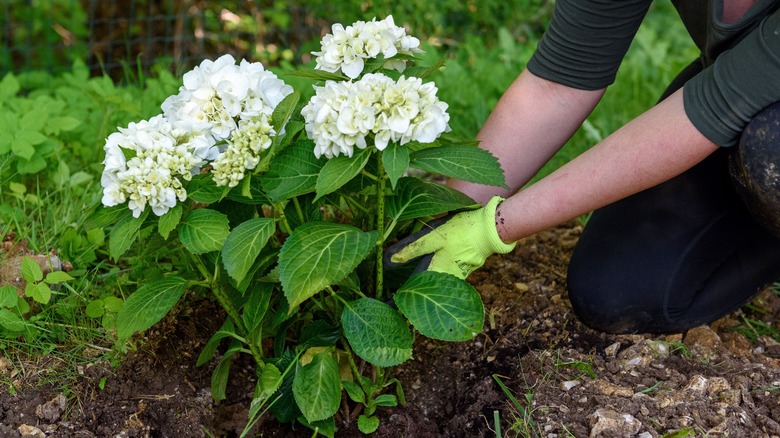
Planting a hydrangea shrub requires some preparation. To give your hydrangea the best chance of thriving in its new home, one crucial thing needs to be done: leaving a few inches of space between the edge of the plant and the edge of the hole, to give the roots a good healthy start.
Improper planting may cause a shrub to fail to thrive or even die. Sometimes plants bought at nurseries become rootbound in their containers, are not watered consistently, or have other issues that mean they need some extra TLC. You can provide this extra attention and care by making sure the new "home" for your hydrangea is the right size, shape, and depth to give the roots enough room for healthy development. The reason this step is so important is that a hydrangea's root system needs ample space, drainage, and access to soil nutrients in order to become established.
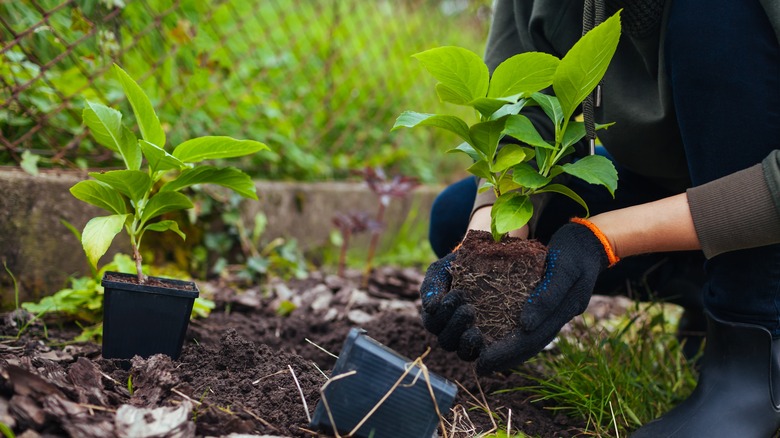
Removing a plant from its container and planting it in the ground can cause a bit of stress to the plant, so be sure to do all your preparations ahead of time so the plant can go into its new spot as smoothly and efficiently as possible. There are a few very simple tips for doing this effectively. To start with, before digging, get some rich, well-draining organic garden soil and some natural mulch. After removing the hydrangea from its container, loosen the soil gently with a fork tool in case the roots have gotten tangled or rootbound.
Planting your hydrangea
Try to plant your hydrangea at the beginning of the growing season in late spring. You can also plant in the fall, and might get a good deal at a clearance sale at a nearby nursery. Extreme temperatures can stress your hydrangea, so avoid planting on a hot day or if the overnight temperature will drop below 50 degrees Fahrenheit.
Dig the hole big enough so that the root ball will have at least a hand's width all the way around the circumference: maybe twice the diameter of the container. The root ball should rest about 3 inches below the soil surface. This step is important, to make sure the hydrangea will have adequate drainage and the soil surrounding it is loose enough to let the roots establish themselves.
Fill in with soil, then add a light layer of natural mulch (such as pine bark): this will protect the root system. Water your newly planted hydrangea thoroughly once a day until it is established, which takes a week to 10 days. If you notice the soil sinking down a bit as the plant settles into its new location, you can add more. Pat the new layer of soil down gently and make sure the soil level is evenly distributed around the base of the plant.