The Correct Way To Remove Ceramic Tiles (It's Easier Than You Think)
One of the most common types of hard flooring is ceramic tile. It has a significant level of durability, while having a far lower cost than stone. It also can appear in a range of colors and pattern designs, giving homeowners plenty of choices for making use of it. However, it isn't perfect for every situation. Perhaps you are trying to sell your home, and you're finding that ceramic tile flooring is a major turn-off for potential buyers. Maybe your current floor is showing its age or has some damage, or you want hardwood and you don't want to install wood flooring over ceramic tile. At that point, you're probably ready to just investigate how to remove the tiles you currently have. Fortunately, removing ceramic flooring is not as daunting as it seems, and you can do it with just a little brute force, know-how, and time.
Before beginning the work, it's important to understand a few things. The shards of ceramic tile are extremely sharp and can cut your skin. Although some tiles will come out in one piece, some may shatter. You should have work gloves available and safety goggles to protect yourself.
As you work around the ceramic and the mortar used to secure the pieces to the subfloor, you also may generate dust. Although you may not notice this kind of dust like you would when removing plaster, it can be dangerous for you to inhale.
Preparation steps for removing ceramic tile from your floor
As with almost any home improvement project, this job goes far smoother when you have the right tools on hand. For a small job, having a hammer and a large chisel should do the trick. For larger jobs, you may need a long pry bar, a sledge hammer, a floor scraper, a hammer drill, a multi-tool, and an oscillating tool. Have a trash can and sturdy trash bags available to place the shards in while you work.
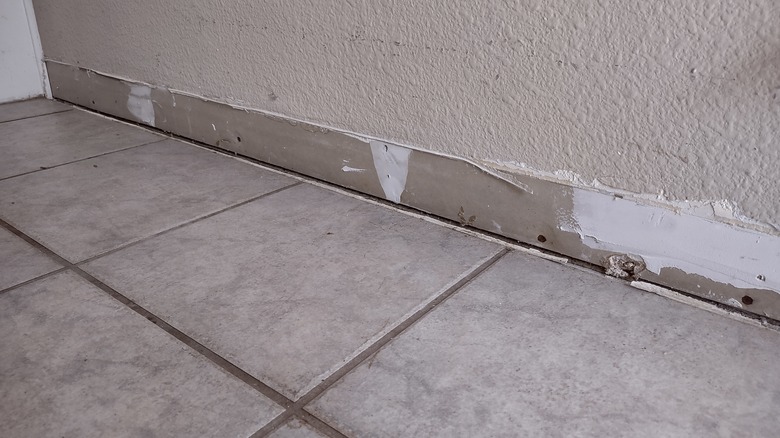
An installation of ceramic tile may go underneath the baseboards. If so, you might need to pry the baseboards loose before removing the ceramic pieces. However, you also can begin taking out the ceramic tile by hand to see whether it will slide out from underneath the baseboard without having to remove it. If you will be installing another type of flooring after removing the ceramic and it's a different thickness than the tile that you're removing, take out the baseboard so you can reinstall it properly afterward.
If you choose to remove the baseboards, gently insert a pry bar behind one end. Wiggle it slightly to loosen the trim material. Move several inches down the piece of baseboard and use the pry bar again. Continue doing this until it is completely loose. Mark the back of each board so you know where it goes when it's time to reattach it.
How to begin removing the ceramic tile
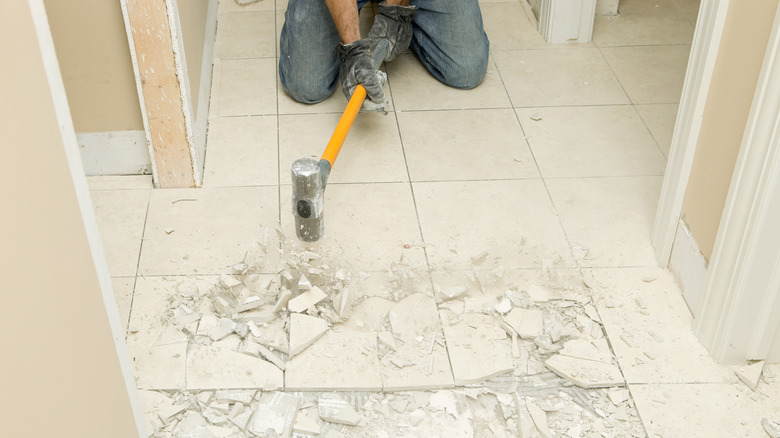
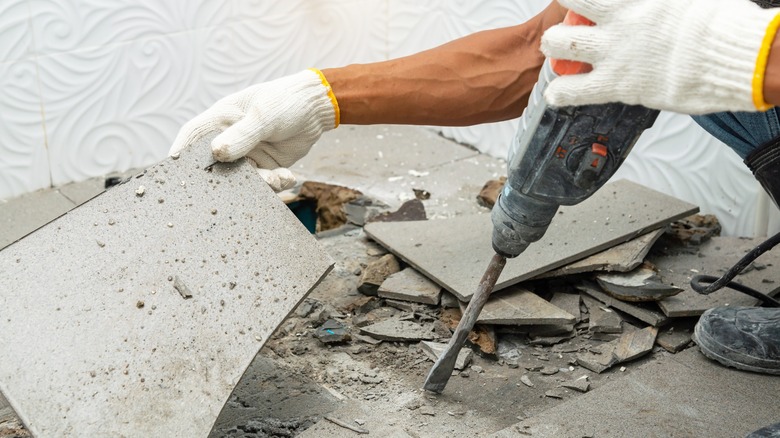
With all the prep work completed, you can begin removing the tile. Use the chisel and hammer to try to pry up an edge of one of the tiles. If some of the ceramic is already loose or has broken pieces, this simplifies the process. If not, you can try using the chisel and hammer to go along the grout line between tiles to break the grout loose. You then can try to pry up the ceramic. If none of these techniques are working, grab a sledge hammer or a hammer drill and work one of the edges of an individual tile. See if you can break loose a large chunk, gaining access to the underside where it is connected with mortar to the subfloor. Use these heavy tools carefully so you don't damage other items in the space.
With an edge exposed, you can now use your pry bar. Slide it under a piece and try to pull it loose. You may need to nudge it underneath using the hammer. Otherwise, use the hammer drill. Continue working across the space until you've popped loose all of the pieces.
You likely will have mortar or adhesive still stuck to the subfloor. Use the chisel and hammer to pry this hardened adhesive loose. Try to make the subfloor as smooth as possible. A floor scraper, an oscillating tool, or a multi-tool may help with this process.