DIY Wood Butter That Will Extend The Life Of Your Wooden Kitchen Items

We may receive a commission on purchases made from links.
Wooden kitchen products are prized for many reasons, from their gorgeous presentation to their ability to enhance the cooking experience. Whether using wooden cutting boards, utensils, serving bowls, or rolling pins, we find ease in them as they don't overheat like plastic and metal, don't have chemical reactions with certain types of foods, and don't scratch up other cookware. But, unfortunately, wood doesn't always last quite as long as other materials and needs routine maintenance with wood butter to keep it in tip-top shape. Wood butter keeps wooden items from drying out, which leads to damage. It also helps repel moisture that can get trapped in the porous material and cause deterioration.
While you can hop online and buy wood butter with a simple click, making your own at home will give you more bang for your buck and ensure that only a natural solution is being applied to items you use daily on your meals. This DIY wood butter needs only two ingredients and will take less than an hour of your time from start to finish. As a result, you can say goodbye to the unwanted cracking, warping, splitting, and discoloration so many of our wooden items see and instead enjoy them for years to come.
Gathering your materials
Before starting your DIY wood butter, have all the materials gathered and ready to go. For the solution itself, only two ingredients are needed: beeswax and mineral oil. Beeswax is easy to find in any craft section at local shops; otherwise, Amazon always comes in handy. You'll want at least 4 ounces of dry beeswax. The mineral oil needed, at least 16 ounces, is typically located in the pharmacy aisle of the store, but again, Amazon has what you need if it's hard to find. A few drops of vitamin E oil can also be added to prolong shelf life, and all measurements can be adjusted to fit however much of the product you'd like to make.
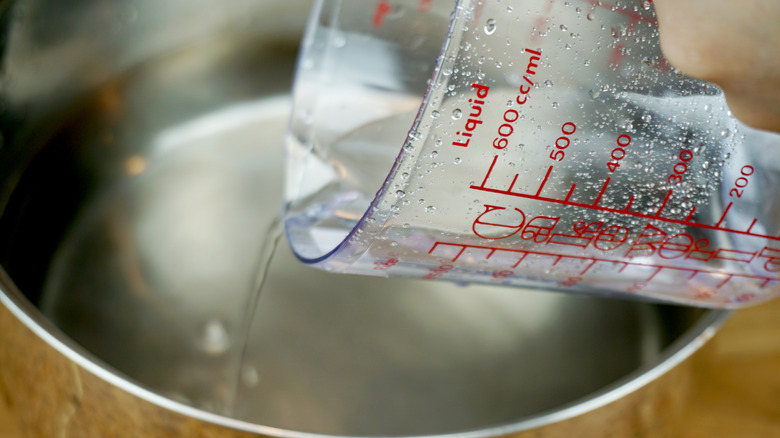
Aside from the two ingredients, you'll want to gather some items to aid in the DIY process — much of which you'll likely already own. Collect two saucepans, a 2-quart measuring cup, a funnel, and a towel. A large glass jar will also need to be on hand, or numerous small ones, depending on how you want to divide the butter once it's finished. Give yourself a clear space with access to a stove to perform the DIY, and remember that melted beeswax can get messy and be hard to clean once it dries. You may want to reserve the measuring up and funnel used in this project for when it's made again in the future, as they may be hard to clean and completely return to their former glory.
Making wood butter
Once you've gathered the ingredients and supplies you'll need, start by filling up one of the saucepans with water and bringing it to a boil. When the water reaches a rolling boil, place 4 ounces of beeswax into a 2-quart measuring up or a 1-quart jar, and then place the jar into the heated water. While waiting for the beeswax to melt, grab the other saucepan and fill it with water. Set this pan on low heat and place the oil bottle into the water. If the bottle exceeds the ounces needed, measure the correct amount in a glass container. The oil only needs to be warmed up enough to mix easily with the wax, so be careful not to overheat it.
With the beeswax melted and the oil warmed, remove both from the stove and gently mix the oil into the wax. When the mineral oil is fully incorporated into the beeswax, you can begin pouring the mixture into your glass jar or jars, using a funnel if needed. The measuring cup will likely be hot, so use a towel or oven mitten when pouring. At this point, all that's left to do is allow the butter to cool and harden before using it. To apply the wood butter, ensure the items are disinfected and fully dry beforehand. Then, lather the solution onto the item with a towel or your hand. Let this sit overnight before wiping away any residue, and use it as needed.