7 Beyond Genius Ways To Remove Scratches From Your Ceramic Tile
We may receive a commission on purchases made from links.
In your home, the aesthetic appeal of ceramic tiles can be a significant selling point. They're both functional and stylish, lending a sleek and modern look to kitchens, bathrooms, and other areas. They consist of clay and durable minerals, typically topped with a glaze to add color and pattern. This composition makes them resilient to moisture and relatively easy to maintain. Yet, as robust as they seem, ceramic tiles are not immune to scratches. The surface, especially if it's not glazed, is more susceptible. Over time, wear and tear can leave unsightly marks that mar the pristine surface. Luckily, there are multiple ways to tackle those irksome scratches on your ceramic tiles, from sandpaper to scratch repair creams. Each method has pros and cons, so you'll likely need to experiment a bit to find the one that works best for your situation.
Different methods will also work best for different kinds of scratches. While sandpaper might be best for small surface scratches, you might need something a little more heavy-duty for deeper marks, such as oxalic acid. Before worrying about the cost of replacing tiles or living with a less-than-perfect floor, remember that you can treat many of these scratches right at home.
Baking soda: A household hero for minor scratches
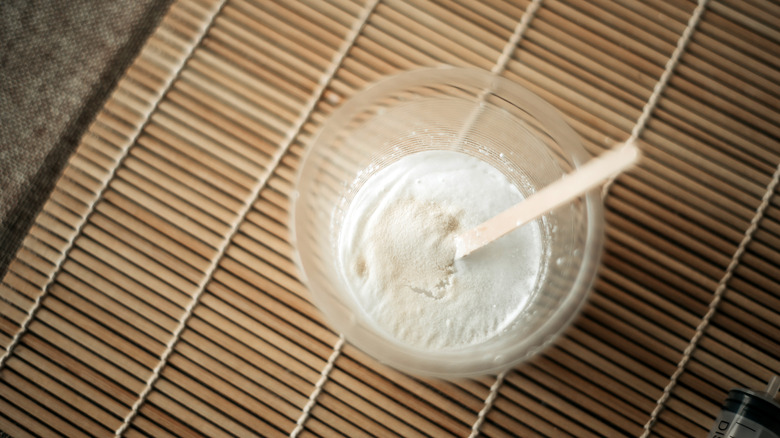
Baking soda is primarily comprised of sodium bicarbonate, a compound that acts as a mild abrasive. This has the ability to fade scratches on ceramic tiles. When you make a paste of baking soda and water and rub it onto a scratched surface, these particles help to smooth out minor imperfections.
To use it properly, first, create a paste by mixing baking soda with a dash of water in a container. The consistency should be thick enough to stick but still easy to spread. Pick up the paste with a damp, non-abrasive pad or a soft-bristled brush, and carefully spread it onto the scratched area using gentle, circular motions. Do so for about three minutes. After applying, rinse the tile well and dry the area. Repeat the process until you have your desired results. Just a heads-up: Baking soda is mildly abrasive. While it's generally safe for ceramic tiles, it can cause more scratches if you scrub too hard or for too long. Always test a small, inconspicuous area first.
Oxalic acid: For stubborn scratches
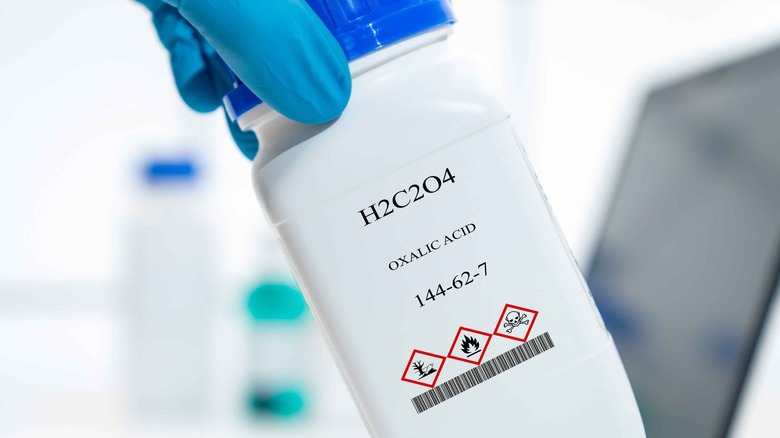
So, you've tried a few remedies, but those persistent scratches are still staring back at you. Enter oxalic acid, a powerful organic acid commonly used in specialized cleaning products. It's a mild but effective way to remove scratches that just won't budge. For example, it's a main ingredient found in Bar Keeper's Friend, which buffs out scratches in everything from porcelain plates to stainless steel sinks.
Begin by making sure your ceramic tile is as clean as possible. Use your desired tile cleaner for this step, and ensure the tile is dry before proceeding. Now, grab a sponge, apply the oxalic acid to the tile, and gently rub it over the scratched area. The trick here is to use just enough pressure to let the oxalic acid penetrate the scratch, but not so much that you risk damaging the tile. Circular motions work best for an even application.
Once done, wipe the area and check the scratch to see how much it has lightened or if it's gone altogether. Give it another round of oxalic acid treatment if you're not satisfied. Be mindful, though. The last thing you want is to unintentionally remove the polish or finish from your tiles. Always read the manufacturer's recommendations and apply the acid to a discreet test area first.
The dental hero: Toothpaste's surprising role in tile scratch repair
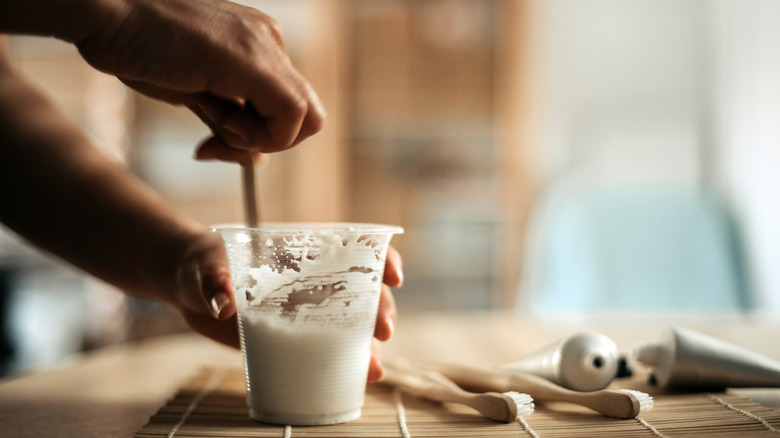
Believe it or not, that tube of toothpaste in your bathroom does double duty: It's not only a warrior against cavities but also a handy tool for scratch removal on ceramic tiles. Wondering how that works? Toothpaste contains a blend of abrasives, humectants, and detergents. The abrasives — often calcium carbonate or silicates—are the heroes here, softly eroding the scratch's jagged edges, which lessens its appearance.
Just remember, it's all about the technique and the type of toothpaste you use. Opt for a non-gel toothpaste and squeeze out about half the amount you'd normally use on your toothbrush. It doesn't take much to do the trick. Apply the toothpaste directly onto the scratch and use a damp cloth to gently rub it in. As mentioned, it's the abrasives in the toothpaste that are doing the work, so make sure you give them enough time to smooth out the surface. Small, circular motions are effective here, ensuring even coverage and preventing any further damage.
However, keep in mind that using too much or rubbing it for too long may lead to a dulled finish, requiring you to apply a separate shine-enhancing polish like Rejuvenate All Floors Restorer to restore the tile's original luster. However, if you wear off the entire glaze, you won't be able to restore it. Instead, you would have to reglaze it or replace the tile, so exercise caution.
The unlikely marvel: Using brass polish to fix tile scratches
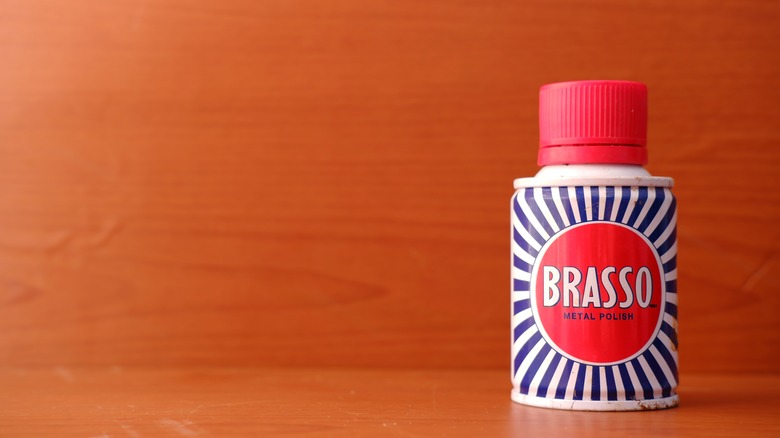
Brass polish, typically used for shining up metallic surfaces, can be your go-to solution for surface-level ceramic tile scratches. This multipurpose substance combines fine abrasives like persulphate and nourishing oils like tall oil fatty acid. The abrasives do the initial heavy lifting, evening out the scratch, while the oils fill it in, leaving a smooth, unblemished surface.
To remove a scratch, take a cloth and saturate it with brass polish. Now, rub the scratched area with moderate pressure. The key is to be firm but gentle. After massaging the polish in, add a second, generous layer. Rinse it clean, and your scratch should be gone. A word of caution: Using brass polish on ceramic tiles carries minor risks. If your tiles are white, it may leave residues or alter the color. Since brass polish is designed for metals, it's always best to test on a small area first.
Nail polish: A quick fix for light scratches

Small chips in tiles, especially along the edges, can be a real eyesore. This is particularly true for darker tiles, where the lighter ceramic or porcelain underneath becomes glaringly obvious. Here's an unconventional but effective remedy: nail polish. Made of polymers in a solvent base, nail polish acts as a competent filler for those minor flaws in your tiles.
First things first, clean the problem area with a bit of soap and water. Make sure it's dry before you proceed. Now, select your nail polish. Try to find a color that closely resembles the tile. Gently brush a layer of nail polish over the blemish. Let it dry, and then evaluate. Don't hesitate to add another coat if the chip or scratch is still visible. Continue this process until you're satisfied with the appearance.
But what if you're dealing with a more substantial chip? Here's where epoxy comes into play. Fill the chip with a tile-compatible epoxy such as Gorilla Clear Epoxy Adhesive and let it dry. Once it's ready, overlay it with nail polish to blend it into the surrounding tile.
Ceramic tile repair filler
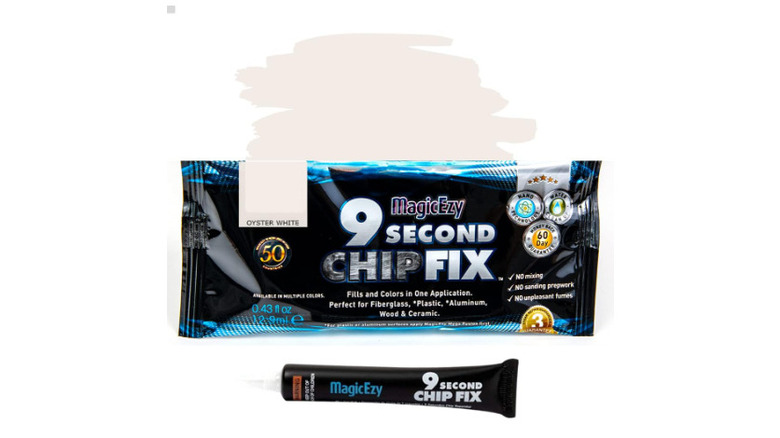
A tile repair filler is a specialized product designed to fix chips, cracks, and other imperfections in various tiles, whether ceramic, porcelain, or stone. It acts as a specialized sealant that can protect and enhance the appearance of ceramic tiles. Brands like MagicEzy offer products infused with nano-coating technology, providing a hard, yet thin protective layer over the tile surface. This coating doesn't just add a barrier against water; it also effectively repairs scratches and minor surface imperfections. When you apply the product, the nanocrystals in the formula bond directly with the ceramic material, filling in scratches and creating a smoother surface.
The product typically comes in a tube for easy application. To use it, squeeze a small amount of filler onto a putty knife or a similar tool, and then carefully spread it into the damaged area. Make sure you apply enough product to fully cover the chip or crack, but avoid excessive application to prevent an uneven finish. After applying, smooth out the filler with your putty knife or a flat-edged tool. This ensures that the product lies flush with the tile surface. The filler generally starts to harden within a few minutes, but check its specific instructions for the exact curing time.
Scratch repair kit: The last resort
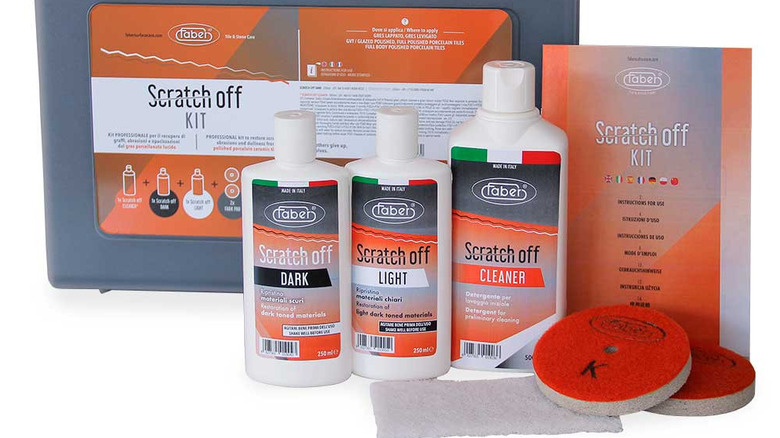
Sometimes, despite your best efforts, conventional methods just don't cut it. It might be time to bring out the big guns in these cases: a specialized scratch repair kit like the Faber Scratch Off Kit designed just for tiles. Unlike the tile repair fillers, these kits don't use nanotechnology. However, they are not your run-of-the-mill cleaning solutions; they're engineered specifically to tackle scratches on various tile surfaces.
First off, make sure you select a kit that matches your tile type. Ceramic, porcelain, and natural stone tiles each have their own unique needs. These kits offer cleaners and restoration products — everything you need in one convenient package — so it's important to choose the right one. Once you've got your kit in hand, it's not a simple spray-and-wipe kind of deal. You'll need to follow the manufacturer's instructions to a tee. Use the pad provided in the kit to add the cleaner to the tile to properly clean it before adding the restoration product. Let it penetrate for 15 minutes before wiping it clean. Next, apply the restoring paste and spread it onto the tile. Then, grab a tile polisher, pop on the course pad provided with the kit, and use it to buff the paste into the cracks using a straight back-and-forth motion. Do this until the tile is completely dry, rinse off the remaining residue, and buff it clean with a cloth.