The Secret Weapon You Need To Caulk Your Bathroom Like A Pro
When remodeling a bathroom, you may focus on what parts of the job you can do yourself to save some money, versus the jobs where you need to hire a professional. Even if you don't want to tackle reworking the plumbing or installing a shower, you may be willing to try some smaller jobs, like painting the walls or caulking around the shower and toilet to prevent leaks. When you are adding the caulk yourself, though, you need to take the proper steps to create a smooth finish that looks professional. Although there are a few different hacks to create a seamless caulk application, one of the best is adding a spritz of denatured alcohol — the alcohol prevents the sticky caulk from adhering to your finger as you smooth out the bead, preventing lumps and holes.
Creating a smooth line of caulk around the bathtub, shower, and toilet in the bathroom is about more than just aesthetics. When everything is smooth, it creates a seal that prevents water from seeping underneath. If you have a lumpy line, not only does it spoil the appearance, but you could also end up with weak spots that could tear under stress or that could leak as the material ages and loses elasticity.
Tips to apply and smooth out a bead of caulk properly
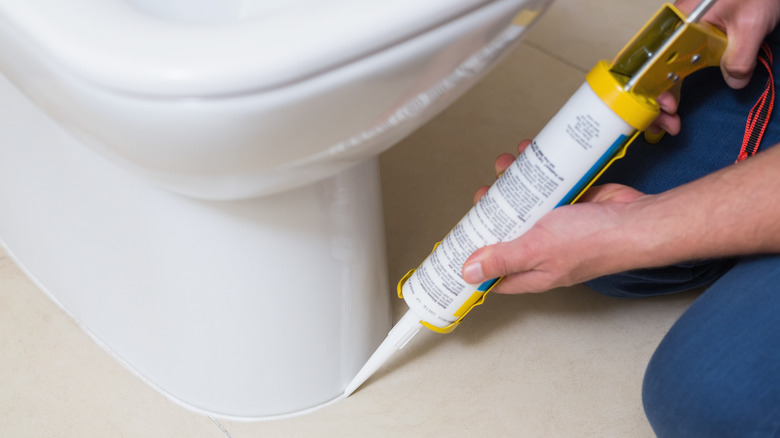
Before attempting to create the seal around appliances in your bathroom, collect the tools that you will need. Start by choosing the perfect caulk for the job. Be sure to select a product that specifically says that it's usable in a bathroom, such as silicone caulk. Also, things go a lot smoother if you have a gun. Finally, cut the tip at about a 45-degree angle and create a hole of about 1/8 of an inch in diameter for the perfect-sized bead, giving an even and smooth application. You can also sand the cut section to make the plastic on the end smooth.
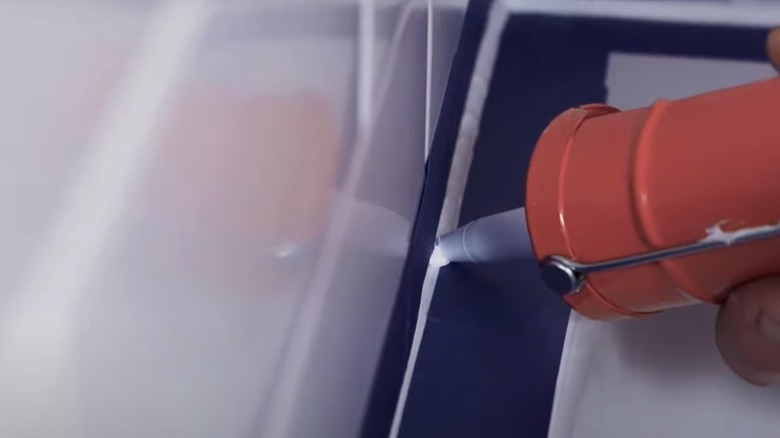
Now use the gun to inject a bead of caulk along the joint where you need to provide water protection. Try to apply the bead as evenly as possible, as this will reduce the amount of smoothing work you must do. With your denatured alcohol in a small spray bottle, spritz over the top of the bead. You only want to apply it with a fine mist — so, don't overdo it. Now use your finger to smooth the bead, dragging it from one end of the bead to the other. The alcohol layer may evaporate, so try to work quickly after you spray.
Why does denatured alcohol and a smoothing tool help with caulk application?
Silicone caulk is soft and pliable immediately after you apply it. It can take up to 48 hours to become completely waterproof through curing. Before it cures, caulk naturally is sticky. This helps it adhere to the surface tightly, so it won't allow water to seep underneath, but it also means the material will stick to your finger as you try to apply it and smooth it out. The denatured alcohol prevents the caulk from sticking to your finger, reducing the amount of mess, by acting like a lubricant. Should you end up with some excess caulk, you can dip a rag in the denatured alcohol to help with cleanup as well.
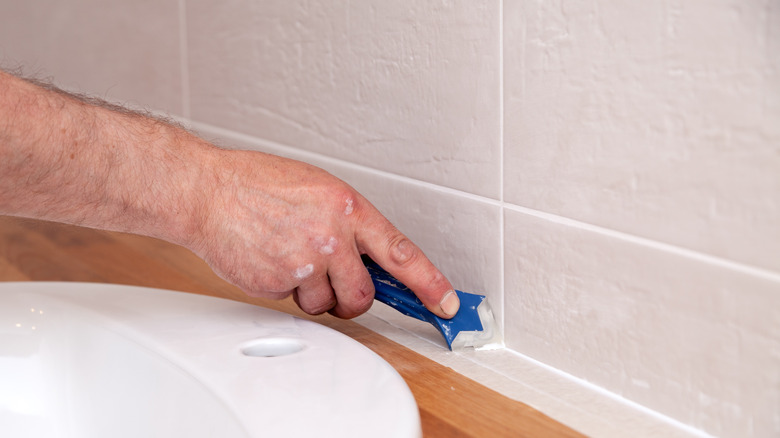
If you don't have denatured alcohol available, you can try using a few other items to reduce the stickiness of the material as you use your finger to smooth out the bead. You can use water to moisten your finger before running it over the top. Another option is to make use of a caulk smoothing tool, which is relatively cheap at Lowe's. This tool usually consists of a plastic, rubber, or stainless steel tip, ensuring that it won't stick as you're using it. You could even use a small metal or plastic kitchen spoon in a pinch.