Mistakes Everyone Makes When Planting Daffodils

After a long, dreary winter, daffodils are always a welcome sight – the most cheerful blooms to signal spring's arrival. If you've been eagerly watching your garden bed for those happy bursts of yellow (or white pink or orange!), but nothing appears, a few things may have gone wrong during the planting process.
While this is certainly a disappointing pill to swallow, the mistakes can be easily corrected when you're ready to plant again in the fall.These powerhouse perennials are hardy, forgiving, and will reward you with years of consistent blooms. There are thousands of cultivated varieties from which to choose, and their bulbs are rodent and deer resistant – an impressive claim that can't be made by their tulip friends. Whether you want to plant them in containers, around bushes, or along your borders, read on to troubleshoot issues, discover common missteps, and learn how to grow the most delightful daffodils.
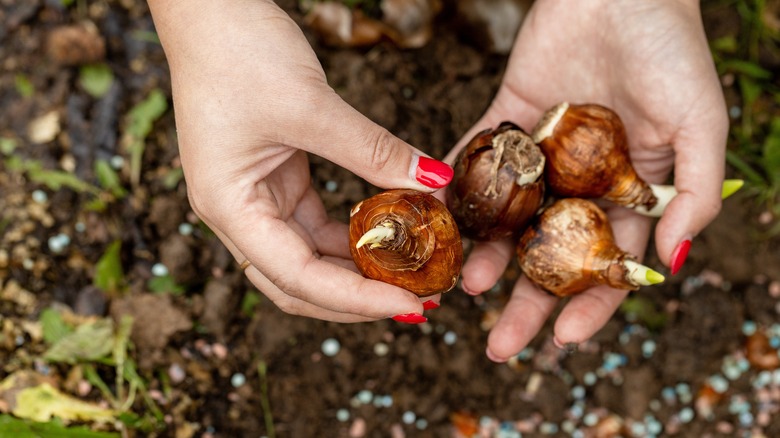
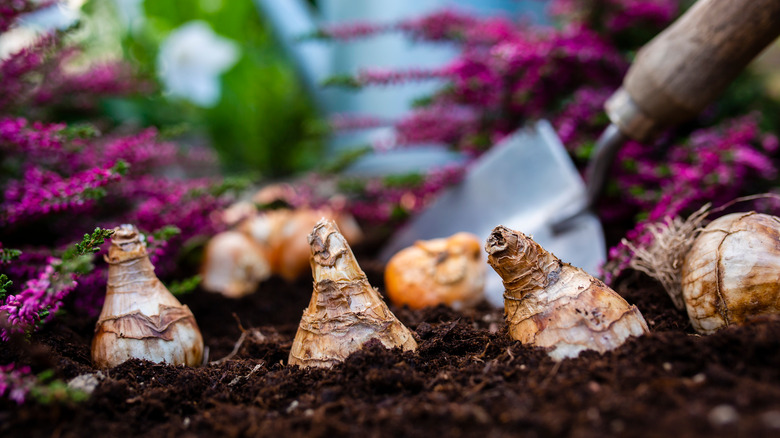
Using damaged bulbs
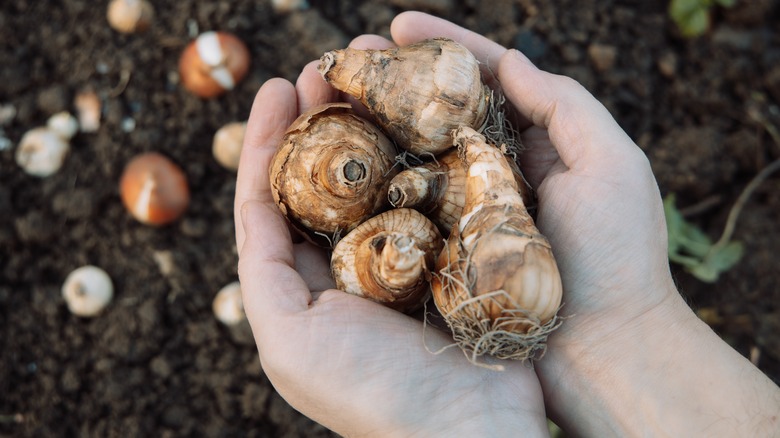
In a perfect world, quality control would be foolproof and no squishy or diseased bulbs would ever find their way into your bag from the garden center. Unfortunately, this happens often, even from the most reputable nurseries. While unhealthy bulbs may not grow at all, there are several other possible scenarios as well. Shoots can still appear, but they'll die shortly after. You may also see yellowing foliageor shoots that do not produce any blooms.
It's important to examine your selection carefully before planting. Do a touch test with each bulb by gently squeezing – it should feel firm, never soft. Toss any with a mushy texture.
Next, examine the color. You're looking for a healthy, light brownish-white from top to bottom. If you see dark brown spreading from the base of the bulb, it's very likely a fungal disease called basal rot. Upon peeling back some of the skin, you'll see a pink or white fungus. This is especially common when they've been sitting in storage for too long. It's important that you don't plant these diseased bulbs because basal rot can survive in your soil for yearsand infect future plantings.
Incorrect planting depth
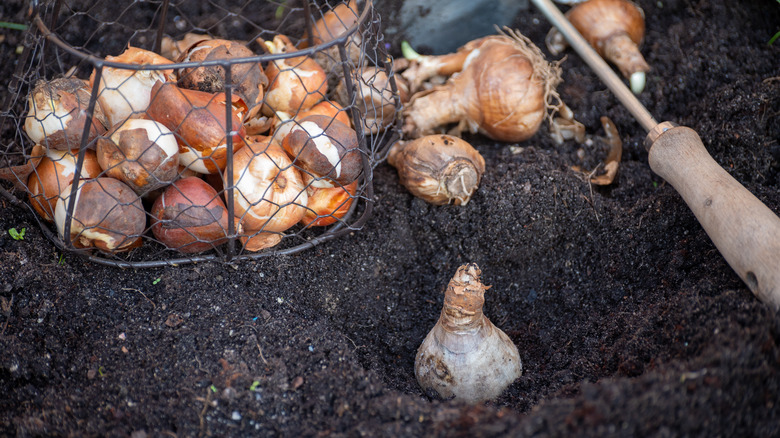
As you begin to fill your garden beds with sunshiny flowers, it's important to dig down deep enough for the bulbs to thrive. Holes that are too shallow won't offer much-needed protection from frost heave – a phenomenon that occurs when ice in the soil shifts and creates too much pressure in the soil, leading to compaction. Additionally, being too close to the surface makes the delicate bulbs more susceptible to damage from gardening tools like rakes or spades.
To avoid this mistake, dig the hole approximately two inches deeper than the length of the bulb. As you place each one in their hole, make sure the pointy end is always pointing up. Some exceptions to this include extra large bulbs – they'll need a deeper hole, of course – and if your soil is sandy, you'll want to dig more deeply than our recommendation. The opposite is true if you have heavy, clay soil. In this case, make the hole more shallow because the bulb will be fighting an uphill battle to break through to the surface.
Planting too late in the season
If you're waiting in vain for your flowers to appear, think back to when you planted them. If the time has come but no shoots have surfaced, or the shoots are small and unhealthy, there's a chance that the bulbs went into the ground too late in the season. Like many varieties of spring bulbs, daffodils need 12-16 weeks of chill time (this could vary by a week or two depending on your growing zone). Chill time refers to a necessary dormancy period where the temperature falls in a range from 35-45 degrees.
Maybe you lost track of time and planted a little too late in the fall. Don't despair – your flowers still have a chance! As delicately as possible, remove the dirt around your bulbs. If they have small green shoots extending from the tip, you're in luck! Cover them back up with dirt and wait for the delayed blooms.
However, if they still look exactly as they did when you first planted them, you may want to dig them up and transfer them to pots. Place the containers somewhere dark and cool, like a cellar, where they can chill undisturbed. Once shoots appear, you can move them back outside into the ground or keep them in sunny spots throughout your home.
Not enough sunshine
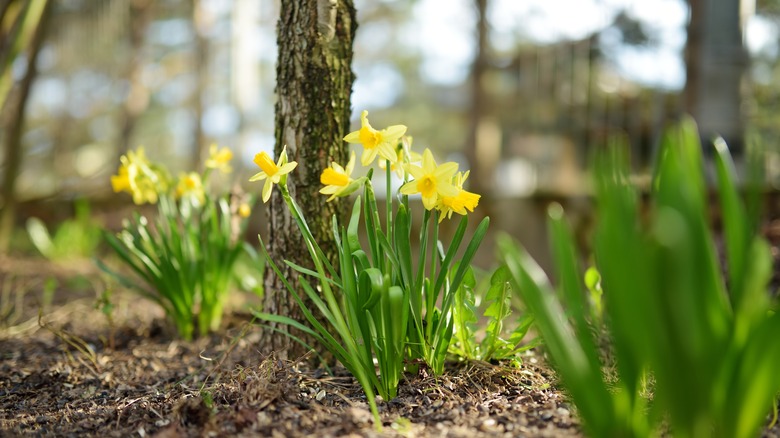
Few things can cheer up a big shade tree like a cascade of daffodils at the base of its trunk, but as lovely as it sounds, you may want to rethink this shady locale. If your bulbs are already in the ground and you'd rather not risk transplanting, be forewarned that you may not see many blossoms come spring. Instead, expect plenty of green shoots. The exception is if you're planting underneath deciduous trees. Because their leaves usually haven't returned by the time your flowers are blooming, enough sunlight should be able to reach them. Daffodils are an excellent choice among plants that can grow underneath deciduous trees.
To avoid this mistake, choose a full sun location so that the bulbs receive at least six to eight hoursof sunshine each day. Daffodils can tolerate some shade, but they'll perform best if it's afternoon shade. If your garden is limited on bright, full sun options, it's possible to find varieties that have been specifically cultivated for shade tolerance, like the 'Jenny' and 'Jack Snipe.'
Overcrowding the bulbs
While it's true that daffodils look their best when planted in a group, situating them too snugly in the ground can lead to bigger problems both short term and down the road. Effects that are noticeable immediately include lack of blooms or poor bloom qualitybecause there's too much competition for nutrients in the soil. One of the ways that daffodils propagateis by bulb division, where they split and create brand new bulbs. As this process continues each season, one bulb can eventually turn into a whole colony, thus leading to major crowding issues with bulbs trying to grow on top of one another.
To avoid this issue, always space your bulbs four to six inches apartwhen planting. Any closer than that and be prepared to move and divide them sooner rather than later. Instead, a nice way to create interest and fullness in your garden bed – without having to squish too many bulbs together- is to vary the types and their positioning. Choose a dwarf variety, like the 'Tête-à-tête,' for the front of your bed and place a taller variety, like Breck's 'Colossal,' behind it. This layering technique will give your garden a soft and natural look.
Improper soil conditions
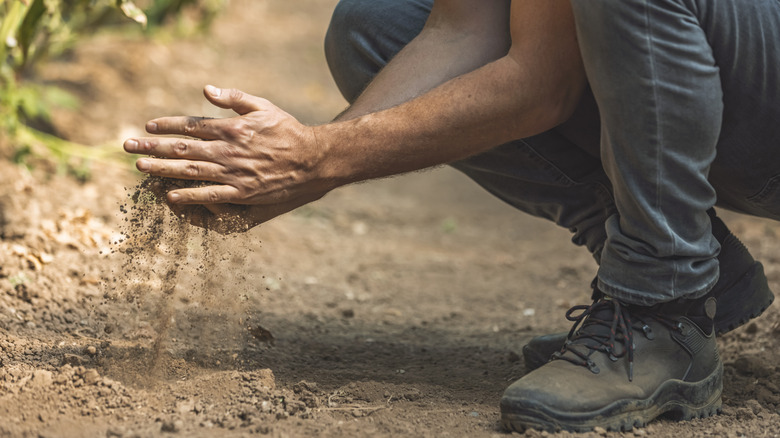
Bulbs that live in constantly soggy soil are much more susceptible to rotting, so if/when that occurs, you'll be left with a sad, flowerless garden bed. When choosing your planting location, one of the things you need to take into consideration is the soil's moisture. You never want to place bulbs somewhere they'll receive around-the-clock water,, like in the path of a sprinkler system, close to downspout runoff, etc.
Another important soil point is prep. Daffodils are easy to grow, but they do benefit from simple soil amendment beforehand. First, break up the dirt with some light tilling to release any compaction. Next, add in a high-quality garden soil – aim for about three inches mixedwith the top six inches of existing dirt. If you have heavy clay soil, take the process a step further and add compost as well.
When it comes to soil pH levels, your flowers will thrive in acidic soil. If yours is more alkaline, it can be amended with soil sulfur (or some packaging may simply say 'soil acidifier'). Finally, add a fertilizer that's low in nitrogen – we'll explain more about that soon – and your soil will be good as gold.
Using a nitrogen-heavy fertilizer
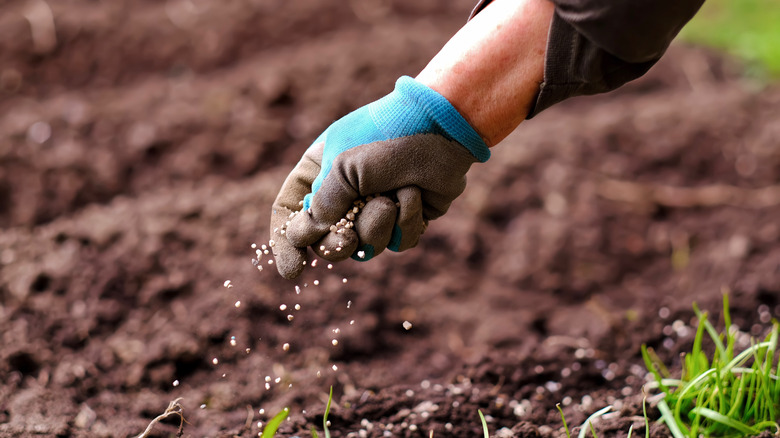
You did everything by the book and even remembered to feed your bulbs throughout the growing season. But instead of beautiful blooms, you only see green shoots. Where did things go wrong? The plant food you chose might be the culprit. If you're new to gardening, you might assume all fertilizers are created equally and can be used interchangeably for your various growing needs. If only it were that simple! Formulas high in nitrogen will deliver plenty of healthy, green growth – great if you're nourishing a lawn but not so great for spring flowers.
To avoid this mistake next time, you'll need to compare labels carefully. At the time of planting, use a general mix (just double check that it's low nitrogen) and work it into the soil,, ensuring it doesn't come into direct contact with the bulbs. Once shoots appear, you can switch to a mix that is high in potassium to encourage flowering. After the flowers are established, you can stop feeding.
Choosing the wrong bulbs for your zone
Daffodils are a reliable, hardy perennial for gardeners in zones three through seven. If you're located in a warmer climate, like zone eight or nine, don't dash your daffodil dreams just yet! The cheerful flowers can flourish in your borders and beds, but it's critical that you choose the right bulb that can handle the lack of chill time and overall hotter temperatures of your zone.
Additionally, you'll need to plan to water consistently and frequently from the time of planting in early fall all the way through to fading blooms. Another important tip is to add a layer of pine straw mulch after planting. Pine straw offers excellent moisture retention, and this is critical in hot, dry climates.
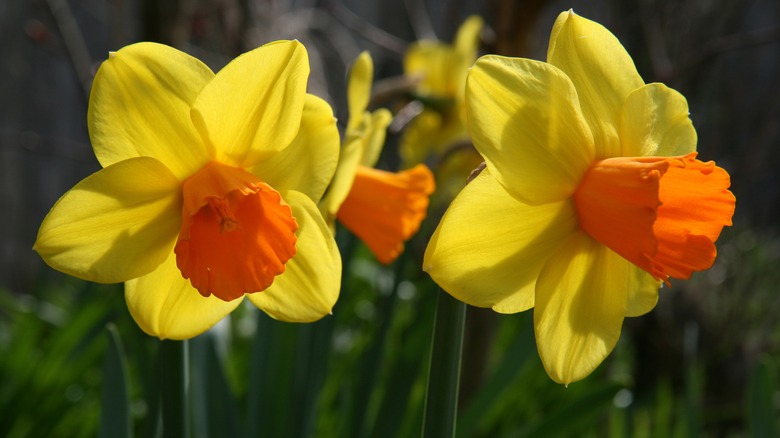
Even if you're in zone eight or nine, there's no shortage of vibrant, unique bulbs. A refreshing change up from the standard yellow, daffodil, 'Barrett Browning'will liven up your garden with its white petals and contrasting orange cups. The variety is more than 50 years old, and has a reliable performance record, even in the coastal South. If you're looking for something more delicate, choose the heirloom double daffodil 'Erlicheer.' Each stem presents six (or more) small white flowers with a lovely fragrance.