Hold Onto Leftover Tiles For A Home Decor Project You Can DIY
We may receive a commission on purchases made from links.
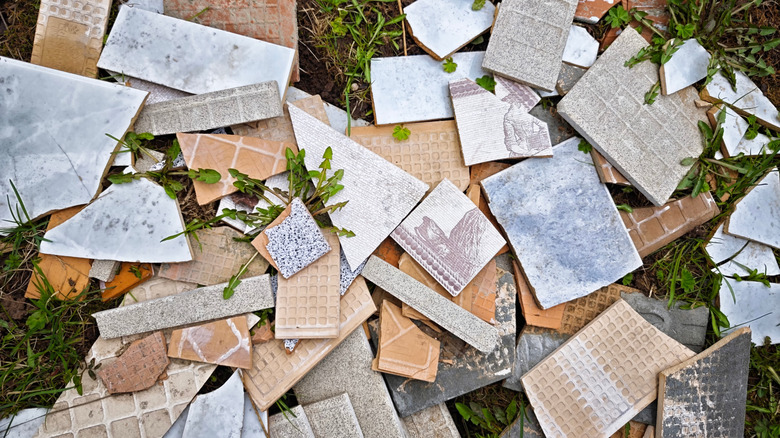
If you've recently tackled a bathroom or kitchen renovation, chances are you have a small stack of leftover tiles sitting in a box somewhere. Whether you plan to stash them in the garage or just toss them once your project is complete, it would be a shame to let these stunning tile pieces go to waste. Tiles are incredibly durable, heat-resistant, and often feature beautiful patterns or colors that bring visual interest. So why not turn them into something that's stylish, personal, and practical? Enter: coasters.
Not only is this a genius way to use leftover tiles, but it also allows you to add a cohesive, personalized touch to your home. Whether you prefer a sleek marble look, rustic ceramics, or bright and eccentric patterns, tile coasters can blend seamlessly into your decor while also serving a functional purpose.
The best part? This project is simple enough to tackle in one afternoon. All you need are leftover tiles, a backing material (like cork board, felt pads, or plywood), a tile cutter (optional), caulk (also optional), tile adhesive, and a clear top coat. Of course, you can keep the tiles as-is for a clean, minimalist vibe or get creative with paints, stencils, or even a glossy resin finish for added durability. Not to mention, this DIY is fully customizable shape-wise, ranging from hexagonal to circular designs.
Using large tiles to create coasters
Medium-sized to large tiles – think 4-by-4 inches or bigger — are perfect for creating chic coasters that make a statement. Select the right piece of tile from your collection with a matching pattern or finish that will suit your space. Some homeowners prefer to use a wet saw versus a tile cutter to get the right size and shape for this project. If you're happy with how the tiles already look, though, you can completely skip the cutting step and grab your backing. These Tenalleys Self-Adhesive Cork Mats fit perfectly on the back of 4-by-4 tiles.
To start your coaster project, you will first want to attach the chosen backing material to your tile. This will help prevent scratching and provide a non-slip grip that should secure your coasters in place. If you want to elevate the design, there are plenty of other ways to customize these coasters further — like adding vinyl decals or coating the entire tile in clear epoxy. Resin not only adds a distinct shine, but it also provides a protective, water-resistant layer that ensures your designs last for years to come. Then again, you might want to play around with different designs and mix and match tiles to create a uniquely-you coaster.
Creating smaller tile coasters

Smaller tiles, like mosaics or subway pieces, might not seem like an obvious candidate for coasters, but with a little creativity, they can become stunning decorative pieces. Instead of using them individually, try grouping several pieces together on a cork or wooden base to create a patterned surface. Mixing colors, textures, or finishes can give the piece a high-end, custom look that feels intentional rather than improvised. Or, why not even use colorful caulk for a vibrant touch? Depending on the size, you can create small coasters for espresso cups, shot glasses, or even as accent coasters on a bar cart.
Just like with larger tiles, adding backing is a must to protect your surfaces from the rough edges of tiles — especially ones that have been cut. Using smaller tiles often requires a bit of caulk or tile glue to secure them to the cork backing. If you're using leftover tile sheets, you may also want to fill in the gaps between each tile with caulk or sealant. Once that's done, seal everything with a waterproof coating to ensure they're stain-resistant and long-lasting.
This method is especially great for showcasing intricate mosaic designs or leftover specialty tiles that you don't want to go unnoticed. Whether they're scraps from cutting tile corners or leftovers from another project — like DIY tile shower shelves in the bathroom – these pieces can help elevate your tablescape instead of collecting dust in the garage. Of course, if you prefer to keep it simple, individual small tiles can still work beautifully.