How To Test Water-Damaged Floors For Hidden Mold And Rot
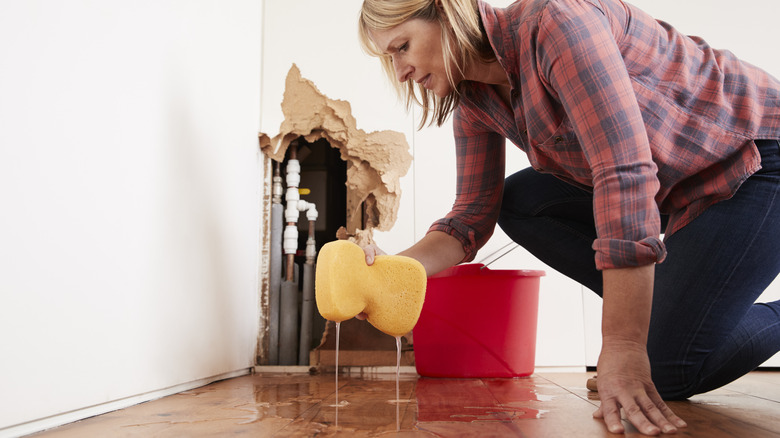
Maybe a flood from a storm raced through your home or you had a plumbing leak, causing water to sit on the surface of your floor for a few hours while you worked to get it drained. When a significant amount of water sits on the surface of wooden floors for any length of time, it will naturally try to move to the lowest point, which means it can seep into the space under the boards. This is more common in boards that are untreated or very dry, therefore acting like a sponge as it takes in that moisture. No matter how small or large the area is, water can seep into wood floors, penetrating deep into the material, especially on older, worn surfaces.
The faster you react to extracting and drying out this surface, the better. Mold can begin to grow within 24 to 48 hours of water penetrating the surface. If the surface remains wet for this amount of time, it's critical to know what you should do to detect the presence of mold and rot and how to fix it. To do so, you'll need to examine the surface; consider the depth of the mold; and, most importantly, know when to call a professional for help. If there is any question about the presence of mold, call a water damage mitigation team right away. Proper identification of mold is critical to protecting your health.
How to test floors for mold and rot
The only sure way to know mold isn't present on any water-damaged surface is to have a professional inspect and test for its presence. However, if you plan to try to address the problem yourself, start by looking at the surface. Noticeable black spots could indicate mold growth, especially on damp surfaces. Mold can be numerous colors ranging from black to green or orange. It may even seem to be purple or white.
A mold test kit can also be used to identify the presence of mold on the exterior of the surface. Or you can conduct a simple swab test of the material. To do this, mix about 2 ounces of bleach with a quart of water. Then, dip a cotton swab into the mixture and apply it to the surface discoloration on the flooring. If the color lightens, that means it's most likely mold.
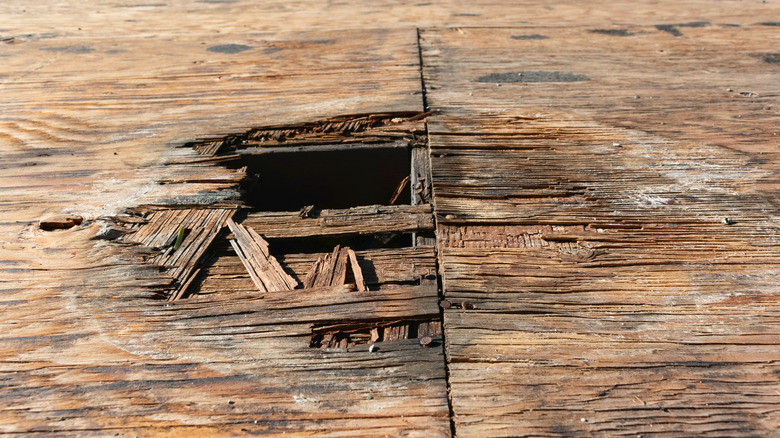
The next step to test for mold damage is to use a screwdriver or another tool to probe the area. However, before doing this, be sure to wear a mask and gloves to prevent breathing in the mold spores. Remove just a small portion of the surface with the edge of the screwdriver. If the structure crumbles or breaks into pieces, that's likely due to long-term damage from mold growth. Fungi, at this point, have likely caused the rotting of the wood's structural integrity, even if it is dry.
What to do when you determine mold and rot is occurring
While you may want the quickest way to get wood floors to shine, it's critical to take proper steps to protect your family and your home from mold damage. As noted, the best route to take, especially if there is significant evidence of mold growth and rotting flooring, is to call a mold mitigation team. They will have the means to prevent mold from spreading while minimizing the risk to your family. If the mold has spread to more than 10 square feet (or the job is just too worrisome for you), call in a professional remediation specialist.
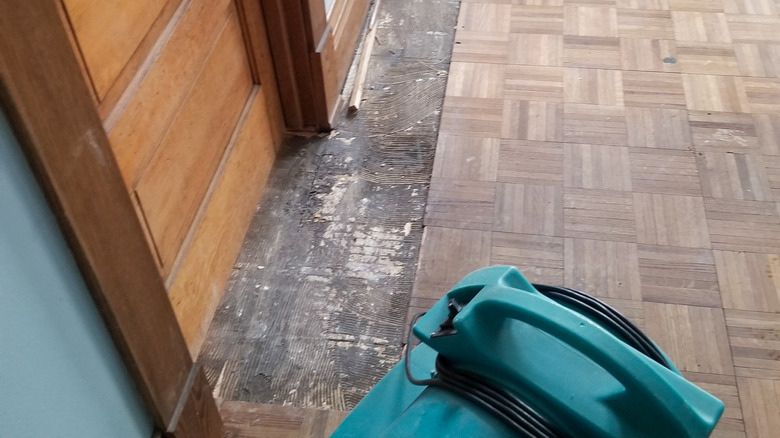
If the mold is on the surface, you can use a bleach solution to clean mold, ensuring it dries properly (though this may cause some damage to the wood.) It's necessary to ensure you fully dry out the space as well, remembering that the moisture can penetrate deep into the floorboards. This often requires using fans for several hours to extract all of the moisture in the wood.
If the damage is more significant, you'll need to consider the value of replacing the impacted floorboards. If the wood is sponge-like, that means the wood has significant damage, and it's often best to replace it. At this point, it's wise to leave the work to a specialist since any actual disturbance of the mold allows for the spores to enter into the air and infiltrate any other space in your home.