The Stylish DIY Trash Can Shelter That Will Help Keep Pests Away
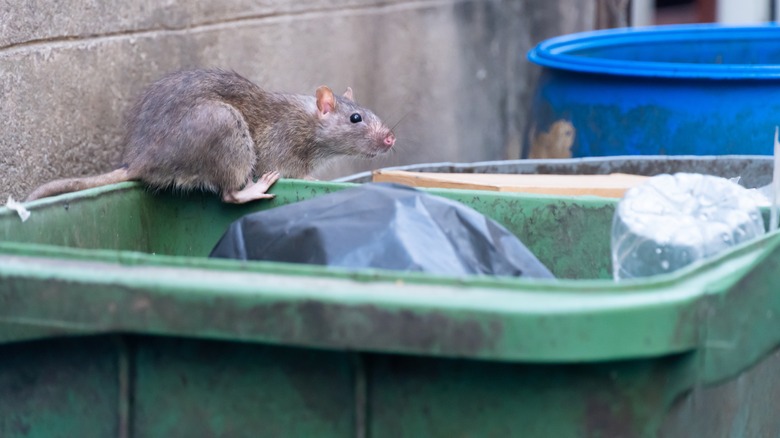
Outdoor garbage cans are very susceptible to issues with pests, whether that be small animals or insects. When trash cans are placed directly on the ground it becomes easy for bugs to crawl up the bin or locate any small cracks where they could get inside, and animals can easily push your garbage cans over to get at the food within. Luckily, this DIY project will help you secure your trash, keeping pests out and protecting your garbage cans from the weather. With some leftover pallets, a few boards of wood, a drill, sandpaper, and paint, you can make a shelter for your outdoor trash cans without breaking the bank.
While commercial garbage can enclosures can cost upwards of $1,000, wooden pallets can be found for free a lot of the time. Additionally, two-by-four and two-by-three planks of wood are about $3 each at The Home Depot, making this hack extremely affordable, especially if you already have the necessary tools.
Making your DIY trash can shelter
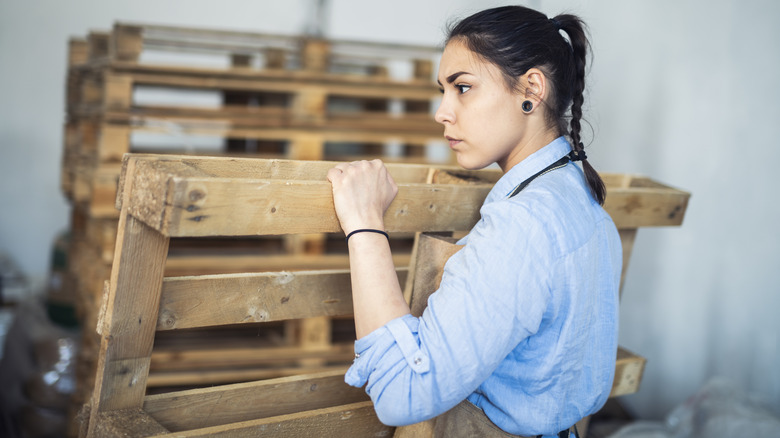
To start, you will need pallets to go around the sides of your trash cans, for the ground beneath them, and for a cover. You may also want a few extra pallets to take planks from for finishing touches. Stepping stones could also be placed on the ground to function as your platform, or if your trash cans are already placed on concrete rather than dirt, you may not need a base at all. Additionally, if you plan to build your shelter in front of a wall, you will only need to make two sides rather than three.
First, place a pallet upright on each side of your garbage cans, forming the walls of your shelter and leaving enough space so that the pallets aren't right up against the bins. Now, use a drill and screws to attach a board of wood across the inside of each pallet about 7 inches from the top to give it extra stability. If you're using two pallets side by side, you can screw one board onto both to connect them and make your walls secure. For those who want their shelter to have three sides, make a butt joint by screwing the ends of two planks together to make a right angle, then use this to attach your perpendicular pallets.
More tips for creating a garbage bin enclosure
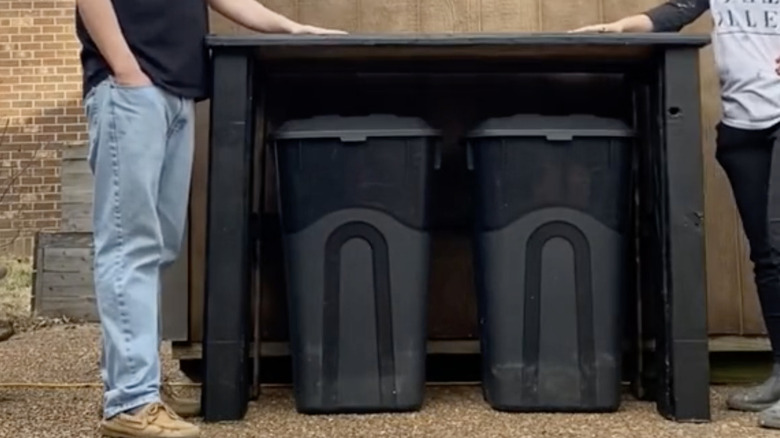
When the sides of your shelter are complete, it's time to make the cover. Cut a pallet to fit the space between the sides of your enclosure, and place it on the boards that are holding the walls in place. Now, screw the cover into the boards on the sides. If you need a platform, you can place your shelter over another pallet or two, depending on the size of your enclosure, and attach it with another board screwed into the bottom of the wall and the top of your platform. To close up the gaps in the sides of the pallets, try screwing on fence pickets (around $2.25 at Lowe's) or planks removed from extra pallets.
Once you are happy with the structure of your shelter, you can sand the wood or paint it to make it look stylish. You might also use faux greenery to decorate the borders of the enclosure. Not only will your enclosure keep pests out of your trash cans, but it will prevent water from seeping in through their tops while making your garbage area look tidier.