Create Stylish Storage In Your Home With This Scrap Wood DIY
We may receive a commission on purchases made from links.
The cost of installing professionally built storage can quickly rack up, with some built-in solutions ranging from $30 to in the hundreds, particularly if you want to opt for something stylish. TikTok user @hautehouselove posted a video showing a budget-friendly solution. Rather than breaking the bank, you could instead use some leftover scrap wood of your own to create a storage box with a few cubby spaces.
You can build the unit to any specs you have enough wood for, whether you're looking for something small or large. And, using scrap wood will help save you money, as you won't have to spend on higher-end options. This will also allow you to use your creative freedom during the crafting process, giving you much more control over the result.
Not only will it save you money, but upcycling old wood pieces is much better for the planet by reducing the amount of waste you send to landfills. It will use up any leftover materials you may have and can help you to maximize storage space in a smaller home. To start building the stylish storage of your dreams, all you need is to prep your wood and piece it together to create several shelves where you can place things inside. But, how exactly do you do it? To recreate this hack by @hautehouselove on TikTok, you'll need a large piece of scrap wood, corner clamps, and a nail gun or screws and a drill.
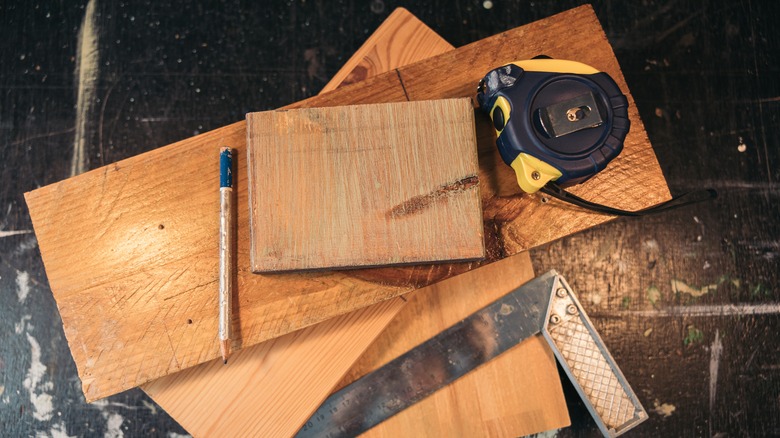
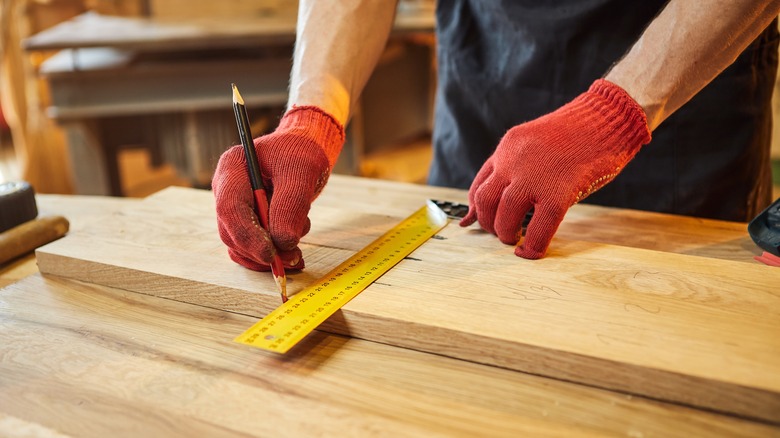
Measure and cut your scrap wood
If you don't have any scrap wood, there is some available from Home Depot for $18. You could also use a large piece of bamboo, which is a great alternative to wood but may cost a little more if you don't already have it. You can find some from Amazon for $37.99.
You'll need to cut three longer pieces for the sides and back of the cubby and four shorter, rectangular pieces all the same length for the top, bottom, and insides. More specifically, @hautehouselove used a 1-inch-by-6-inch wood piece for the back, two 1-by-4s for the sides, and 1-by-4s for the top, bottom, and shelves for her storage box. Here, you have the option to create something larger or smaller to suit your space. Just make sure you plan and measure the appropriate sizes beforehand.
Once you have all your pieces ready to go, simply take your corner clamp to hold the side pieces and two 1-inch-by-4-inch top and bottom pieces in place. Attach them using a nail gun to create the border of your storage box, ensuring the nails are in the right place. When everything is secure, nail another long piece to the back before inserting the rest of your 1-by-4s inside for shelves. If you prefer to use screws instead of nails, just pre-drill the holes and insert your screws. How many shelves you add will depend on the size of your box and how you want it to work.
Customize your storage box to suit your space
There are many other ways to customize this wooden cubby to fit your needs. For instance, you could make a large box with several sections and shelves to store items such as books and houseplants. Alternatively, you can create a box to fit in a custom space in your home. Keep in mind that this may require more scrap wood of a larger size. Just like with any project, you should always ensure that you have enough wood before beginning. Otherwise, you may end up wasting materials.
After you finish building the unit, you can paint it to suit your interior or aim for a rustic look by staining it a natural tone. For example, you could paint it white, gray, black, or even navy blue. These colors and more can be purchased from Home Depot for $16.48.
The reason this hack works so well is because the customized shelves allow you to easily hold or display items however you like, making it perfect for creating extra storage space. This versatility also makes it suitable for any room in your home, such as your kitchen, lounge, office, or even garage. Once you design your cubby how you want, you should be left with a stylish storage box to hang or place almost anywhere you want.