The Ingenious Way To Fix Damaged Wooden Furniture Trim With Hot Glue
We may receive a commission on purchases made from links.
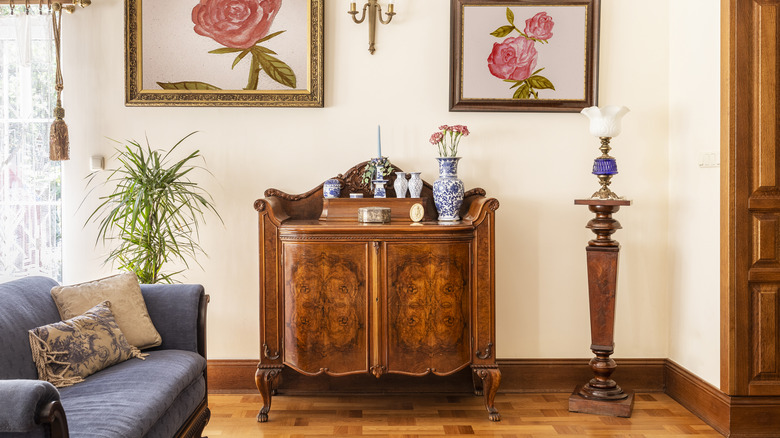
Wooden furniture showers a room with timeless elegance, only to lose its grace over time due to wear and tear. But what's most disheartening is when a furniture piece loses a part or whole of its ornamental trim over an accidental bump or a kid's play gone wrong. Irrespective of the cause, you'll be left with a rundown fixture that's too good to be thrown out. While you can have a furnishings company repair it, this can get expensive (depending on the job's demand). Fortunately, there's a relatively inexpensive DIY way to fix the damaged trim so your furniture looks as good as new. Use hot glue to build your missing piece's casing and fill it with Bondo. Secure the hardened Bondo to your furniture, sand it down, and paint it over.
Before getting into the nitty-gritty, let's get one thing out of the way: this method works only if the missing trim has a matching counterpart. Since most wooden filigrees have two sides, finding the replica shouldn't be hard. With that sorted, gather your supplies, a hot glue gun (the star of the show), and Bondo (its peerless wood-filling compliment). Also, grab Vaseline or Pam cooking spray, a hardener, a utility knife, adhesive, and sandpaper (80, 120, and 220 grit).
Bear with the sticky glue
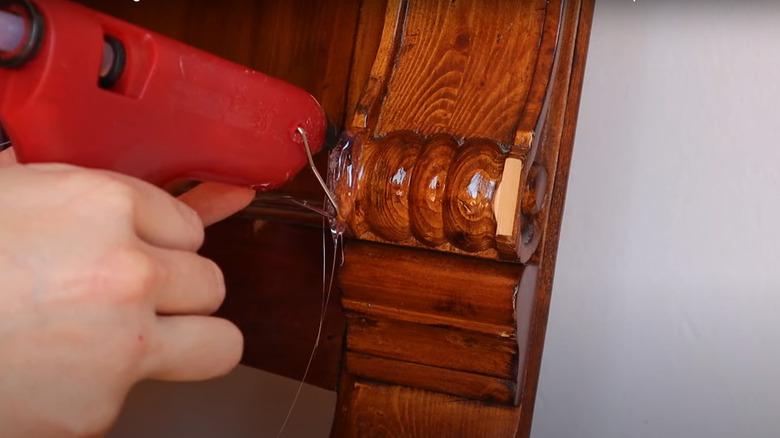
Start by turning on the glue gun. While it heats, apply Vaseline or spritz Pam spray to the piece you wish to copy, as it'll ease the removal of the glue casing down the line. Cover the intact trim item along its contours liberally with hot glue. It might drip down, so be ready for things to get messy. When satisfied with the coverage, let it dry. The glue should harden into a flexible mold. Remove it carefully, or it might rip off. If unsure, place it against the damaged furniture section to see if it will fit in.
Once the molding's ready, move outdoors, as you don't want to breathe in the foul putty smells. Also, don gloves unless you're cool with your hands reeking of Bondo. Apply Vaseline inside the molding to lubricate the area sufficiently enough to extract the Bondo. Next, spread Bondo on a piece of cardboard and add a wee bit of the hardener. Follow the label instructions for the right mix. Mix them thoroughly for a uniform color since both items have different shades. However, you'll need to be quick because the mixture begins to solidify in a few minutes.
Sand the filler down
If you can't find Bondo in your local store, use any other wax-based wood filler like Minwax. It's available for around $10 on Amazon. Top up your glue casting with the prepared paste and keep it aside for around 30 minutes to harden up, although you might have to wait over an hour for some solvent-based fillers. When dry, unpeel the glue cast from the Bondo. Don't fret if it doesn't strictly match your intact furniture trim, as you'll sand it down to get the right fit. However, you can cut out the excess using a utility knife to save on smoothing effort.
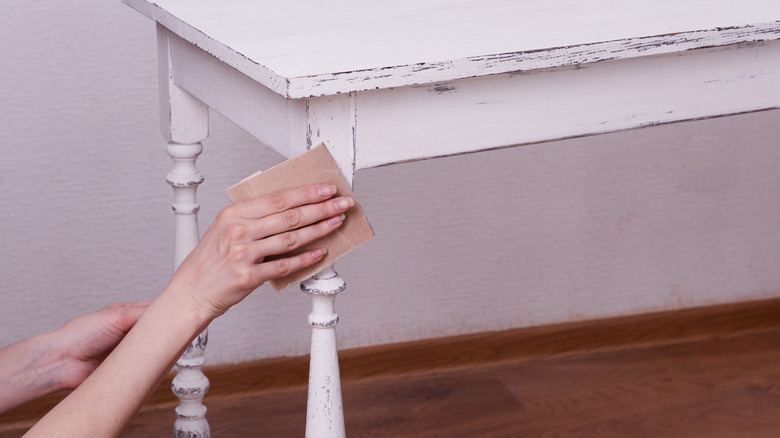
In the meantime, wipe down your furniture, preferably with turpentine or acetone. Apply a thin adhesive layer to the Bondo mold's back and fix it on your furniture. Wait until it dries out completely. You can even use painter's tape to ensure it remains in position. Peel off the tape once you're sure the Bondo has a firm hold on your furniture and begin to sand it down. Start with a lower 80 grit, as its surface is hard initially. Go higher on the grit size as you give it its final shape. Voila! Your new trim piece is ready. Now, repaint the furniture. If the putty develops any air bubbles, fill the gap with a wood filler and paint the trim.


