5 Best Tips For Painting Trim
We may receive a commission on purchases made from links.
Even the most flawless paint job can look wrong if you ignore the trim in your house. Trim is found throughout your home — on your windows, doorways, archways, floors, ceilings, etc. It's the wood that outlines certain architectural features, separating and distinguishing those elements from the surrounding wall. It also offers the opportunity for decorative expression.
According to Joaquin Painting, the trim in your home should be repainted every two to four years. While this may seem quite frequent, it bears the brunt of most daily wear and tear, including scrapes, bumps, scratches, dings, as well as collecting dust and dirt. Trim should also be repainted every time you paint your walls. But most people overlook the importance of properly painting it, simply reducing it to a few quick sweeps of color. However, investing time and energy into properly painting the trim in your home will result in a beautiful, sleek, and flawless final look.
1. Properly prep your trim

As with any paint job, the first and most crucial step to getting a flawless trim finish is to dedicate time to properly prepare the surface. Painting over trim — whether baseboards, windows, or doorways — that hasn't been cleaned can trap large clumps of dirt, dust, and other debris, which will ruin an otherwise perfect paint job.
You can use a simple mixture of mild soap and water to clean the boards, but you should also get them even, advises The Home Depot. Do this by lightly sanding the trim, which will help even out any bumps and provide a smooth surface to apply paint. It will also get rid of any potential sheen that may prevent the color from sticking correctly. This is also a good time to check for any cracks or holes, which you can fill with paintable caulk or plaster.
2. Take the time to protect your furniture
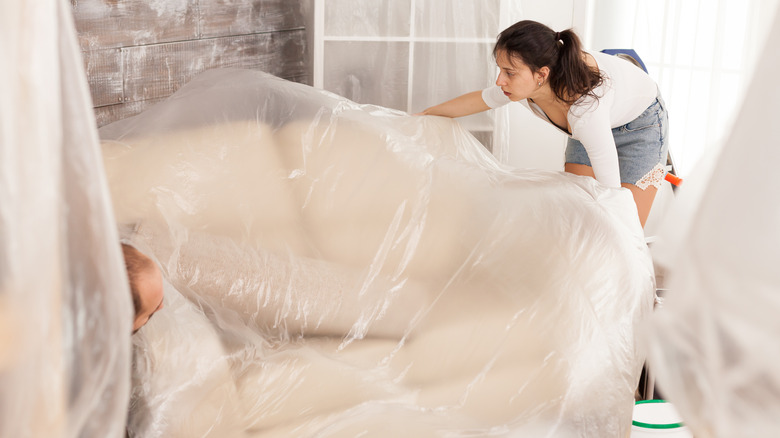
Another crucial part of the preparation for painting in general, but especially with trim, is to protect your floors, furniture, and walls properly. Window and doorway trim tends to be level with pieces of furniture; baseboard trim is very close to the floor, all of which can be permanently damaged and ruined by stray paint. Beginning with your furniture, move every piece to the center of the room, or at least away from the trim. Then, cover them in plastic wrap. My Beautiful Adventures recommends allowing 3 feet of workspace. The plastic wrap will help protect your furniture from light paint flecks.
As for your floor, lay down either a plastic tarp or newspapers. Next, apply painter's tape to the edges of your trim. This isn't nearly as demanding as a regular paint job, as trim tends to jut out from the wall, but it is nonetheless essential. Use a high-quality painter's tape and slowly apply it around the edges of your trim, using a putty knife to push it in, via Do It Best. Wait until the paint is completely dry to remove the tape, pulling it off at an angle.
3. Prime the trim
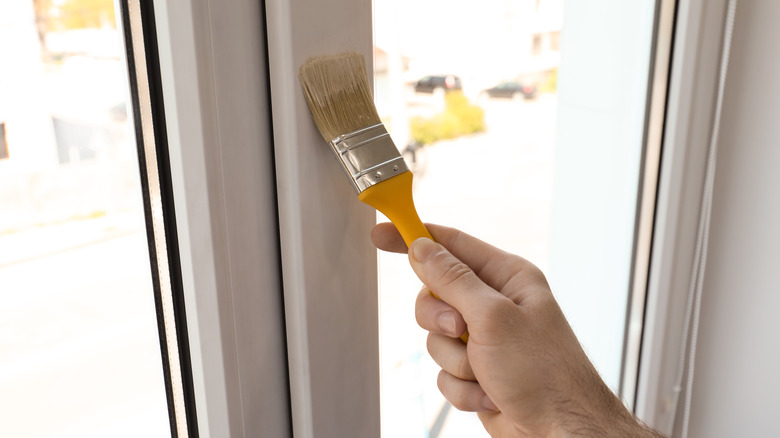
Now that everything is properly and thoroughly prepared, you should set aside some time to prime the trim. Priming is always a good idea, no matter the current color of the frame or the shade you plan to paint it. Clare notes that primer is excellent for providing something cohesive for the paint to stick to, and it's more than just supplying a nice opaque base and covering blemishes. It also helps the final color look more pigmented.
Since the area covered is so small, it's a good idea to use a handheld brush to apply the primer — just be careful of streaks. The Paint Shed recommends using very light grit sandpaper to even out primer before paint, allowing the surface to be completely smooth. Take your time, working in small sections and being careful not to get any primer on nearby walls or furniture. Let the primer dry completely before moving on to painting.
4. Pick the right color
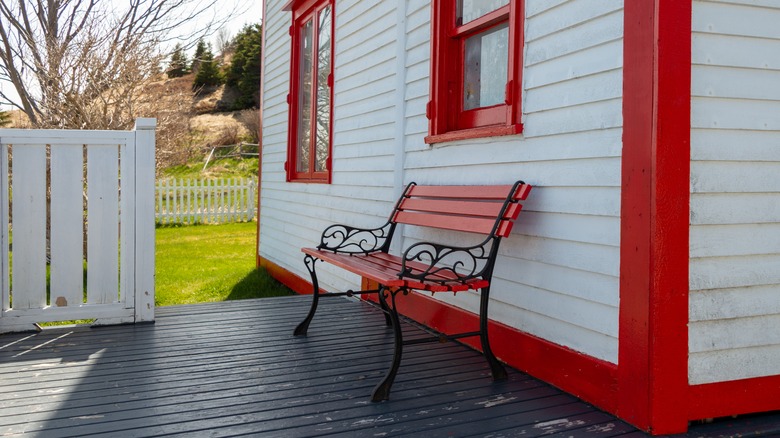
The most common and traditional trim color is white. It is timeless and classic, meshing well with any wall paint color. Similarly, it's customary to paint the trim the same color as your walls. However, the frame in your home is a great way to have some fun and add visual intrigue, subtly or boldly. As The Moulding Company points out, it can be a bold stylistic choice to pair light walls with black or very dark trim colors.
On the flip side, you can pair dark wall paint with very light or traditionally white trim, and this will create lots of visual contrast and add a lot of intrigue and dimension to the room. Other interesting neutral but statement trim colors include brown, shades of gray from gunmetal to slightly blue, and different hues of beige, per Jenna Kate at Home. You can also have fun and opt for a vibrant color like red, blue, green, etc.
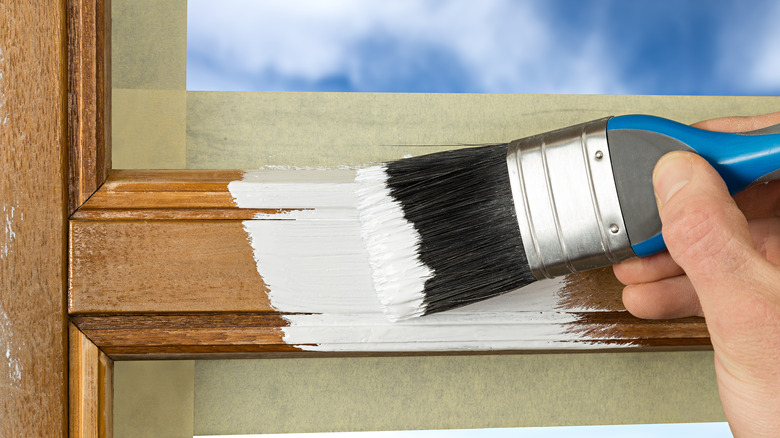
5. Paint the trim
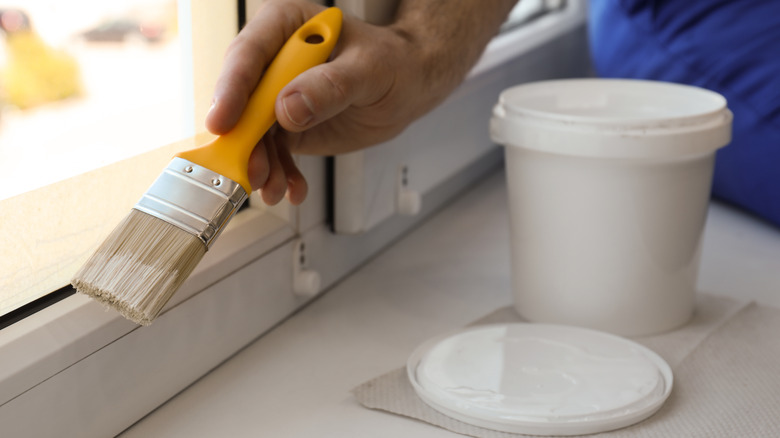
Finally, it's time to paint your trim. This is the final step, and if you've correctly cleaned and prepped, it should be relatively easy and result in a beautiful final product. However, there are still precautions you need to take during this step. For one, you need to choose the appropriate brush, and Clare recommends using a 2-inch angled brush.
Begin by mixing your paint and pouring it into a tray, ensuring there are no bubbles, via Home Depot. You can also dip it right into the can, but it can be harder to see bubbles that way. Then, dip the top inch or so of your brush in the can, tapping then wiping off the excess paint on the edge. You don't want too much paint on the brush, as it can drip and create ugly lines on your trim. Apply the paint slowly, starting with short strokes, followed by one long stroke to blend the edges. You should only need one coat, using a second for touch-ups. Wait until the paint is completely dry before removing the painter's tape.