Protect & House Solitary Bees In Your Garden With This Adorable Wooden DIY
We may receive a commission on purchases made from links.
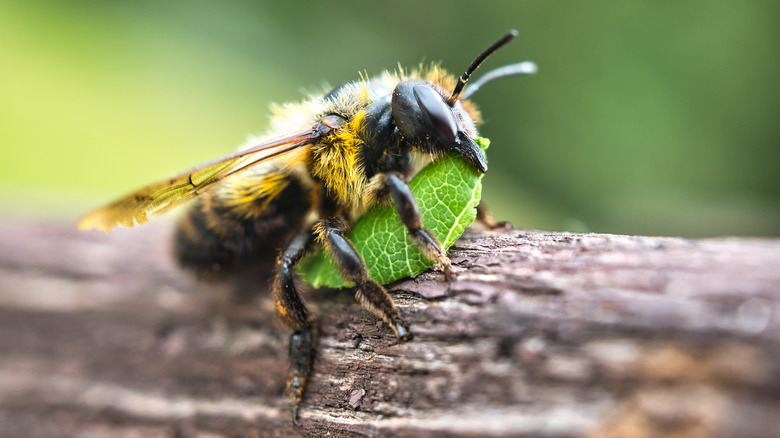
Bees, bees, bees. These incredible little insects come in all shapes and sizes, with species such as the leafcutter bee covering large parts of the U.S. If you want to encourage this particular species into your garden and help to protect them, then implementing your very own "bee house" DIY, as shown by Instagram user @artandsuchevan, can help you to achieve just that. All you have to do is construct it, place it somewhere suitable in your garden, and watch leafcutter bees flock to your "house." Not only does this give them somewhere to hide out and stay safe, but it can also help to attract bees into your garden, which in turn could help it to flourish — a win-win for both you and these nimble creatures!
In addition to these benefits, you can also use plenty of natural materials, which could help lower the costs of your project, making it perfect if you're looking to build on a budget. After all, how better to take care of bees than by using nature itself? Even if you're not looking to attract any bees, this project is great for any budding nature enthusiast ready to take the plunge to protect local wildlife. Below, we'll break down how you can try out this wooden DIY yourself using a few simple materials.
You'll need plenty of wood
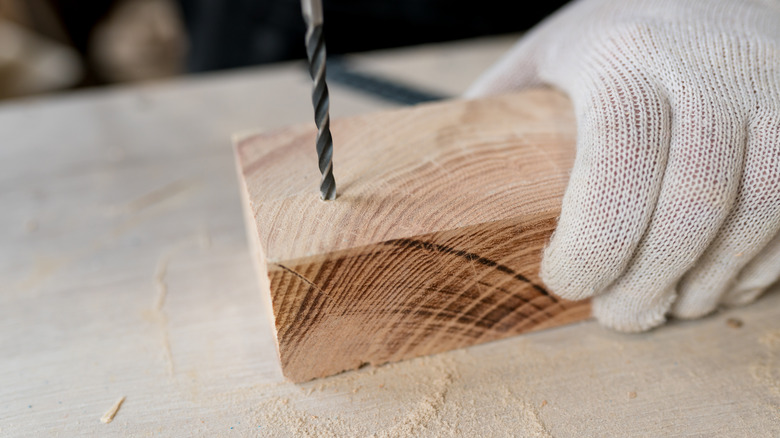
To replicate this gorgeous creation for yourself, you'll need a solid wood block, such as this pack of six wood blocks from Amazon for $19.99, some paper straws, which you can find for $8.38 on Amazon, some spare bits of wood, an electric screwdriver, and some screws. Once you have everything on hand, you can start by drilling holes into your block of wood that are big enough to fit a bee inside, between 1/8 inch to 1/4 inch, ensuring that you leave plenty of space between each one. Depending on the size of your wooden block, anywhere between four to eight holes should suffice, but if you want more, you can do so on a new block. Next, you can take some paper straws, measure and slice them so that they're just slightly longer than the depth of your holes (only by a fractional amount) before inserting them inside. With some extra wood pieces, add a small roof.
If you have any spare blocks of wood laying around, you could always repeat the process using a slightly different design, still including a roof for an added layer of security. You also have optional additions such as a sign, figurines, mini props, or awnings also being available if you want to copy this hack exactly. You may even want to add small numbers to the awnings to add to the idea of making it a "home."
Purchase a house with similar features
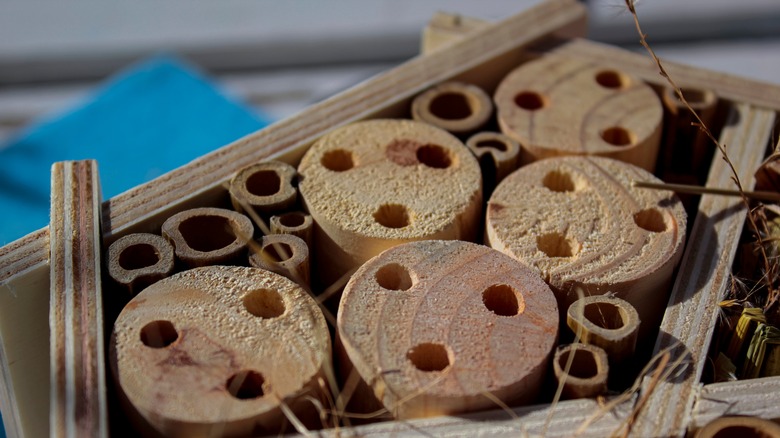
Once you finish your design, simply seal the deal for the wood with a lick of water-based wood sealant, such as Thompson's WaterSeal Clear wood sealant, available for $84.00 from Amazon, being careful not to get any of it on your straws or inside the holes. You can repeat this process on as many wood blocks as you want, which is especially useful if you want to create several of these habitats. This way, you'll be able to give a larger number of bees a place to stay. When you're happy with how it looks, you can take some screws and your screwdriver and place it somewhere high. The spot should be secure and dry, and receive a little sunlight during the earlier hours of the day. Now, all you need to do is wait until the summer months, and you should begin to notice more activity around your DIY wooden house, particularly if you've created several of them.
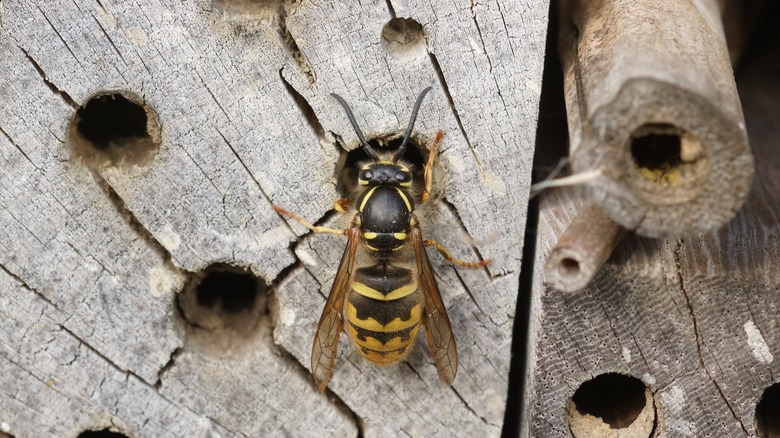
If you don't feel like building your own bee house, then you always have the option to purchase one and install it. For example, you could opt for this native bee cabin from Etsy for $30 or this flower-shaped option for $30, again from the Etsy store. When looking online for one, ensure that the house abides by the spacing rules and doesn't have too many holes close together or use any excess garden material. This way, you'll be able to keep your home exclusive to bees and help them thrive.
How to customize your DIY
Okay, so now you have your new bee house in place. But what if you want to customize it? To add your own flair, you could instead use an old log from your garden and wait for it to dry out before cutting it to the correct thickness and repeating the same process with the holes, or upcycle some old wood from around your home. You could even use it as an opportunity to repurpose any unwanted items in your home. The best thing about both of these options is that they should significantly cut the costs of the materials you use, which is beneficial for your purse strings, to say the least. Likewise, you could always add a transparent panel on one side with some screws so that you can see inside some of the holes and observe the bees, or paint the house a variety of colors.
Speaking to Oklahoma State University, director of OSU's Insect Adventure Andrine Shufran explains the reason bee houses work so well if built correctly: "First, it provides a place for native bees to lay eggs during the warm season and serves as their home during pollination. Second, it gives the bees a place to overwinter when the seasons change." Of course, you should always ensure that you do your research when working with any species to ensure you're not putting them in harm's way for any reason. Now, all that's left to do is get building.