Upgrade Your Bathroom Storage With This Stylish IKEA VESKEN Hack
We may receive a commission on purchases made from links.
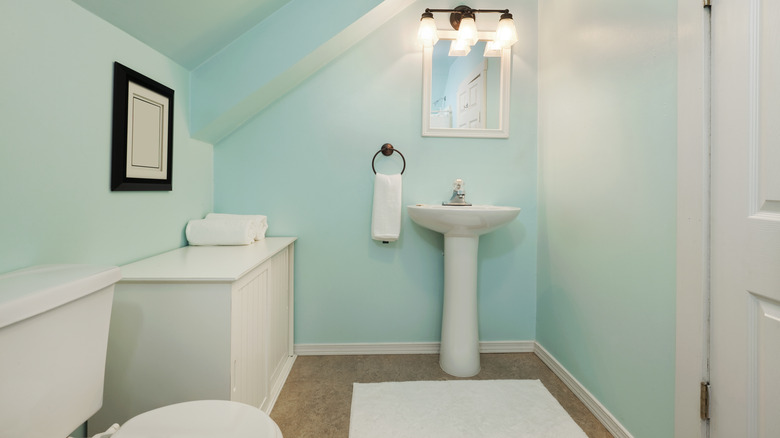
Whether you have a small or large bathroom, having some extra storage space that both functions well and looks stylish is pretty hard to turn down. If this is something you'd like to incorporate, you could always try a TikTok hack by @hometalk, which shows how you can customize an IKEA VESKEN shelf unit to meet your storage needs, all while being pretty eye-catching — after all, who says all shelving units have to be boring? Alongside its unique style, this solution is also suitable for awkward spaces and gaps, making it the perfect solution if your bathroom is on the smaller side or you want to utilize some space above your toilet. All you have to do is build it and slide it into the correct position, using it to stow your items away.
In addition to adding some versatility and style to your space, it shouldn't break the bank too much, making it an attractive option if you're looking to keep your costs low. This is perfect if you have several bathrooms and want to try this out in each one. It's also quite simple to make, so you don't have to be a DIY genius to get this done either.
Gather the necessary materials
To DIY this stylish bathroom shelf idea, you'll need an IKEA VESKEN shelving unit, available on the IKEA site for $11.99 in both white and black. You should also grab an electric screwdriver, a tape measure, some screws, a wooden slab, some small baskets to fit on the shelf (if using), Varathane wood stain (which you can grab for $8.47 on Amazon), a paintbrush, Miniwav polycrylic protective finish for $12.98 at Walmart, sanding paper, brackets, and wood adhesive. Once you have everything, you can begin your construction.
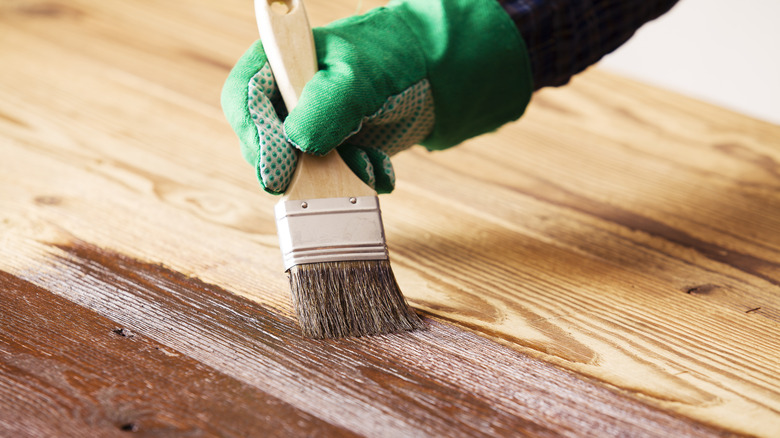
First, you'll need to prep, so start by fitting your IKEA unit where you want it to go and planning how long your piece of wood will need to be so that you can slice it to the correct size, as well as measuring and cutting out an extra front piece to cover the rest of your unit. Now that you have your piece of wood, double-check that it fits in place before prepping it by sanding it down and applying a coat of your wood stain. You'll also need to add a sealant, which will help to maintain its condition. Next, you'll need to mark where you want your wooden shelf to connect to your wall, before taking out your screws and drill to connect it, ensuring that it's firmly in place and won't slip or move. Just make sure it's level to your unit before doing so, as you don't want a wonky shelf.
Create a custom look for your shelving unit
To complete the rest, you just need to screw your front piece of wood in place and begin adding your bathroom items onto the unit, which you can do any way you desire, whether that's categorized or uncategorized. For this hack in particular, the user stores items in baskets, but you don't necessarily have to do this. Instead, you could just use the unit as it comes, stacking items or placing them next to each other. To add your own flair, use organizational tools or weighted bookends, such as these duck-themed ones from Amazon for $25.99, to separate products into sections, or use the shelf to hold plants, décor, framed photographs, or magazines. You can save the unit for your bathroom-related clutter.
Another way that you could customize this project includes painting it the color of your choice, such as pastel pink for a subtle yet striking look or brown for a more rustic look. How you choose to do this will depend on your interior. If you have any extra wood, you have the option to add some boxed-off sections on your shelf for an even more unique look or implement some extra shelves to place wicker trays or bowls. For extra hanging space, install hooks to hang clothing items or towels. By utilizing this creative hack, you should be able to maximize storage space in your small bathroom.