The Modern Plant Stand You Can DIY Without Spending The Big Bucks
We may receive a commission on purchases made from links.
It can sometimes be difficult to make sure your plants are exactly where they should be in your home. For instance, while they tend to crave sunshine and prefer not to be in a drafty spot, you might not have a place for them near a bright window or away from a breezy doorway. In that case, you can DIY a plant stand. You can take advantage of an idea shared by TikTok user @woodshopdiaries, who showed her followers how to put together an incredibly stylish plant stand. What makes this project even better is that you can do so while decorating on a budget.
This DIY plan will leave you with a chic minimalist plant stand that can be made easily using natural leftover pieces of wood found in your scrap pile, meaning they'll be free. The aim is to create a three-tiered plant stand measuring 12, 22, and 32 inches tall to confidently display three larger plants or a collection of smaller potted plants. For materials, you'll want to grab scrap 2-by-2s and scrap 2-by-8 pieces, along with 2½-inch wood screws and wood glue. You'll need a specific type of saw that can make straight lines, such as a miter saw. You'll also want clamps, measuring tape, and a drill or screwdriver handy. When you have these ready, you can put your modern plant stand together while also making a few customizations that will make it a perfect budget-friendly addition to your home.
It takes just a few steps to put together your plant stand
To get your modern plant stand project started, you'll need to use a miter saw to cut the wood into specific sizes. Home Depot offers tool rentals or wood-cutting services if you don't have your own. Take the 2-by-2s and cut two into 8-inch pieces, then continue to cut one to 12, 22, and 32 inches in length. As for the 2-by-8s, you will need three that are 7¼ inches long.
Next, sand the sections with fine 100 to 120-grit sandpaper until you've removed any rough spots. This will give them a smooth finish and help the pieces fit together nicely. Now, it's time to assemble the frame of your stand. Take two of the 2-by-2 8-inch segments and put them into the shape of a capital letter T before attaching them with wood glue or screws; clamp if needed. These will be the sections that brace the stand. Follow that by attaching the 12, 22, and 32-inch 2-by-2 lengths to the ends of the T-brace 6 inches up.
Finally, you simply need to add the individual shelves for each plant. This is when you attach the three 2-by-8 bits of wood. Place one on the tiered post before screwing and gluing it in place as needed. If you find that your plants are too big for this setup, then you can customize your stand in a few ways.
Ways to optimize your DIY modern plant stand
While the project from TikTok user @woodshopdiaries will leave you with a fabulous plant stand, it's also quite simple. That's why it's perfect for customizing to make it perfect for you, your home, and your plants. For instance, you can make the entire piece taller if needed, not to mention making the shelves wider if your plants are larger. You can also make the stand stronger and sturdier if your pots are on the heavier side. A good wood glue can go a long way to make certain all of your sections stay sturdy under additional weight. Gorilla Glue Wood Adhesive found at Lowe's for about $5 will do the trick. On top of that, if you have plenty of plants, then you might also want more shelves. This can be done by following the basic steps mentioned above and repeating them to add more tiers next to the first three — attaching them with more braces.
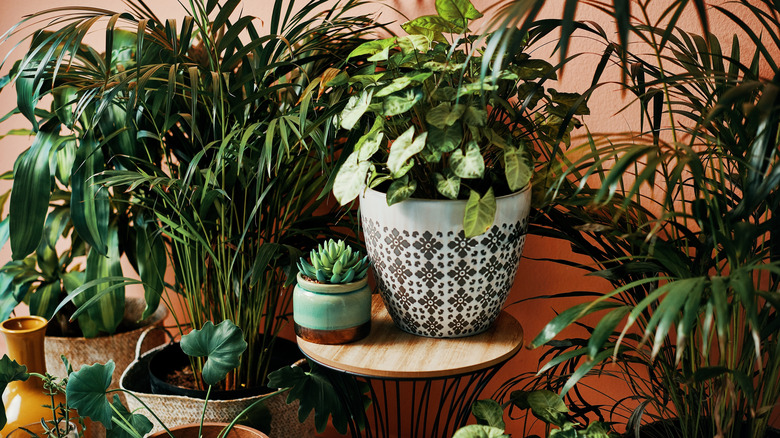
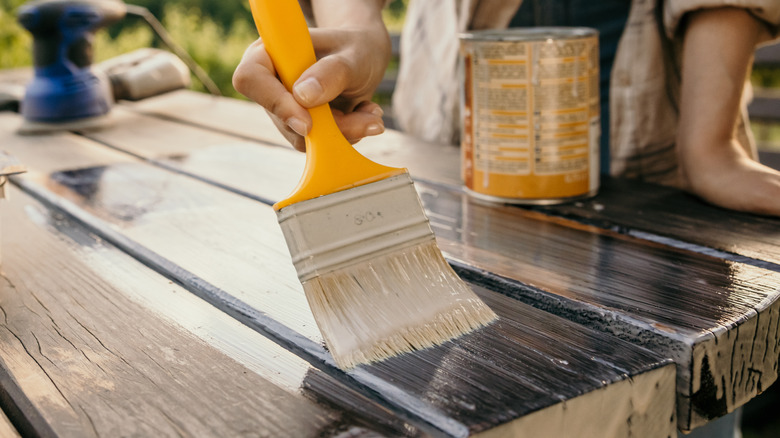
Also, consider staining the wood pieces before assembling the shelf or paint the wood if desired. Varathane Wood Stains can be found at Home Depot for $7.98 and come in a wide variety of shades. Mixing and matching tones and colors help make your tiered shelf pop. As for how to arrange your plants, you could choose anything from common flowers to unique succulents as well as pieces of décor to bring it all together.