11 Tips To Know Before You Start Painting Fabric
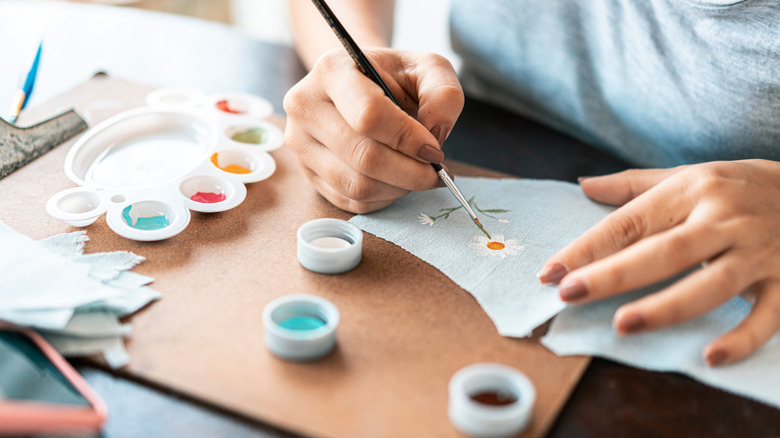
Before you get too excited with your fabric paint project and after you pick out the paint and fabric type you want to work with, test it. Get a small scrap of matching fabric, put a little paint on it, and set it aside to dry and take on the end color. Ensure the paint is completely dry before you make your final decision, keeping in mind drying time can take a few hours to overnight. The total time depends on the paint, fabric, and thickness.
Use this test before applying paint to fabric that is easily visible in your home, like throw cushions, large fabric furniture pieces, or curtains. Testing helps ensure the finish and color match your vision, and your project turns out like you want without any odd hues as the paint dries. This also gives you an idea of the time it'll take to dry so you know how long it'll be out of commission after you paint it. Finally, testing is a way to see if the dried paint cracks or stays as one flat, smooth surface.
Add a barrier between layers
A lot of fabric is porous and features a looser structure, especially natural fabrics. This porosity will allow any paint you use to seep or bleed through to whatever is under it, including more fabric, your work surface, or foam cushioning. To prevent this, add a layer of wax paper or cardboard under whatever you're painting, leaving it in place until the paint dries. Ensure your barrier is large enough for the project to sit on without any areas running off the edge. When you finish, and the paint dries, carefully peel the barrier away and recycle it, leaving the painted project ready to use.
Adding a barrier between the layers when you work is critical for anyone taking on DIY home improvement projects like dyeing or painting a duvet or comforter or creating a one-of-a-kind tablecloth. This is especially true for lighter or sheer fabrics, as the chances of paint soaking through are high. The goal is to finish your project with a clean, professional-grade finish. So, having bedding or a tablecloth with an odd splotch of color or noticeable paint bleed is something to avoid at all costs, and a barrier can help save your project.
Choose the correct brushes
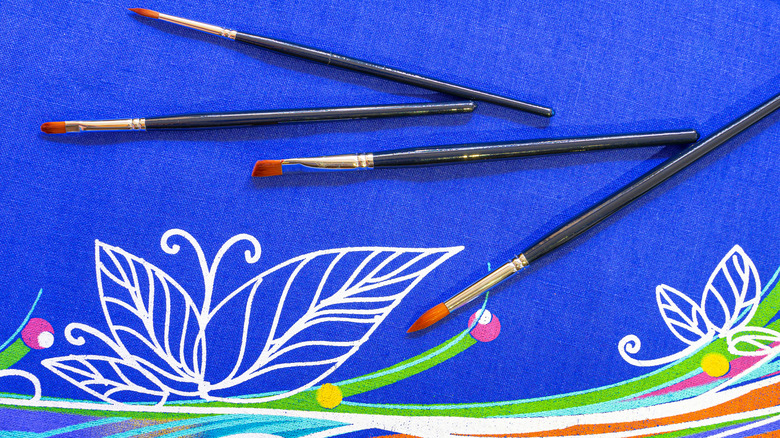
Have several different brushes on hand before you start any fabric painting project. Silk brushes soak up a large amount of paint or dye and allow you to create a dreamy effect, while fabric brushes help you push paint into the fabric weave. Round-tip brushes allow you to make bold strokes, and flat-tip brushes will help with blending and shading. There are also liner and foam paint brushes to consider, and your choice will depend on whether you want to get a smooth or textured finish with color blocks or blending.
Keeping several brushes available allows you to personalize items like a piece of canvas wall art or throw pillows or doilies for your end tables to get that perfect cottage-core decor look. Using silk brushes allows you to create a soft watercolor effect on your pillows that dries smoothly and allows you to blend colors. Fabric brushes help saturate the fibers to bring out the bold hues of your chosen paint to add a welcome pop of color to the room. Try different brushes to introduce textures for your wall art to make them stand out or create fine, tiny detail work that adds subtle layers and interest to your project.
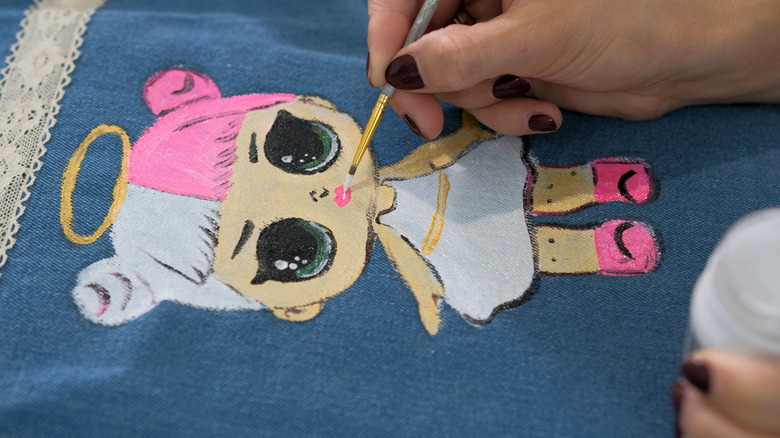
Sketch complex designs first
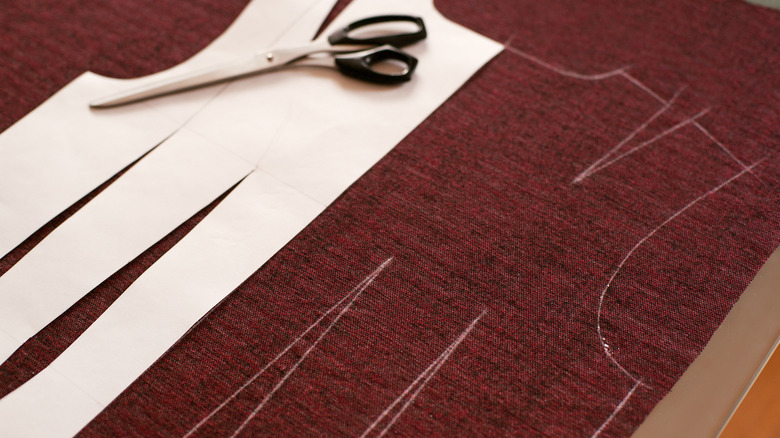
Making mistakes can be easy once you start painting your fabric piece. This is especially true if you don't have anything to follow, like a sketched-out design. Since you can't just erase it and start over, it's a good idea to get a piece of chalk, charcoal, or a pencil and lightly sketch the design on your chosen fabric before you paint it. It works for simple and complex designs, reducing the risks of painting the wrong areas, especially when you want to use light and dark mediums.
Sketching a design is a great start to many home decor projects. You can use it to create a themed room with fabric pieces like wall hangings and framed line art, or it works well for designing a unique pattern for a table runner. Make sure to draw lightly so you don't see the sketch through the paint when it dries, especially if you want to apply thinner layers of paint. When you finish the sketch, go back and fill it in with the paint to complete the project.
Heat set the finished painted design
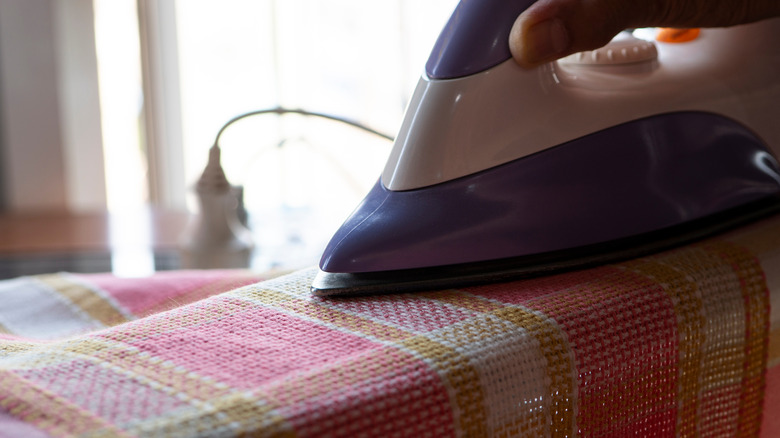
After you give your fabric paint adequate time to dry, it's time to heat set the paint. Get your iron and carefully follow whatever instructions you find on the paint container. The instructions can vary, but you typically layer a pressing cloth over the project and gently press the iron on one area of your painted fabric for 30-second intervals using high, dry heat. Move the iron over after 30 seconds and repeat until you cover the whole surface. A pan with boiling water also works if you don't have an iron. Heat setting the paint will help lock it into the fabric's weave, making it durable enough to handle getting washed. This means your beautiful design won't wash away or fade, keeping it looking fresh and new for years.
Heat setting works for almost every fabric but acetate, silk, and polyester, as they can melt or get damaged with high heat exposure. Whether you painted your sofa cover or have hand-painted placemats, the heat setting allows them to stand up to general use or wear and tear without fading, chipping, or cracking. This is a simple step that doesn't take a lot of time, and it makes a world of difference in how long your fabric paint lasts and looks as vibrant as when you first painted it.
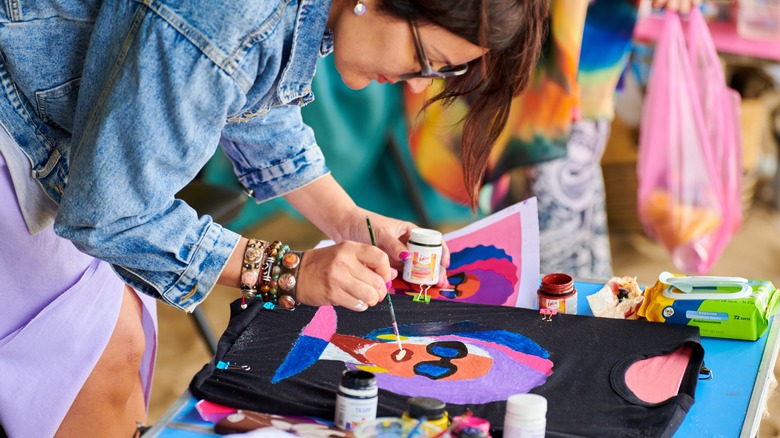
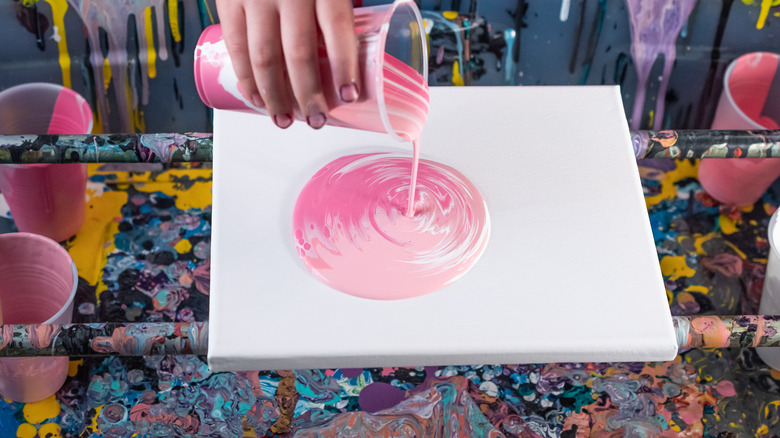
Apply thin layers of paint
You want to lay a strong foundation and add layers when you paint fabric. Start by making an effort to apply even, thin layers of your chosen paint instead of piling it on thick. Thin paint layers will dry faster and adhere to the fibers better, reducing the chances of peeling or cracking. Also, it's much easier to control how intense the colors are. Start by applying a light layer, allow it to dry, and add another layer if you want a deeper shade. This technique gives you time to gradually build up your colors to help you get a professional-level finish.
This layering technique allows you to take common items you can find around your home, like drapes or lampshades, and create soft lighting effects. Applying thinner layers of paint gives you a sophisticated, subtle look and feel to the project. Each additional layer will add a bit of character and depth, making your room feel personal and unique. These layered effects bring a gentle, artistic touch to your space without being overwhelming or loud, perfect for a range of design aesthetics.
Dampen your fabric
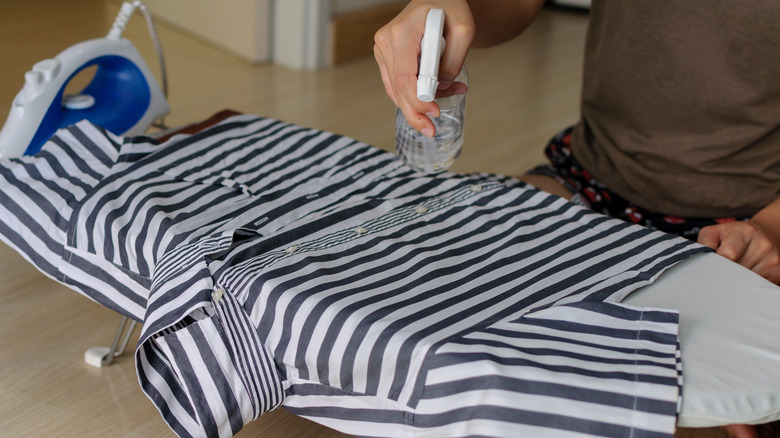
When you get your fabric slightly damp before you apply paint, it'll glide nicely. It's also an excellent way to remove lint without using a roller to give yourself a clean working surface. Damp fabric will help your paint spread smoothly and evenly when you layer it, and it works well with water-based paints. The small amount of moisture in the fabric will blend with your paint to help reduce blotches or streaking. It's nice for beginners as it helps blend colors for more natural light, and it forgives a lot of small mistakes. Also, damp fabric lets you build paint layers more easily if you don't saturate the fabric. You want it damp instead of dripping wet before you start painting, and have a plan for your gradients before you start.
Dampening the fabric is an excellent way to create a well-blended ombre effect with your fabric painting. This popular look centers around having smooth transitions from one color to the next. So, by getting your fabric damp, it's easier to get that dreamy blended look. It works well for painting on bigger pieces where you want consistent texture from one point to the next, like a couch, curtains, wall hangings, or cushion covers.
Set up a dedicated workspace
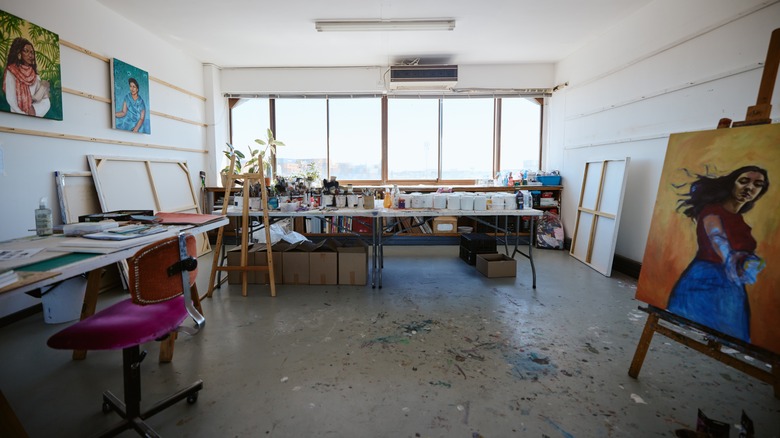
You'll want a dedicated workspace when painting fabric to stay comfortable and create the highest quality work possible. Ensure any potential productive office or workspace you consider has good ventilation because paints, especially solvent-based ones, can release fumes. You'll also have to consider how to protect any surfaces in your space that you don't want paint on. Lay down an old tablecloth, drop cloth, or newspaper to catch accidental spills or splatters. This step helps keep your space clean while making cleanup easier. Lighting is also essential; you'll need ample light to see your fabric painting and avoid eye strain. Also, keep everything neatly organized to help make the project safer and smoother.
To get the right vibe in your workspace, decorate it with whatever inspires you. Your inspiration could be anything from motivational quotes or art prints to plants. Having space set up allows you to leave anything you're working on out and come back when inspiration strikes without having to pack them away and set them back up every time. This is valuable for larger-scale projects, like painting a large duvet or several cushions, because it helps keep your momentum going. This dedicated space can also help you fully immerse yourself in your projects by helping separate your creative time from your daily routine.
Choose the correct paint consistency
When you paint on any fabric, your paint's consistency is a massive part of how the final project turns out. You'll want a thinner paint for detailed, intricate work because they flow nicely. This easy flow lets you be subtle and precise, and it's perfect for adding fine lines or creating complex patterns. If you're trying to create striking, bold designs with even, solid coverage, thicker paints are the best option. This paint will stand out to give your fabric a more opaque look. Also, the varying paint consistencies allow you to experiment with different techniques. And, each consistency offers unique qualities that can significantly impact your finished project.
For your design aesthetic, picking and using the correct consistency with your paint can enhance the appeal of your project. You can use it to personalize a canvas for your living room. Applying thinner paint will help you add small details, delicate patterns, and finer strokes. In turn, this brings a sophisticated and elegant feel to the space. On the other hand, if you want a focal point that catches your attention, thicker paints give you bold shapes and lines.
Incorporate textures into the design
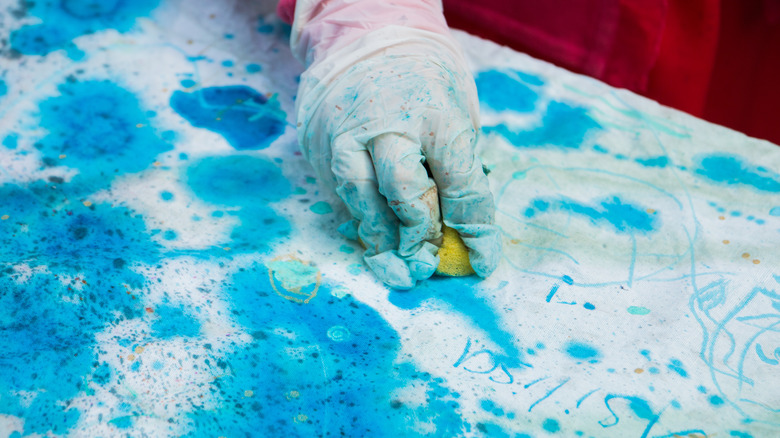
Adding texture to your home decor with fabric painting can help bring your design to life. You don't need to run out and buy fancy tools either; everyday items like stamps or sponges work well, as do your fingers. A sponge helps you create a mottled, soft effect for cloud-like designs. Stamps create consistent shapes and patterns, and you can use your fingers to smudge, dab, or swirl the paint. Each tool allows you to experiment with different effects and make more complex designs.
Texture allows you to create cushion covers with a fun 3D effect where you can feel and see the design. This will enable you to add interest and depth, taking your couch from a functional spot to a conversation piece. Additionally, a throw blanket with tactile designs takes it from being a comfort object to something you can interact with. The textures also catch the light differently, creating highlights and shadows to change the room's feel. They invite touch and exploration, adding a sense of luxury and warmth to your home. Plus, they reflect your personal style and creativity, making your living space uniquely yours.