How To Get Your Garage Neat & Tidy With The Help Of Old Peanut Butter Jars
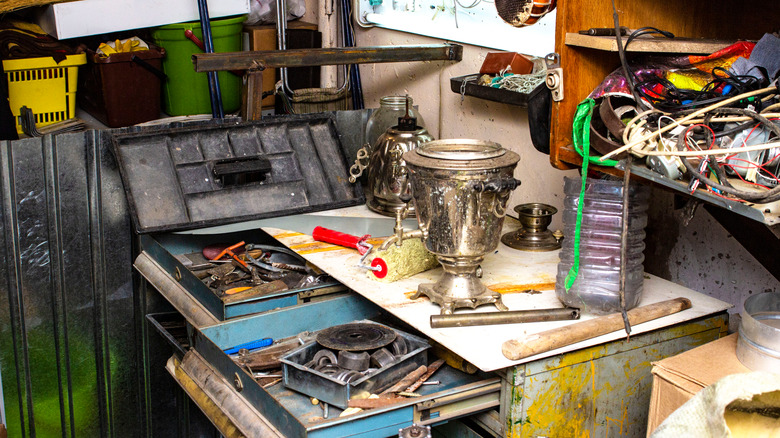
Isn't it fascinating how the garage often moonlights as our secret laboratory, retreat, or sanctuary? But let's get real — it's also our little Bermuda Triangle. Imagine the scene: in a surge of weekend zeal, you're on the brink of genius, only to realize the mysterious disappearance of an item needed to complete your masterpiece amidst your garage clutter. There you are, wasting precious time rummaging through the rubble for that elusive screw or bolt. That doesn't just hamper workflow; it's an enthusiasm sinkhole. But wouldn't it be exciting to learn that the solution to this clutter catastrophe is right within your reach and as mundane as an empty peanut butter jar? It's as simple as sorting your screws and nails by their sizes, types, or intended projects in designated jars, then attaching the containers by their lids under a workbench or shelf.
Repurposing old peanut butter jars for storage ticks several boxes in one fell swoop. It's a straightforward yet effective way to organize your garage, not to mention it gives old containers a second life, averting their doom in the trash heap. It's a win for your pocket, too — why splurge on industrial organizers? Additionally, when a once-ordinary object like an old jar becomes a utility hero, it's a testament to your ingenuity. Now, let's learn exactly how to use these containers to contain the chaos in your garage.
How to use old peanut butter jars for storage in the garage
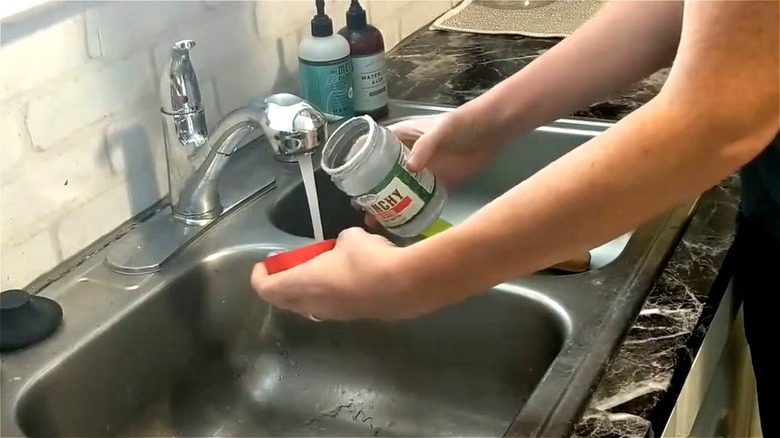
Begin this transformation by removing the peanut butter jars' labels. Then, clean the jars and their lids with soapy water — this is key to banishing peanut remnants that might adhere to the content you'll soon store. Wipe the jars dry, then unleash your inner strategist to determine the most premium spots in your garage to mount these jars (think accessible, with ample room to twist the jars on and off their fixed lids).
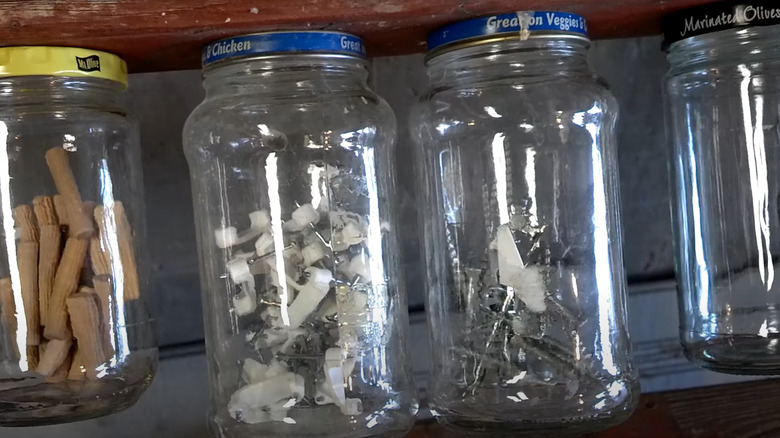
With this hack for storing small screws and nails, you'll discover the beauty of visibility. The container's transparency is a built-in system for identifying what's inside. Yet, for top-tier organization, consider tagging your jars with appropriate labels. From plain monikers like "screws," "nails," and so forth to more detailed labels highlighting project names or item dimensions, shape the categorization according to your needs and preferences.
Next, grab your electric drill and affix the jar lids onto the underside of the shelves or workbench, depending on what's available and convenient. Whichever your choice, keep an eye out for adequate separation between the lids (ensuring enough room to maneuver your hand), and don't put the screws right at the lid's edge. You also want to double-confirm that the lids are well-secured, tweaking them as needed for optimal tightness. Finally, load up your jars with all the miscellaneous bits and parts like nails, bolts, and screws, then twist them snugly back into their designated under-shelf perches.
Ways to personalize this hack
The beauty of using peanut butter jars for garage organization lies in their adaptability. You could paint the outside of the jars or lids to easily distinguish the content. Picture blue signifying nails, red for screws, and the color saga continues. But hold on! These containers aren't limited to just nails and screws. Think of other relatively-small spare objects such as batteries, Teflon tape rolls, staples, zip-ties, tile spacers, and drill bits. Speaking of material, plastic jars are lightweight and unlikely to break, making them ideal for workshops. Yet, you can opt for glass jars as well, though be wary about their fragility — you wouldn't want to accidentally drop a glass jar and have it shatter.
Additionally, how about taking things a notch higher with a rotating rack? Kick off this DIY by measuring and cutting two upright stands, then attach them to opposite sides of a plank to form a sturdy base. Then, on a 2 by 2-inch wooden plank, mount the jar lids, adding two or three screws per lid to prevent them from spinning. Be mindful to stagger the jars appropriately. Strategically offset, each jar can be accessed without obstruction. Crown your work by positioning the rack between the two upright supports, securing each end with a lengthy screw. The final result is a rotating horizontal carousel of jars. So, the next time you empty a peanut butter jar, think twice before tossing it out.