Get The Look Of A Trendy Pottery Barn Floor Lamp For Less With This Easy DIY
Floor lamps are perfect pieces for elevating every space in the house but especially living rooms and bedrooms. Because they come in so many sizes, colors, and styles, it can be hard to choose the perfect floor lamp. One great option is from Pottery Barn Kids, as they have a gorgeous tripod type that's on just about everyone's must-have list. However, it costs $299, which doesn't fit everyone's budget. You can scour the internet to find an affordable dupe, but you're unlikely to find a wooden tripod piece at a cheap price. Instead, one way to get Pottery Barn's floor lamp for around $65 or less is by DIYing it at home with a few items from Home Depot. To complete this DIY, you'll build the base, install the lamp kit, and add a lamp shade.
For this project, you'll need three 1 x 3-inch boards that each cost under $3, a table leg for $9, a pack of insert nuts for $4, three wing screws that each cost under $3, a lamp kit for $15, and an oversized shade for under $20 from Home Depot. You can customize this DIY by purchasing any lampshade you want. Check out thrift stores; you can find some in different styles for an affordable price. In addition, you can paint the 1 x 3-inch boards to give them a more stylish appearance. Some tools you'll need for this DIY include a drill gun, saws, and clamps.
DIYing your tripod floor lamp
TikTok user @buildbasic starts by cutting her strips of wood to give them an angled, tapered look with a circular saw — this step isn't necessary, but it could improve the appearance. Then, cut all three legs to size with a miter saw. After you cut the legs, now would be a great time to customize them. If you decide to paint or stain your wood, ensure you prep them beforehand by sanding and priming. They should completely dry before you attach them to the table leg. You'll need to cut the table leg shorter with a miter or hand saw (to about 4½ inches tall), ensuring that it's still able to hold the three wooden legs. Then, drill holes on three sides of the table leg piece that are the right size and depth to add the insert nuts. Drill another hole up through the middle of the table leg to insert the lamp rod.
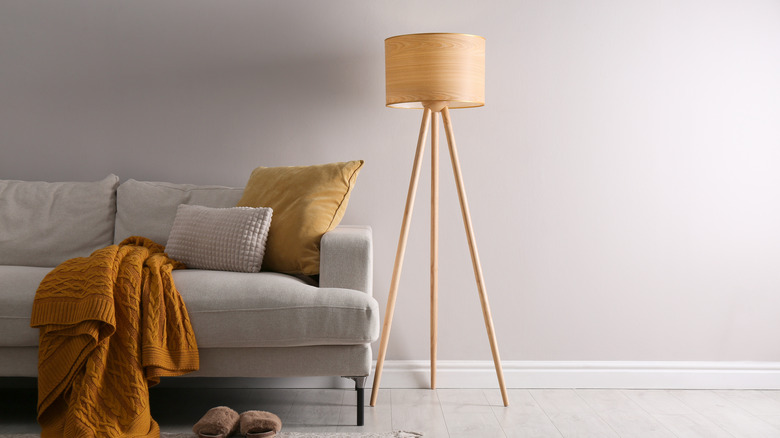
Next, attach the lamp kit to the table leg following the instruction manual. Drill a hole at the top of each of the legs, about 1 inch away from the top, and attach them to the table leg with the wing screws. Finally, add your oversized lamp shade and plug it into the outlet. Set up your lamp in your bedroom to use as a reading lamp or in the living room to illuminate a dark corner.