TikTok's Viral Storage Bin System That Will Keep Your Clutter Organized
We may receive a commission on purchases made from links.
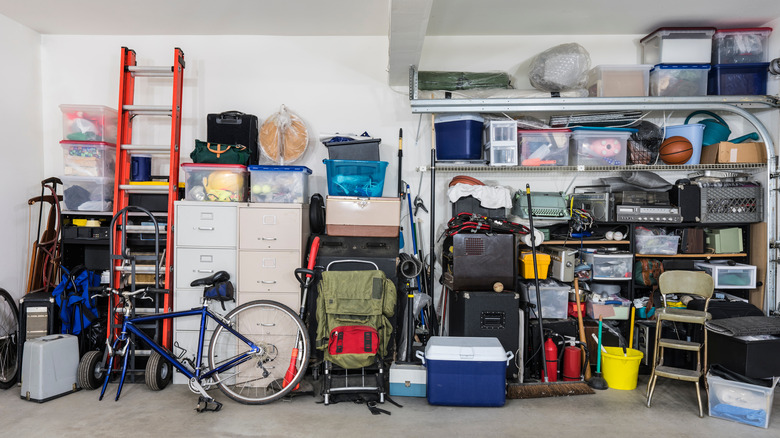
Finding ways to add large amounts of storage in your home can be tricky, especially if you have a lot of clutter. Thankfully, as shown by one user, @emmietanner25, TikTok's viral storage bin system can help you get re-organized and double your storage space for a large number of items — can it get any better than that? Alongside helping you re-arrange, it shouldn't be too costly if you manage to DIY this yourself, making it perfect if you want to upgrade your storage on a budget. All you have to do is construct the frame and slot your storage bins into place, making it ideal for even beginners.
For this project, you'll need some large wooden lumber planks in two-by-fours and two-by-twos, which you can grab from a local hardware store. It's best to get pieces that are longer than you think you'll need, as it will be easier to cut to the height you want. Likewise, you'll also need an electric screwdriver, screws, a saw, a tape measure, a 90-degree angle clamp, and some Greenmade storage boxes, of which a four-pack is available from Walmart for about $98. This is understandably pricey for some people, so you can always opt for a less expensive option, such as these clear boxes from Amazon for around $32 for a six-pack. Just ensure they're sturdy enough and the box has a "lip" at the top.
How to construct your wooden frame
To create this viral storage bin system from TikTok, you'll need to plan how many bins you want to store vertically and note down the dimensions for them. For example, if you want to stack four on top of each other, you'll need to add up how tall you'd need your vertical frame pieces to be, allowing enough space between each box so they're not too tightly packed. You'll also need to measure the dimensions of your storage bins, too. In the case of the Walmart product, the measurements will be 30.5 inches in length, with a height of 20.5 inches and a width of 15 inches. Once you note everything, cut your wooden lumber to size so you have your vertical, horizontal, and rail parts, with the rail sections being roughly an inch and a half wide. Now, you'll just want to connect your frame together.
Start by connecting your vertical and horizontal parts using your drill, screws, and your 90-degree angle clamp, going one corner at a time to create a frame that looks like a rectangular cube. Once you have your frame, begin creating your "ladder-like" structures with the rungs and two-by-four planks using your measurements from earlier, using a pencil to make notes on the wood and your drill and screws to connect the supporting plants and rails. Now, you just have to slide your bins into place, and you're good to go. For some extra support, you may also want to connect your unit to your wall so you don't risk anything falling.
Customize your storage bin system
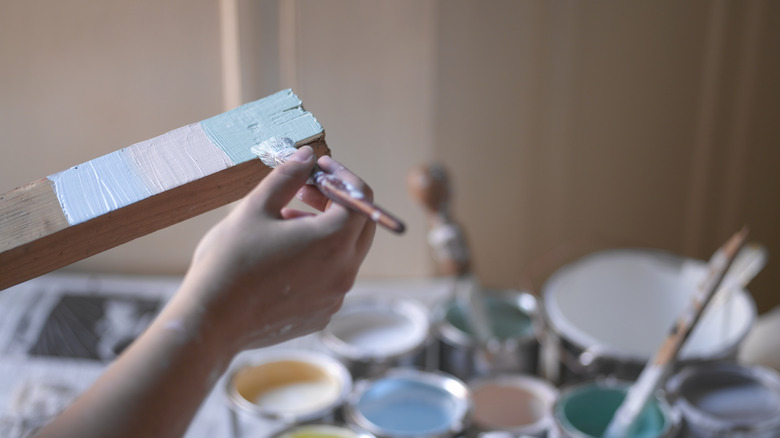
Once your system is in place, use it to organize your overwhelming clutter, whether to store old DVDs or as a place to stow away your kids' toys. Although this system works well and looks the part by itself, you can customize it in other ways. For example, you could paint your frame in various colors to suit your space, such as white for a modern look or purple to make an eye-catching impact. You may want to add some hooks to the frame and use them to hang coats, DIY tools, decor, or other bits of clutter that may not have an assigned space as well. If you don't have some already, you should be able to grab some for $10.99 off Amazon.
This hack works so well because the large dimensions and precise measurements allow you to maximize storage space in your home, which means you have more room to store your clutter. The design also means you can easily slide your bins out rather than having to move piles of boxes around, which can become rather tedious. To further level up the organization, label each bin and write down what's inside, making the whole system more effective. Labels are available from Amazon for $3.80, or you can just use masking tape. Of course, when building this DIY, it's probably a good idea to do it where you want to place it. Otherwise, you'll have to move the system, which could be challenging.