This Clever DIY Repurposes Old Mason Jars To Create A Rustic-Chic Chandelier
Mason jar lanterns and lights are a stylish way to bring rustic charm to any home, and while store-bought fixtures from retailers like Pottery Barn and Etsy can cost hundreds of dollars, there are numerous ways you can create beautiful DIY lighting elements — including crafting hanging wall sconces and hanging lanterns — with your own supplies. However, what about larger fixtures like chandeliers?
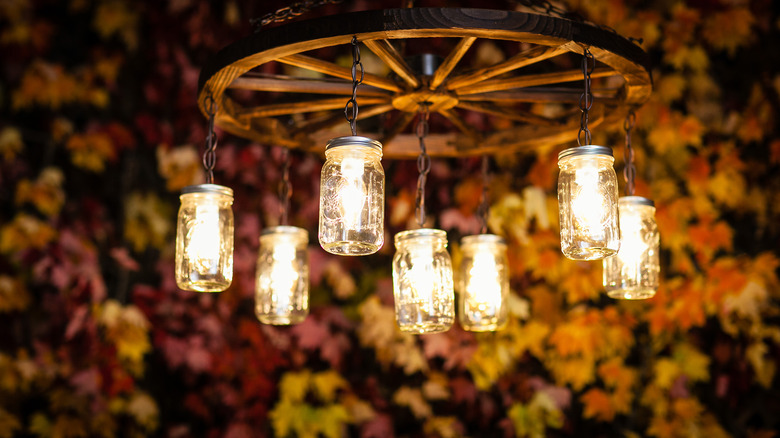
These may seem more formidable to a DIYer, seemingly requiring more complicated electrical work or wiring. You can, though, create a beautiful and simple hanging chandelier from holiday lights, mason jars, and a wooden wagon wheel. The end result is an easy, inexpensive, and eco-friendly addition to any modern farmhouse or industrial-style space that needs illumination.
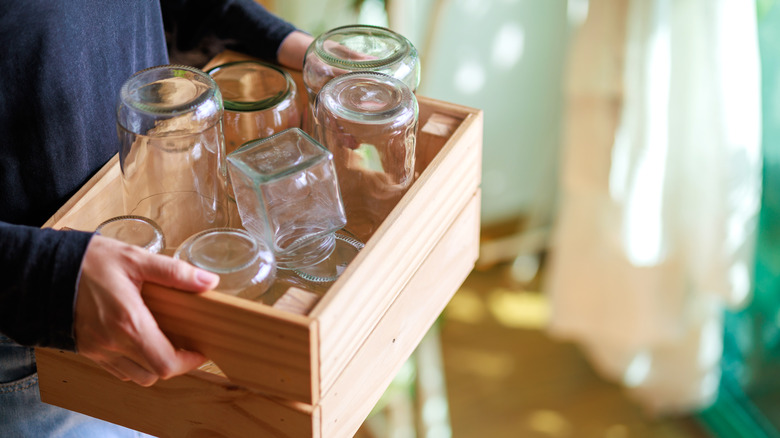
The star of the show is the wood wagon wheel, which can procured from stores like Amazon or At Home, typically for under $20. The wheel forms the wooden base of the chandelier, which can be painted or stained in your desired shade. Upcycled or new mason jars with metal lids are inexpensive supplies that come in a variety of sizes and shapes, so you will need as many as will fit the size and spokes of your wagon wheel. Options for bulbs include C9 Christmas lights, fairy lights, or battery-operated candles. You will also need chain or rope to create the hanging apparatus, screw-in cup hooks, 1-inch S-hooks, a single O-ring, and a heavy-duty screw-in hook that will support the weight of the completed chandelier.
Creating a mason jar chandelier
Begin by creating the chain lengths that will hold the chandelier, using three or four chains that will hold the wheel level and attach it to the ceiling. Other tutorials using wagon wheels as a frame for chandeliers recommend 24 inches or longer, depending on the width of your wheel the height of the ceiling it will be attached to, and the necessary clearance underneath. Use the screw-in cup hooks and the S-hooks to attach the chain at regular intervals around the perimeter of the wheel. Where they meet at the center, use the O-ring to connect the chains so that the sides balance evenly when hung. To install the completed chandelier, hang the O-ring on the hook in your ceiling.
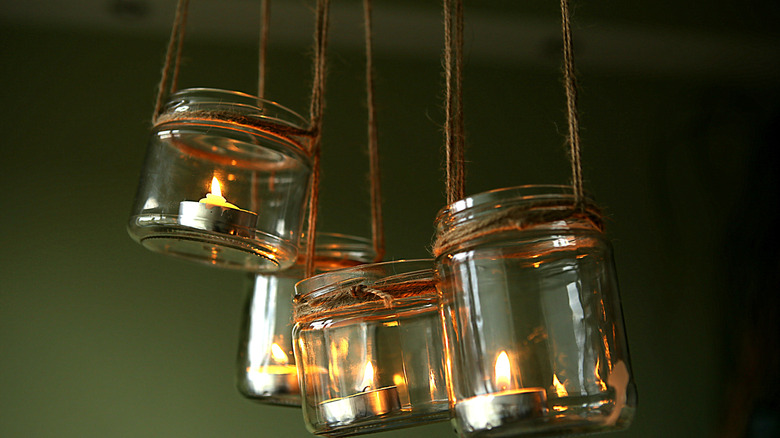
The preparation of the jars will depend on the variety of lights you use. For lights that are strung together, you will need to create a slit hole in the lid to accommodate the light (small or large bulbs) pushed through. These lights can then be draped over and around the wagon wheel to hang and provide illumination. If you are using standalone lights, like battery-operated LED or faux candles, screw additional small cup hooks through the top of the lid and attach them with a wire or chain that allows them to hang. For fairy lights, attach the plastic battery pack to the lid of the jar with tape or adhesive where it will be hidden by the lights.
Where to use your DIY chandelier
If you use wired Christmas lights, simply plug the set into a long extension cord, running it out of sight to an available power source. If no power is available nearby, opt for battery-operated lights, many of which come with timers and remotes that make turning them on or off easy. Some are rechargeable, but battery life may vary, so keep this in mind if you need lights for a sustained duration (or if you're planning to hang them out of easy reach). Since it does not require wiring or electricity at the top of the chandelier, you can hang your fixture anywhere, including outdoors, where it makes beautiful lighting for pergolas, porches, or hanging from a tree.
You can get subtly different lighting effects from different bulbs. For a soft glow, fairy lights are a great option, but for more light in dark spaces, the larger bulb string lights or LEDs may work best. Faux battery-operated candles have a charming vintage look and come in several sizes and colors. For an even more rustic touch, use real votive candles for a warm, flickering glow.
The overall project is much less expensive than similar pre-made chandeliers that may require additional wiring and electrical work to install. Because they are inexpensive to create, you can make several to place throughout your home or hang multiples for romantic summer party lighting in outdoor spaces. They make for an especially impressive means of lighting outdoor weddings and other celebrations where you need ample but soft light, particularly when strung with additional crystals that reflect and glimmer.