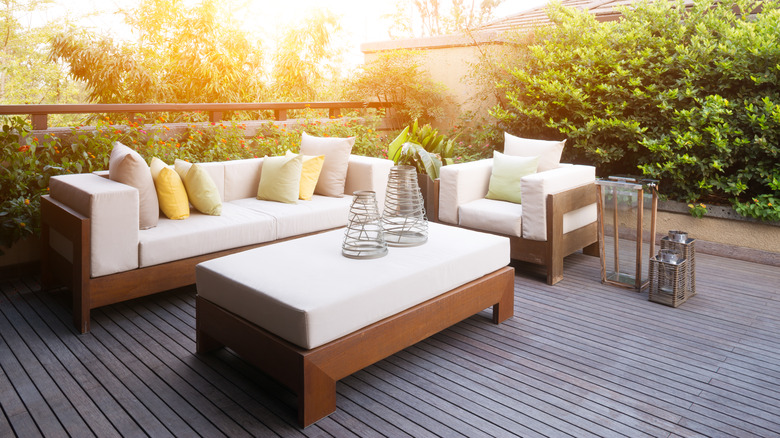
Don't Spend Hundreds On Outdoor Seating This Spring, DIY It Instead. Here's How
We may receive a commission on purchases made from links.
Ah, spring! Vibrant blooms, inviting sunshine, and an impeccable opportunity to make your backyard or patio space feel like a resort. But why splurge on high-priced, store-bought outdoor seating when you could instead channel your inner DIY mastery to fashioning your own creations? Whether for a change of scenery for your reading escapades or a laid-back gathering where laughter blends with grill sizzles, these DIY seats for greenhorns and seasoned DIYers guarantee a comfortable retreat from the daily grind. It's simple: slice wooden pieces to size, assemble them, and finish off with sanding and painting.
Thinking you're ill-equipped for this undertaking? You'd be surprised by the multitude of supplies within your reach. Starting from the basic requisites: screws, sandpaper, saw, and wood glue are readily available at local hardware stores without tugging heavily on your purse strings. And if manual sanding isn't your cup of tea? A rented electrical sander fits the bill. You could even lease an electric circular saw from a nearby Home Depot for $18 per four hours, or $25 per day.
As for the paint (the icing on the cake), strike a balance between aesthetics and the practical considerations of durability and price. Repurposing timber or pallets is an eco-friendly way to trim your expenses. Plus, most supplies you purchase today are reusable for future DIY projects. One word of caution amid this burst of resourcefulness: let not your enthusiasm overshadow the need to abide by the applicable safety measures.
Steps to DIY your outdoor seating
Begin this outdoor DIY furniture hack by slicing your wooden planks into proportionate segments with a crosscut or electric saw. The lengths of the frame base and back frame play the game of choice, varying between the cozy intimacy of a one or two-seater and the sprawl of a three-seater. Construct the frame base by affixing the outer planks first, then evenly space the center supports. For all the connecting points, embrace the magic of an adhesive like Titebond II Premium Wood Glue, sold on Amazon for $16.89, then secure the bonds further with two pocket hole screws.
Keep that momentum flowing and sculpt the legs. Bond them to the frame base using the same glue and screw method as above, ensuring appropriate seating height. Pressing forward, chop 1x6" planks matching the length of the frame base for the seat decking. Arrange these pieces with gaps for easy drainage and screw them into place. Next, the back support suffices, demanding a firm wooden rail screwed to the back of the armrests' upper planks. Fancy an angled backrest? Anchor slanting planks on the armrest to hold the top rail.
Proceed to fasten two evenly spaced vertical and horizontal planks for cushion support, then polish your DIY masterpiece with 80-grit followed by 120-grit sandpaper. Next, apply a coat (or two) of spar urethane, chalk paint, outdoor latex paint, or teak oil to weatherproof your outdoor furniture. Duplicate the steps for additional couches, then crown your masterpieces with foam cushions.