The Nail Clipper Hack That'll Ensure A Fuller Garden This Spring
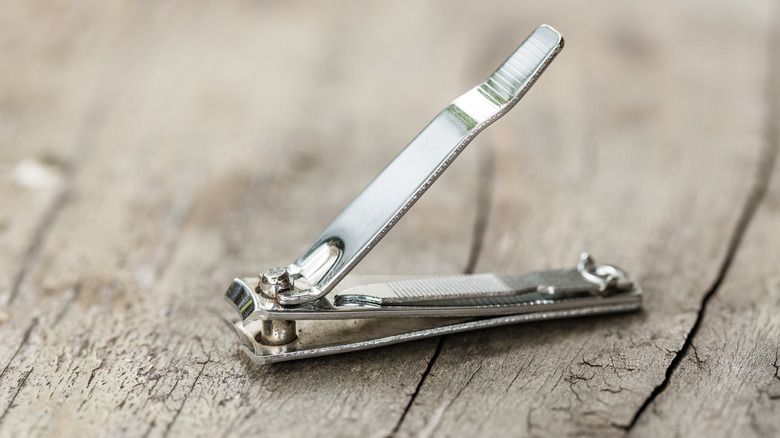
Have you ever spotted a plant growing through the sidewalk and wondered how it survives? Meanwhile, your carefully tended seeds won't budge from their cozy starting containers. Most plant seeds will germinate rather quickly without much effort on your part, but it can be very frustrating when some require very specific environmental conditions to be met. These seeds are sometimes called "hard-to-start" and include morning glories, sweet peas, moonflowers, penstemon, alliums, spinach, beans, and more. If you're working with these hard-to-start seeds, take a look in your bathroom drawer for a nail clipper; a quick manicure may be all they need to get going.
Some seeds are referred to as "chemically dormant", which means that they need to be soaked in water or exposed to cold temperatures to begin to germinate, a process known as stratification. "Physically dormant" seeds are another variety of hard-to-start seeds that require a gardener's delicate touch to begin growing. Scarification — the process of breaking down the seed coat to allow for better germination — is a great task to do in February to prepare for your spring garden. You can do it easily with the help of trusty nail clippers.
Mimicking natural scarification with a nail clipper
Seeds that need to be scarred usually have a thick, smooth shell that is too hard to crack through with your fingers. The seed will have a difficult time absorbing water unless this shell is disrupted. Sweet peas, nasturtiums, spinach, and several varieties of beans tend to have physically dormant seeds, which means that they will benefit most from scarification. If you aren't sure whether to scarify your seeds before planting, try soaking one seed in water for several hours or overnight. If the seed swells, it doesn't need to be scarred, but if it stays the same, this means that water is not being readily absorbed through the shell.
To scarify your seeds with a nail clipper, hold one seed between your fingers and lightly clip at the side of the shell just until the internal seed is revealed. Be careful not to cut too deep and risk damaging the plant embryo — or chopping your seed in half entirely. Instead, use just enough pressure to leave a subtle scar indentation on the seed. If you don't have a nail clipper on hand or you're worried about damaging the seeds, you can also use a nail file to buff away a few spots on the hard exterior shell. After scarring the shell, plant the seeds at the depth recommended on the packaging and water thoroughly to encourage germination.
Why does this hack work?
For many gardeners, it seems counterintuitive that you would want to damage seeds before planting them. However, many physically dormant seeds are meant to be roughed up by the environment or ingested by animals. When these seeds are eaten, their hard shells are scraped slightly by the animal's teeth and other stomach contents or weakened by the strong stomach acid. When they eventually pass out of the animal, the shells are no longer so tough, which allows water to seep in past the hard exterior surface and activate the embryo inside. As a handy bonus, physically dormant seeds will often already be surrounded by some helpful moisture and nutrients left behind in the animal droppings.
How does artificially scarifying your seeds lead to a fuller garden? Scarification can greatly increase the number of successful seed germinations, even if you accidentally damage and lose a few plant embryos in the process. Seeds that have been scarified also tend to set root and grow much faster than their non-scarred counterparts. More successful and fast-growing seedlings lead to a fuller, healthier-looking garden and colorful flowers that will bloom in early spring.