Turn Garden Pavers Into A Custom Modern Planter With TikTok's Easy DIY
We may receive a commission on purchases made from links.
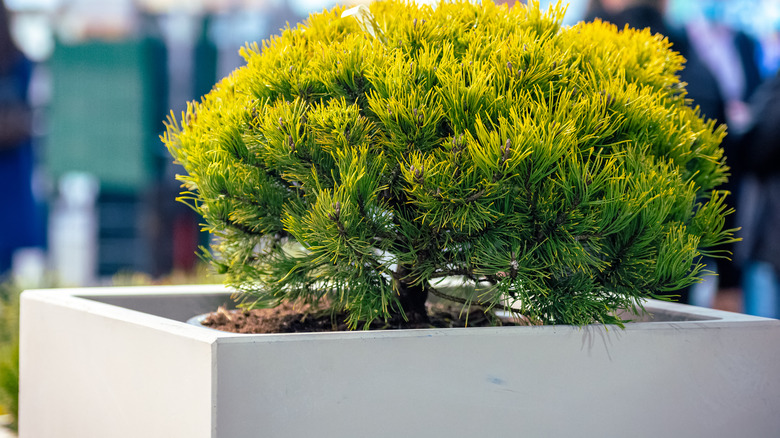
You've been eyeing those chic cement planters at your local gardening store for a while. They're so expensive, though! You can't justify the cost, no matter how good you think they'll look on your back patio, sunroom, or garden bed beside your front porch. Guess what? If you've got even a whiff of talent for DIYing, you can make them yourself — with far less impact on your wallet. The simplest way is to grab five pavers of the same size and a tube of landscape block adhesive and glue them together to form an open cube at the top. Stretch your skills by drilling drainage holes.
A quick search on Amazon for "square concrete planters" reveals prices ranging from $25 at the lowest to over $150 at the highest ... for a single pot. If you, your friends and family, or people in your local freecycle group have spare pavers, your new planter will only set you back the cost of the glue and maybe a new drill bit. Just think about it this way — you're saving those pavers from cluttering someone's basement or, better yet, the landfill. Plus, you can customize your new planter to your needs: choose your preferred size or paint the pavers to match your existing patio decor. Pavers are arguably more durable than ready-made planters, too; they're designed to hold up to heavy foot traffic and adverse weather for decades.
Gather the materials and tools
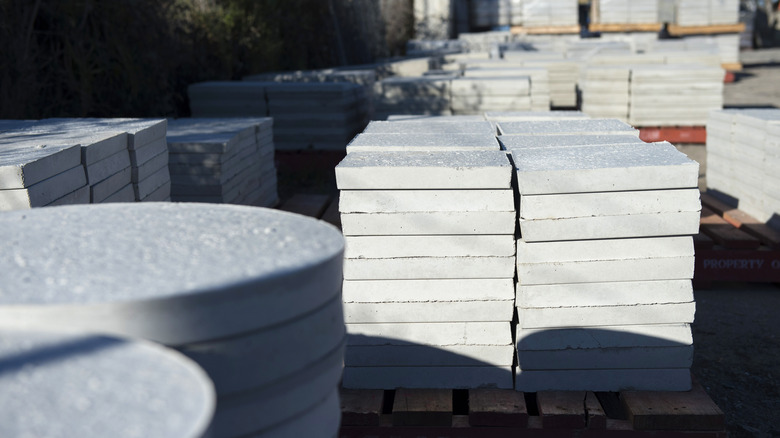
Need pavers? Ask your neighbor who you know just redid their garden paths. Create "#ISO" ("in search of") posts in your local Buy Nothing group. Search Facebook Marketplace for people offloading leftover blocks. A word of caution: Don't use upcycled cement paver planters to grow edible plants. Concrete is porous; contaminated bricks leach nasties, like lead paint, asbestos, and harmful chemicals, into the soil. Big box retailers also offer affordable individual paving stones. Lowe's, for example, sells 12 x 12-inch concrete patio stones in four colors (gray, red, white, and tan) for $4.68 each. Square is the easiest shape to work with.
You also need a glue designed for affixing pavers. Home Depot sells a 10-ounce tube of the go-to Loctite PL 500 Landscape Block Adhesive for $7.18. Liquid Nails makes a low VOC alternative — a 10-ounce tube is $8.38 at Walmart. If you want your planter to have drainage holes, you'll need a standard drill — a hammer drill isn't necessary — fitted with a bit capable of drilling through cement, called a masonry drill bit. Diameter-wise, anywhere between 3/16 and 5/8 of an inch will work. A Bosch 5/8-inch masonry drill bit will set you back $8.99 at Menards. Get a 13-pack of 3/16-inch Owl Tool masonry bits for $17.99 on Amazon. Finally, find a caulking gun to apply the glue, gloves to protect your hands, and, if you're planning to drill drainage holes in one paver, protective goggles.
Make your paver planter
Clean upcycled pavers before you use them. Sure, raw or stained concrete gives off that coveted industrial farmhouse aesthetic, but no one wants to work with actually dirty blocks! A sturdy scrubbing brush and sudsy water should get the job done. Allow the blocks to dry completely before gluing — at least a few hours. Assemble your pavers before gluing them together to ensure the resulting planter looks as you anticipated. Pick up your first paver and pipe a generous line of landscape block adhesive down one side. Connect that paver to the inward-facing flat edge of a second paver, forming the first corner of your cube. Repeat for the other three pavers.
Splotch beads of glue onto the base of your cube, along the outside rim of all the pavers. Firmly press the final, fifth paver onto that base. Using dots of adhesive rather than lines will create automatic drainage holes. If you're worried about soggy roots, use your drill and drill bit to create 4 or 5 holes in the paver before gluing it to the planter frame. If you plan to place your new cement planter in a garden bed, don't attach the base — your soil is the base! Just be 100 percent sure of your planter placement. Once a plant is established, it will be tricky to move it. Your planter will be ready to use after 24 hours of curing time (or the time directed by the glue manufacturer's instructions).