Reuse Old Jars To DIY A Gorgeous Cookout Utensil Caddy Just In Time For Spring
Springtime usually means that it's finally warm enough to haul out the grill or picnic basket and enjoy some prime outdoor dining. While you may envision leisurely meals outside under the sun or stars, the reality of al fresco dining can be work intensive, involving a lot of hauling dishes, utensils, and foodstuffs back and forth from the kitchen to wherever you are eating. YouTube's Simple Cheap and Easy DIYs has a great solution for turning empty glass jars into stylish and sparkly utensil holders that not only look perfect on a picnic table but are excellent for organizing silverware and other essentials. Even better, these cute jars can be created with just a few Dollar Tree supplies for under $5.
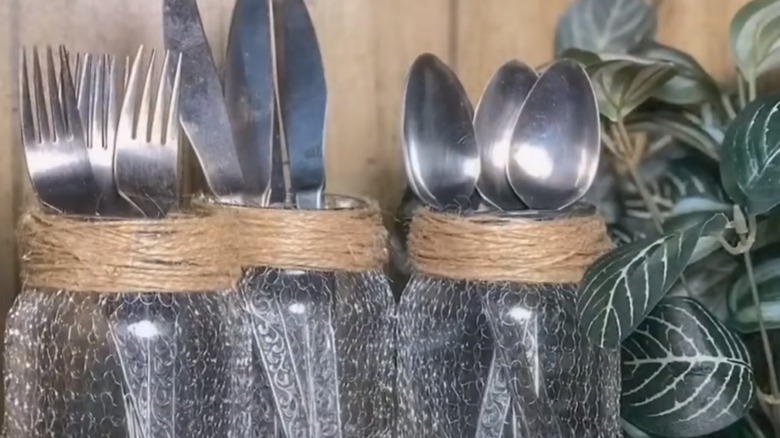
To create your utensil caddy, you will need several upcycled jars, a pack of stainless steel scrubber pads, jute twine, and a hot glue gun. The DIY is a perfectly easy project anyone can do and a great alternative to more expensive containers that hold silverware from retailers that cost much more. In addition, the end result is a strikingly lovely caddy that adds a cool industrial and rustic vibe to your table.
Making your DIY jar caddy
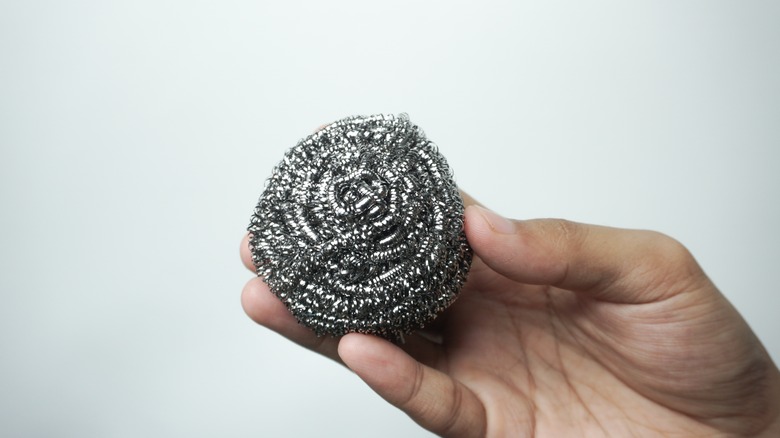
To create your DIY utensil caddy, thoroughly clean and remove any labels from your jars. Place the center hole of the stainless steel pad around the neck of the jar and pull it downward, which will allow you to stretch the mesh material along the jar while holding it at the top. Pull down until there is a single layer of mesh, then trim off any excess (you should be able to do more than one jar per scrubber.) After trimming, secure the bottom of the mesh to the base of the jar using hot glue around the bottom edge while making sure the jar still sits flat on its base.
Once the bottom is secure, begin wrapping the top in jute twine, which will add a cute accent and secure the top of the mesh along the jar. Wrap around several times until you achieve your desired thickness, then use another dab of glue to secure the end.
How to use your caddy
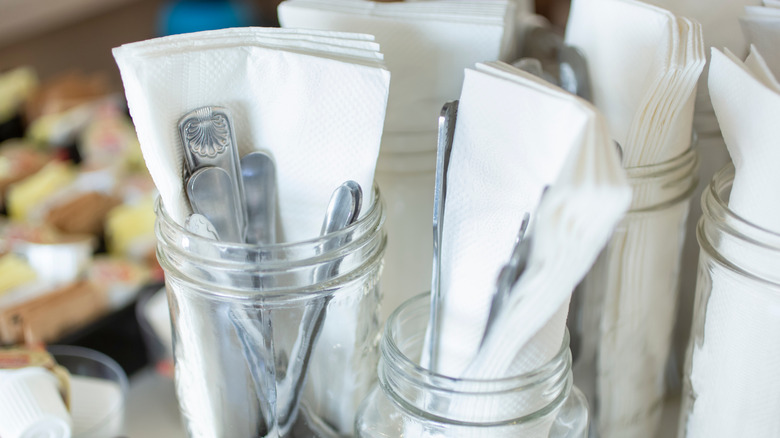
Fill your jars with eating utensils, grilling tools, paper napkins, straws, or other outdoor dining essentials. Leave the finished jars loose or place them in a basket, vintage toolbox, or other variety of container to make them easily portable from place to place. The wire mesh will keep them from knocking together quite as hard in transit and will help prevent cracking or breaking. These jars are also great for nesting inside your picnic basket or small cooler for on-the-go dining. You could also make several jars into a single caddy by adding a few dabs of hot glue between the jars or affix them with pipe clamps to a handled cutting board to make an easy-to-carry grouping. Or swap out the glasses for your newly outfitted jars in this great utensil caddy DIY using a Dollar Tree paper towel holder.
Customize your set of jars further by using colored twine or using copper scrubbers instead of silver. The YouTube tutorial suggests this same design could also be used as a pretty vase for your outdoor table. You could also put them to use as a sparkly lantern by adding votive candles or LED lights, perfect for lighting up your picnic table or outdoor party area.