Darken Wood Floors With Two Simple Products You Already Have
Although a stain can add an attractive, distressed look to wood flooring or another woodworking project, store-bought wood stain can cost as much as $50 or more per gallon, so it can be hard to justify the hefty price tag. In addition, oil-based wood stains also tend to contain harmful chemicals such as petroleum, formaldehyde, and sodium peroxide that are better to stay away from. Fortunately, you probably already have everything you need at home to stain your wood and achieve an amazing look easily and affordably.
A simple and natural combination of vinegar and steel wool can allow you to darken wood floors for a few dollars without coming into contact with dangerous chemicals. Together, these ingredients create an "iron acetate" mixture that can be used to ebonize wood. This solution can be the perfect choice — whether you're in a hurry and need to complete a project or you're low on funds.
Creating a vinegar and steel wool staining solution
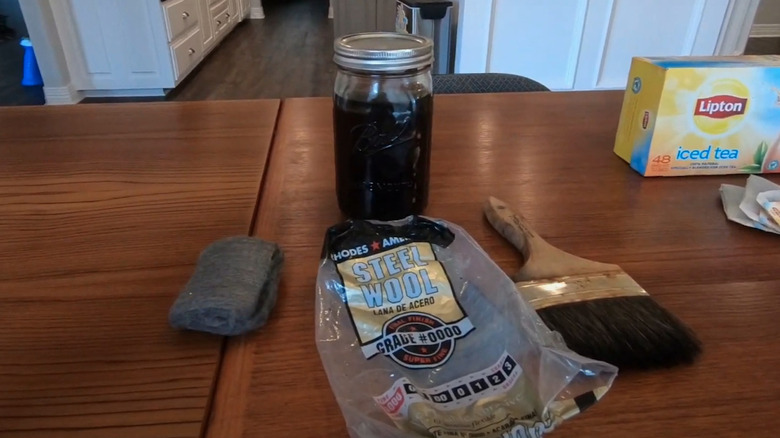
To create this DIY wood stain, you'll need to get some steel wool and place it inside a bucket. Then, add vinegar, mix it up a bit, and let the combination soak for at least 12 hours. Although 12 hours is the minimum, you can let it sit longer. More time will affect the color and make it a bit darker, so you may want to leave it anywhere from 12-48 hours. There are other methods for making the final result darker as well. One option is to add a coat of black tea before applying this mixture. Another is to simply add additional coats of this DIY wood stain.
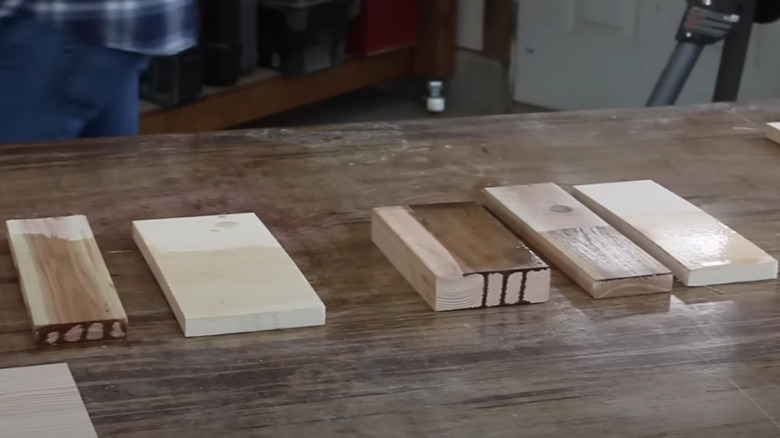
Any type of vinegar can work for this, but each shall give a slightly different color. Distilled white vinegar, ideal for cleaning, is the go-to wood-staining option. You'll also get somewhat different color results based on the type of wood you're staining, so you may want to spot-test it before using it. After you've let the solution sit in the bucket for a sufficient amount of time, it's a good idea to strain the mixture using coffee filters or another tool. This will help make the mixture easier to apply. You can also then store it for later use.
Applying and maintaining this DIY wood stain
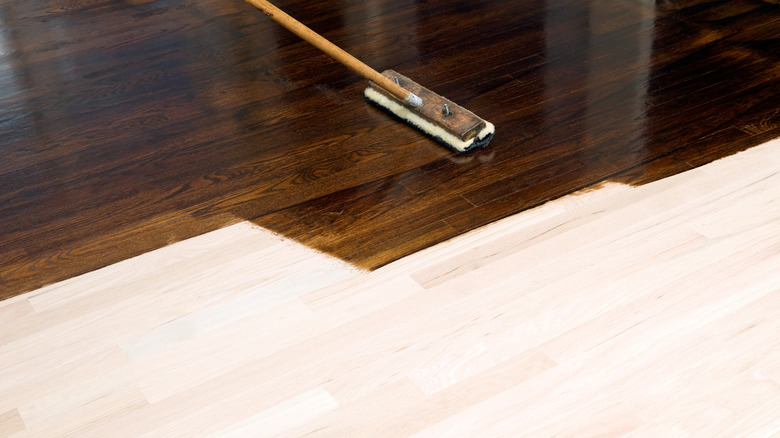
Once you're done making your DIY wood stain, it's ready for application. To do this, you'll need to dip a brush in the mixture and start brushing the wood with the grain. Do this as evenly as possible. As it dries for a few hours the color will deepen, so don't be surprised if some time passes before it achieves the look you desire. You may need to go back and apply some of the DIY stain to a few spots if it doesn't seem even enough. If you want a darker appearance, you may want to apply another coat of the solution.
After you're done, let the stain dry for at least a few days before you apply any other products or solutions to the wood. While this is an optional step, adding wax can help the wood shine and make it look amazing. On the other hand, you may want to skip the wax altogether if you prefer to weather wood for a more rustic look.