How To DIY Clean Your Air Ducts Just Like The Professionals
Central air and heating systems are a must-have for modern living, but they do require maintenance to keep them operating efficiently. A key part of these systems is the air ducts that allow air circulation throughout your home. One of the benefits of keeping your ducts clean is removing dust and other particles that tend to build up inside them. This buildup can reduce the free flow of air in your home, making your heating and cooling units less efficient and costlier to operate.
The cost to clean your air ducts with professional help averages close to $400. Considering the frequency with which you should clean your air ducts (every three to five years), the costs can add up over time when you hire a pro. DIY duct cleaning can save you money, and you can perform the work as often as you want. We'll break down the steps you need to follow to clean your air ducts like a pro, using some items and tools you may already have at home.
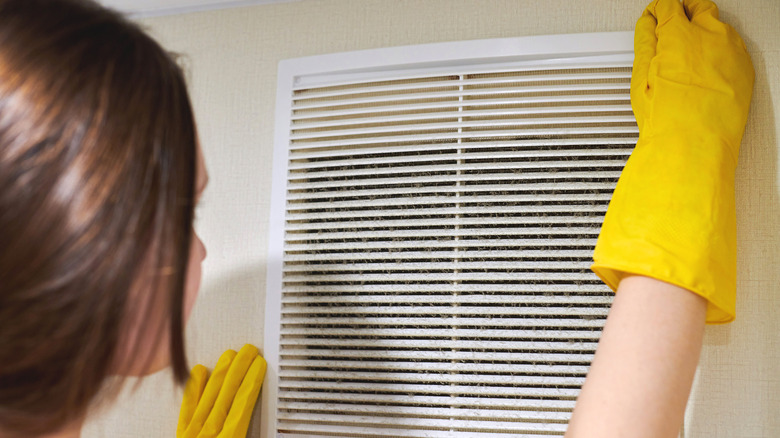
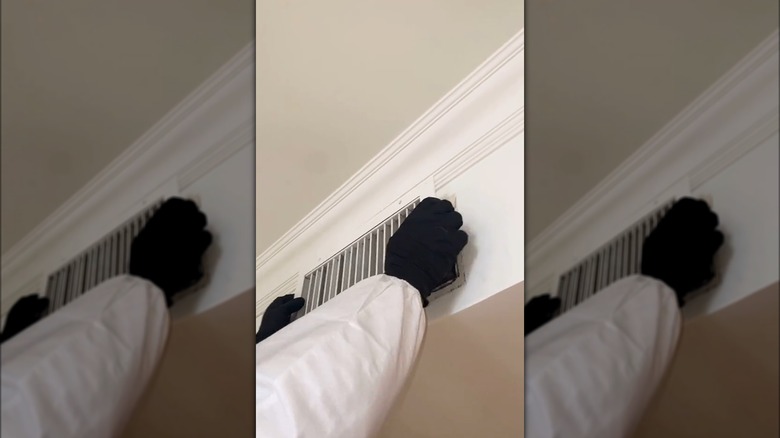
Remove the registers and cover your air supply vents
Start by removing the registers for both the air return and supply vents. Most of them are easy to remove by hand with a screwdriver. Keep the screws in a secure place so you can reattach the registers later.
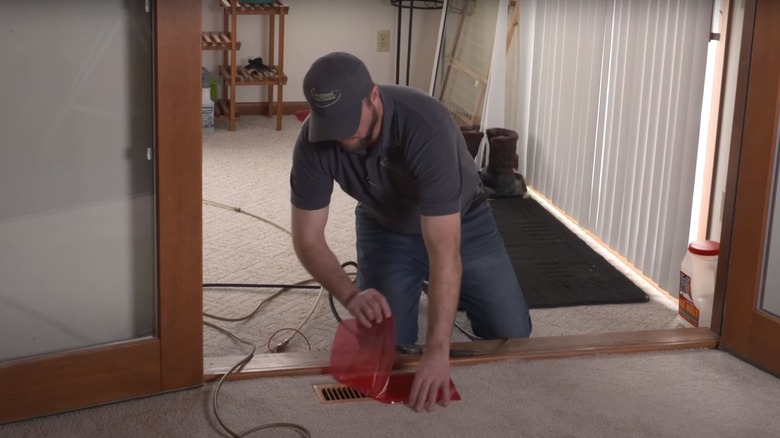
Now you need to figure out which vents provide air supply to the rooms in your home and which are return vents, meaning they draw air from the home and feed it to the heating and cooling system. The supply vents blow air out into the room. To determine which vent you're looking at while the system is running, hold a tissue near it and see whether the tissue moves. If the vent is drawing air in, the tissue should pull toward and stick to the register. If it's a supply vent, the tissue will blow outward.
Once you know the difference, cover the supply vents with paper towels or plastic. Set the register on top of the paper towel or plastic to hold it in place. This step prevents dust and particles from escaping into your home as you're cleaning in other areas.
Turn the thermostat to fan-only mode
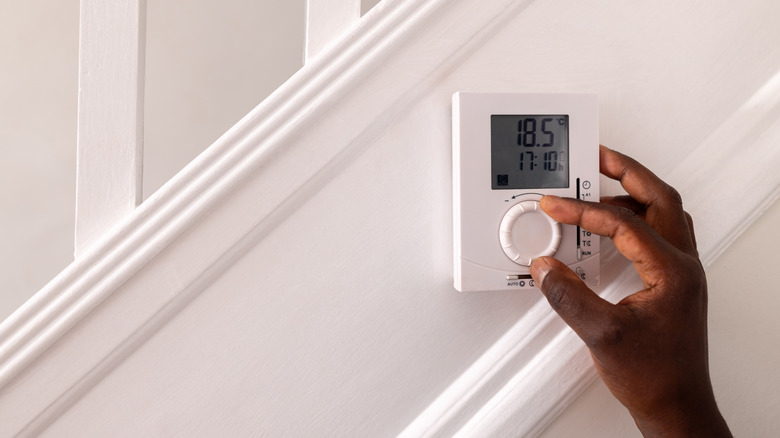
Before you start cleaning, shut down the heating and cooling system while leaving the air fan blowing. Most thermostats have a fan-only mode that you can use for this step. If yours doesn't, set the thermostat to heat mode.
By keeping the fan blowing, you'll move dust through the ducts to where you blocked the supply registers. This simplifies cleaning, as you won't have to reach as far for removal.
Loosen the debris inside the vents
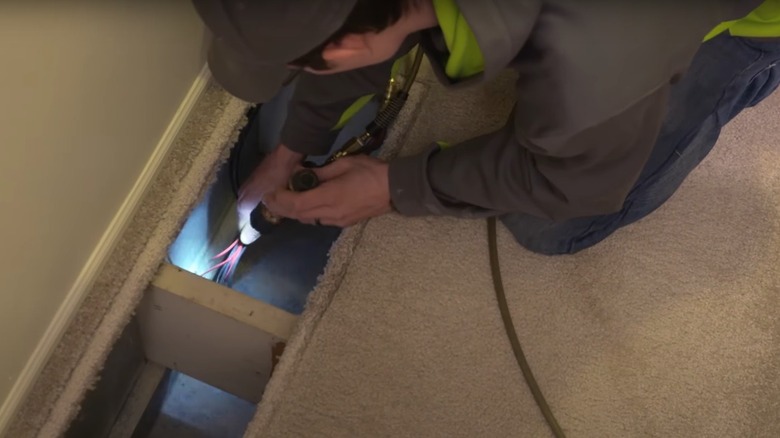
Use a brush to loosen the dust and debris from inside the ducts. You may want to use a flashlight to help you see anything that needs to be brushed loose. Start with the uncovered air return vents, tapping the brush handle against the sides of the ducts to loosen clumps of dust and other particles. Then, move your brush against the ductwork to scrape loose any additional debris and dust. Continue using this technique with all of the return vents.
Vacuum loose debris from the ducts
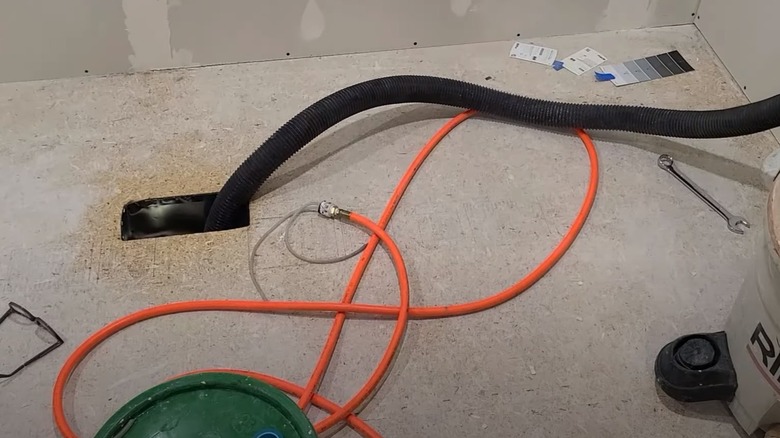
Use a wet-dry vacuum or the hose attachment on a regular vacuum at the return vents. The vacuum should pull out any accumulated debris, like pet fur or other items. Slide it into the vent as far as possible, using a flashlight to help you see any waste.
Because you were running the system fan while brushing the debris, much of the dust should have blown toward the air supply vents. Go to the supply vents one by one and remove the plastic or power towel you placed over them. Using the flashlight and vacuum hose, draw any dust out from these areas, again moving the hose as far inside as you can. Move from supply vent to supply vent, replacing the plastic or paper towel each time after vacuuming it.
You can also use a damp rag to wipe inside the vents on both ends to remove more stubborn dust.
Use an antimicrobial spray
If you believe you have mildew or mold in your vents, add an antimicrobial spray. This can help to remove fungi, prevent future growth, and also alleviate odors.
TikTok user Twin Traps created a video to show the precautionary steps you should take if you believe you may have mold inside your ductwork when you're cleaning it. Notably, wear protective gear and find a HEPA vacuum to keep yourself safe from exposure to mold spores.
Clean and replace all the registers
Once you finish cleaning all the vent interiors, you can remove the plastic or paper towel covers from the supply registers. Clean their surfaces with a vacuum and brush attachment, a wet rag, or a butter knife or flathead screwdriver inside a wet rag to move between the slats. Remove dust, pet fur, and other debris from both sides of the covers. Once they're clean, reattach them with the screws you removed earlier.
Clean out the furnace's blower compartment
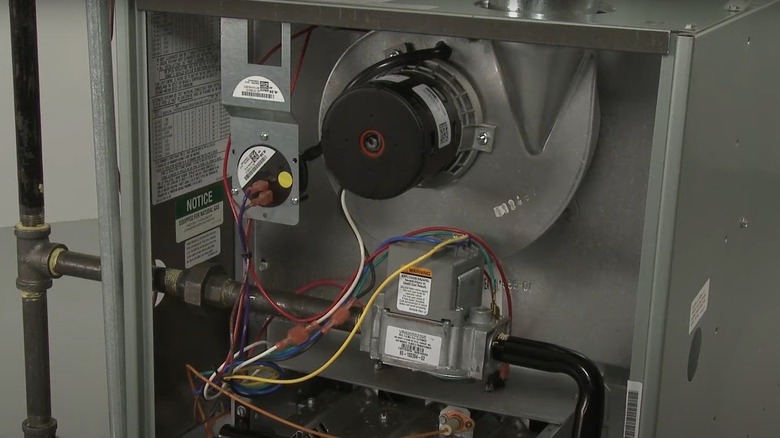
One final cleaning step you should take, if you feel comfortable doing so, is cleaning any debris from the furnace's blower compartment and return air boot. First, turn off the fan on the thermostat and shut down the entire system. Also, shut off power to the furnace — either by flipping the on-off switch installed near it, or by turning off the circuit breaker for the furnace.
Remove the panel from the front of the furnace, which may simply slide in and out of a groove or may have a few screws holding it in place. Use your vacuum hose to remove debris from this area, taking care not to loosen or damage any of the wiring, insulation, heating elements, or other components. Replace the panel afterward.
If you don't feel comfortable with this step, a furnace repair company will often clean out the blower compartment as part of an annual maintenance and inspection service (which you may already be paying for).
Replace your furnace filter and turn the system back on
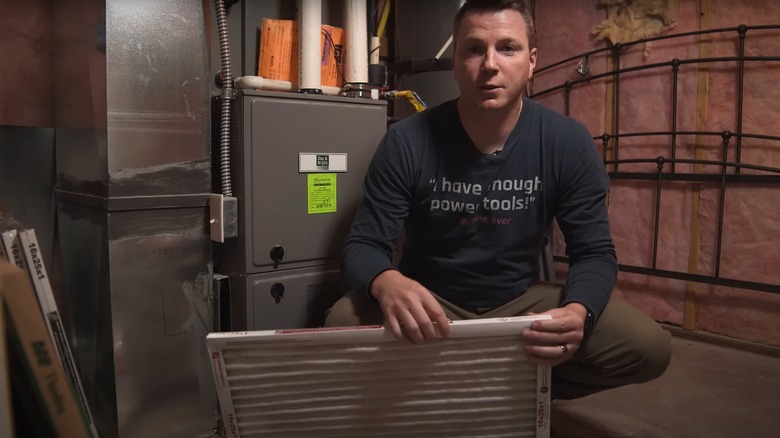
As one final step, replace the furnace filter. Having a clean filter is beneficial after you've been stirring up debris inside the ductwork. Just be sure to add the correct size replacement filter or you could damage the unit.
Once you've swapped in a new filter, turn the furnace back on at the switch and re-engage the thermostat. Switch to heating or cooling mode and let the system run for about 20 minutes. Listen for any odd noises or take notice of any areas where the system doesn't seem to be operating correctly. If you have issues that you can't identify, shut down the system again and consider calling a professional repair team. Such noises could indicate damage to the ducts or clogs inside the system somewhere.