Turn An IKEA Photo Frame Into The Dreamiest Indoor Planter With TikTok's DIY
Are you looking for a trendy indoor planter, and itching for a good DIY option? Well, look no further. Thanks to @antisocialplantclub on TikTok, you can use an IKEA photo frame to craft your own.
This project is relatively simple: all you have to do is prepare it for your plants, add some soil, insert your greenery, and you're good to go. You can place this practically anywhere around your home as a decorative piece, and it's certainly eye-catching. It's an excellent opportunity to add some creative decor to your arsenal that's bursting with color and green hues. Not to mention, it's also gentle on your purse strings — so if you want style on a budget, then this is ideal.
To make this fun DIY planter yourself, you'll first need a 3D IKEA photo frame. The particular product in the TikTok is the VÄSTANHED, which has a depth of 2 1/4 inches and is available for $8.99 off the IKEA website. There is also the SANNAHED, available for $19.99, which sports a more "modern" look at the same depth. You'll also want scissors on hand, potting soil, black plastic net meshing, a small stick to open up space for planting, and the plants you want to put in there. This could be some nursery ones or smaller succulents. Now, we'll take a look at the next steps.
Turning your IKEA frame into a planter
First, disassemble your IKEA product by removing the back, the glass front, and the piece of display paper inside. Once that's done, grab your netting and your scissors and cut a piece to size so it fits snugly inside the frame. Remove the inner frame piece and slip the netting in before reinstalling the inner piece and the back of the frame in their original place. If you want to customize the look, paint it — however, this is ultimately your choice. Now that your base is ready to go, add and spread the potting soil into the depth of the box until it fills to just underneath the net, tapping lightly to help sift it through.
The final step is to transfer your plants into your new planter, which you can do by inserting a small hole to go in through the netting and soil before slipping each into place. This is a great opportunity to add some color, so take your time to play around with the design. Once you cover the roots of your first plant, move on to the next one and repeat until you're happy with how it looks. Make sure you lay it flat while you do this, to avoid the contents inside spilling, and as a result, you should be left with a stunning planter that will lay flat or prop at an angle anywhere around your home. Just don't place it upright.
Don't let mold ruin your IKEA frame planter: Take extra steps
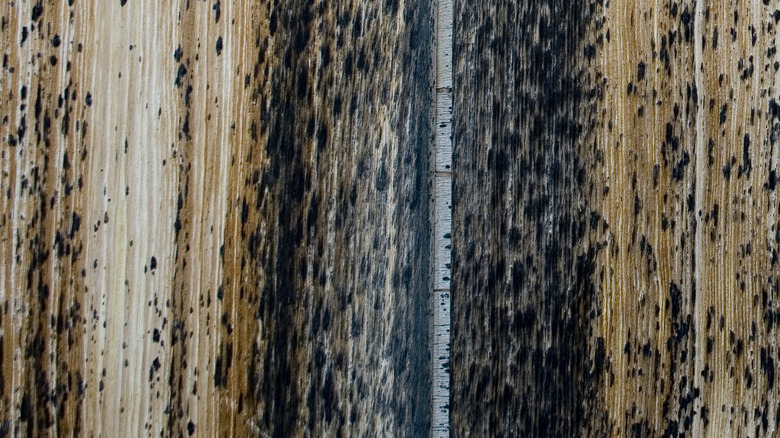
However, there's one potential problem with this DIY that you need to take action against: mold. Many users highlight this concern in the comments on TikTok. The mold issue boils down to the design and wooden materials used: there is little room for the water to escape, so it could build up with the wood and eventually make your decorative item into a moldy mess. So, how can you solve the issue? To ensure this planter stays in good condition, you'll want to waterproof it and create some drainage, which will require a few amendments on your behalf.
You'll want to arm yourself with some wood sealant, a plastic sheet, an electric drill, and a shallow rectangular dish for your DIY to sit and drain in. Once you have everything you need, you can get to work, but keep in mind this will need to be done at the start — before you insert your plants.
Begin by disassembling your frame and give each piece a lick of wood sealant before allowing it to dry. When it's dry, snip a piece of plastic to line the inside of it and add your netting. Reassemble it to hold everything together. For the last step, grab your screwdriver and drill a few drainage holes into the back of the product and plastic. Now, you should be able to go in with your soil and plants as usual, and enjoy this great way to repurpose inexpensive IKEA photo frames without concern of mold ruining it.