This IKEA DIY Turns A Basic TARVA Dresser Into A Showstopper
Feeling crafty? If you're one of those savvy DIYers who love IKEA hacks, this project is worth setting your sights on. With a few clever upgrades, you can transform your basic TARVA dresser from IKEA into a stunning one-of-a-kind piece. Made of untreated solid pine, this three-drawer chest provides a sturdy base for the craft master to unleash their creativity. Even if you're not a self-proclaimed master just yet, don't sweat it because this project is beginner-friendly, and no woodworking is required. A four-part video tutorial will walk you through every step of the process.
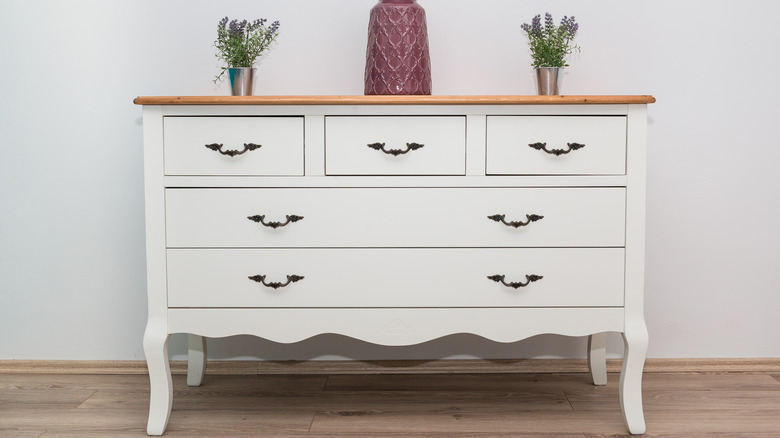
You will be amazed what a few coats of wood stain, paint, and sheets of wallpaper can do for this dresser. Add decorative paneling and knobs into the mix, and you'll have yourself a show-stopping custom chest that will become the focal point of your space. Plus, a few subtle and easy enhancements will take your TARVA makeover to the next level.
How to give your TARVA dresser a show-stopping revamp
In a four-part video series, TikTok user @hovelsweethovel demonstrates the easy steps to transform your IKEA dresser. You can find all four videos on the TikToker's channel. To recreate this look, you will need sanding sheets, Varathane wood stain in dark walnut, white paint, white Brewster paintable wallpaper, a drawer panel kit by O'verlays, and gold T-knob hardware from Home Depot. To jump-start the process, we recommend ordering your materials in advance.
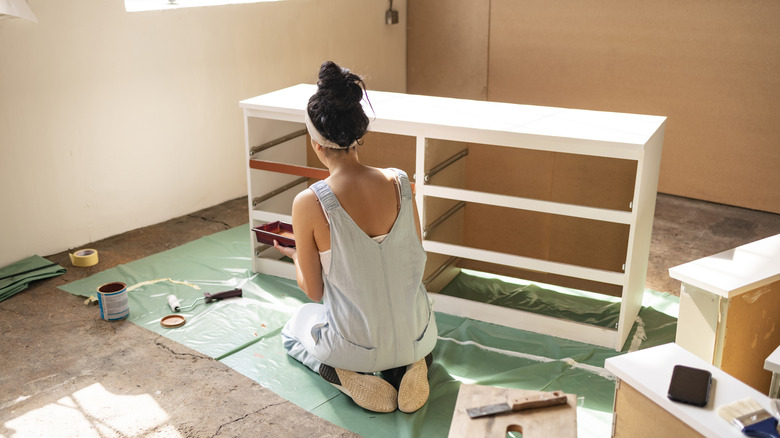
Once you have everything you need and have prepared your work surface, the first step is to pull the drawers out of the dresser and remove the knobs. Sand the dresser and drawers, wipe off dust and residue, and then stain them with your wood finish. Remember to give the stain enough time to dry. This stain may be dry to the touch in a few hours, but the entire process could take up to 48 hours. Next, coat the drawer faces with white paint. Once the paint is dry, measure and cut the wallpaper to size and apply it to the drawer faces. Prepare the O'verlays panels by sanding them thoroughly and coating them in white paint. Once dry, install the panels onto the drawer faces. Attach your new handles, working carefully to avoid damaging the wallpaper. Move the dresser into place and, for safety, anchor it to the wall with the tip-over prevention hardware included with the dresser.
Easy enhancements that will elevate your TARVA dresser
If you'd like to take your dresser makeover a step further, we have some creative enhancements for you to consider. Instead of basic T-knob handles, upgrade your drawer hardware for a chic new look with art deco or vintage-style designs, such as sunbursts, crescents, or decorative globe knobs. Another way to add elegance to the drawer faces is by swapping the trim for a contrasting design, such as the Anne Kit by O'verlays.
This makeover would not be complete without a functional component. A set of box organizers or dividers can totally transform your dresser storage and allow you to get maximum use out of each drawer without compromising on aesthetic appeal. For extra flair, line the bottom of each drawer with decorative paper. Curate the top of your dresser with carefully chosen decor, such as an artisanal ceramic vase or table lamp, and complement it with a standout gallery wall. It's safe to say that you'll no longer recognize your basic IKEA dresser once this DIY transformation is complete.

