DIY Unique Stained Glass Windows With An Easy Glue Trick
Creating your own faux-stained glass is easier than you might think, but you might not know that you can do it with a bottle of Elmer's glue. That's right: mixed with some acrylic paint, DIYing some color onto your glass windows with clear glue is super simple. Plus, this hack comes with a get out of jail free card in the sense that it's super easy to remove, if necessary. Here's what you'll need.
Other than clear Elmer's glue (which costs around $10 on Amazon) and acrylic paint in colors of your choice, you'll also need some painter's tape. This will help you mark out your pattern on the window. In addition, grab your precision hobby knife, or order one from Amazon for around $6. Finally, get some foam brushes. A set of 16 is perfect if you're planning on a multicolored design, and will set you back around $6 on Amazon.
As for the amount of glue and paint you'll need, that'll depend on how big a window you're hoping to color. Whatever size you decide to pursue, start with the ratio of one drop of paint to one tablespoon of the glue, and take it from there. You can mix your paint and glue together on a leftover plastic plate, or, if you aren't opposed to buying a few bottles of Elmer's glue (Amazon sells 4-pack bundles of 5-ounce bottles for around $15), pour some paint directly into the glue tube and shake it to combine. We'd still recommend using a plate as a paint palette, though, so you can get a smooth layer of paint on your brush.
Prep, then paint your window
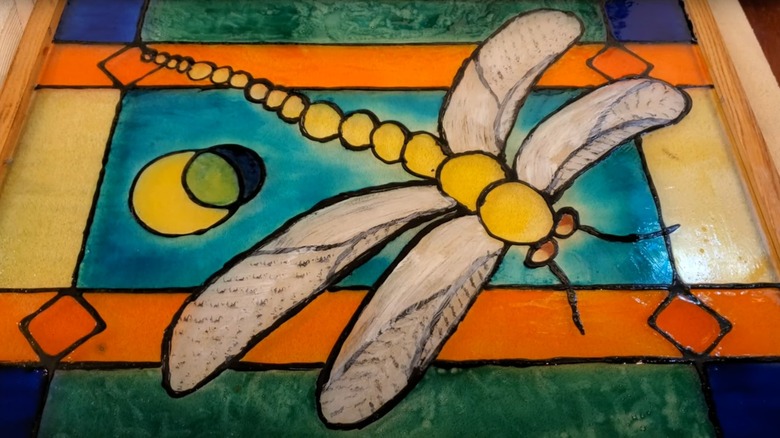
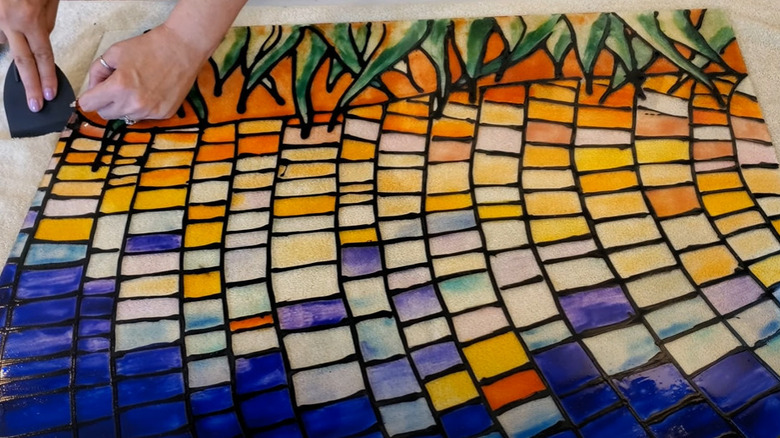
To prep your window for this DIY project, ensure it's clean, free from any dust, and dry. Once that's done, it's time to plot your design using your painter's tape. There are no rules, here, so simply go with whatever you like best, and opt for a stained glass design that feels unique to you. That could mean vertical or horizontal stripes, fun geometric shapes, or even something a little more intricate, if you're comfortable playing around with painter's tape.
Either way, once your design has been marked off, it's time to paint. Using your foam brush, apply the paint in a smooth, thin layer in each demarcated section. Once each layer is dry (bank on around an hour for that), you can add another layer until you're happy with the amount of coverage. It's possible you'll get some bubbles during this part of the process, but don't worry if you do — simply pop them with a safety pin or toothpick.
When you're done with your painting, leave it to dry completely for several hours (overnight is ideal). Then, you can go in with your hobby knife. Using a super light touch, trace around the painter's tape to ensure the tape doesn't pull off any of the glue-paint mixture. Finally, remove the tape. Voila! You'll be left with a beautiful faux stained-glass window you've done all by yourself.
You can remove the DIY stained glass if you want to
There are a ton of benefits of adding stained glass to your home, from added privacy to serious curb appeal (and let's not negate the joy you'll get any time the sun shines through the paint to create beautiful patterns inside your home!). Even so, if you'd like to remove this DIY version of stained glass, either because you're moving or because you want to try a new design, it's good to know doing so is as easy as can be.
To remove your faux-stained glass design, go in with a plastic scraper. These are available on Amazon for $2.99 and should prevent damage to the glass of the window. Alternatively, if you have a leftover plastic takeout knife lying around, that can work, too. Simply scrape at the edge of a painted section, and once a small section has lifted, pull it off. Repeat the process until all of the sections have been removed.
If you need to remove any leftover residue on the glass surface, simply go in with a cotton ball soaked in rubbing alcohol or vodka, then wipe it down as normal. Your windows will be sparkling clean in no time — and you'll be left with a clean slate for your next DIY stained glass project.