Upcycle A Cheap Plastic Bin Into An Expensive-Looking Drawer Set
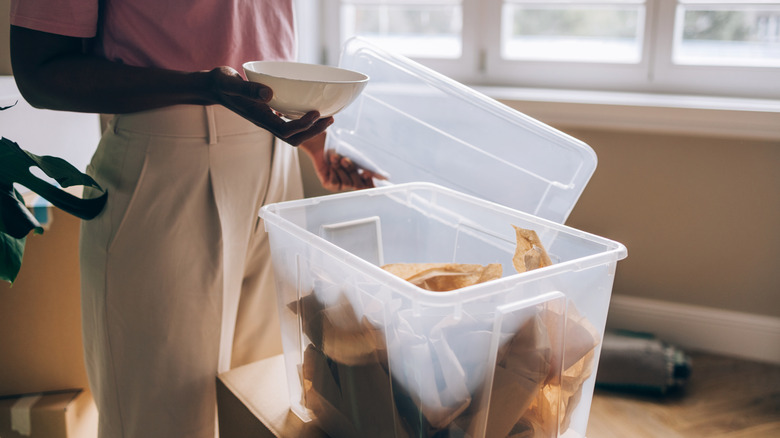
Back in the old days, young apartment-dwellers or cash-strapped newlyweds settled for "furniture" made from milk crates or cinder block stacks, with boards masquerading as shelves. Why settle for this when you can make a high-end dupe drawer set for possibly less than it costs for the unattractive milk crates and wood? Inventive YouTuber Yvonne Sama did just that on her channel Yoduvh Essentials. We can always count on Sama for genius ways to upcycle Dollar Tree finds and other unexpected budget items. She converted a large plastic bin into a rococo-esque drawer set, adding some structural materials and a bit of glitz to the bin for a furnishing that gives a bedroom or living room a touch of royalty for much less than a princely price.
Start with a 66-quart bin that's 23.5 inches long by 16.5 inches wide; the length of the bin is the height of your drawer set. Gather up a collection of upcycled cardboard boxes or stack of foam board, some wood screws, a glue gun, a saw, a utility knife, a drill, and duct tape. If this inauspicious list has you doubting, you also adorn the drawers with plenty of silver and ornamentation, so fill up your basket with silver contact paper, a can of silver spray paint, Q-Bics flexible adhesive mirror sheets, a pack of Hilitand antique metal corner protectors, and FarBoat crystal antique pull knobs. You also need corrugated plastic sheets, a 13.5 inch square of ¼-inch-thick particle board, and two pieces of 16-by-12-inch-thin craft wood.
Frame out your furniture piece
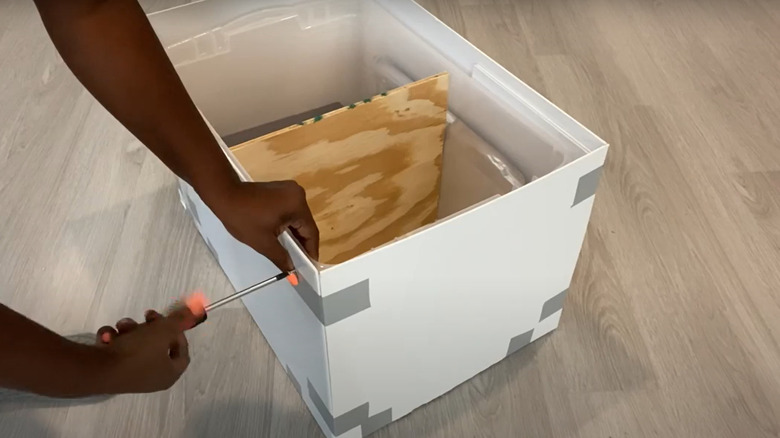
Since the plastic bin's sides and base don't make 90-degree angles, add layers of material near the base to even out the difference between the width of the bin's base and opening. Don't worry; you cover this unsightly surface with cardboard or foam board. Stack up a few pieces of cardboard that are as long as all four of the bin's sides and about half as long as its depth. Make your stacks thick enough to match the difference between the bin's lip and base. Glue them together as well as to the sides of the bin.
Grab your particle board; this piece divides the bin into two even halves where the drawers sit. You need to cut the sides at an angle that matches the base of the bin that's narrower than the mouth. Measure the width of the base and mark half that length on each corner of one side of the board. Saw along the perpendicular sides from each corner on one side of the board to the marks you made on the opposite side. Set the narrower end of the board perpendicular against the bin's base at the halfway point along the length of the bin. Attach this "shelf" with wood screws through the outside of the bin, including the cardboard layers when necessary. Cut pieces of cardboard or foam board to match the sides and back of the bin, and tape them into the shape of the bin. Add glue to the bin's sides, slide it inside the board box, and insert screws at each corner of the box into the bin.
The final finishes

Cover the box's surface with silver contact paper, hiding seams in the back and on the side touching the floor. From the corrugated plastic sheeting, create drawer boxes with a base slightly shorter on each side than the wood divider. This lets the box move in and out without too much friction once it's covered in contact paper. Hold the pieces together with a combination of duct tape and glue. Make three sides of the boxes as tall as you'd like; for the fourth side, cut pieces of craft wood to act as drawer faces as well as corrugated plastic pieces just slightly shorter than the wood pieces. The two wood faces should cover the entire opening of the bin and sit flush against the rim. If you're unsure that hot glue can hold up against lots of opening and closing of the drawers, trade it out for E6000, a glue you should keep in your home. This stuff is ideal for a heavy-duty bond between two different materials.
Spray paint the drawer faces silver, and cover both the interior and the exterior of the box portion in contact paper. Center a mirror sheet to each drawer face. In the middle of the mirrors, drill a hole and attach the drawer pulls. Adhere the metal corner protectors to each corner of the drawer face, and enjoy your efforts.