Hacks For Painting Particle Board To Give You A Clean Finish Every Time
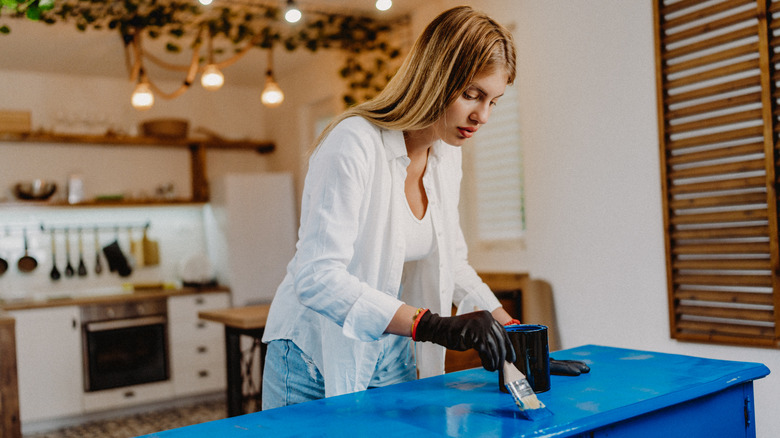
Were you excited to paint your IKEA furniture or refinish your cabinets only to find that your first coat of paint won't stick to the surface? You're likely working with particle board. Your first instinct might be to assume that the paint is old or maybe even mixed incorrectly, causing it to soak into the material unevenly. This effect can leave behind a blotchy appearance that may bubble or develop a strange texture. However, this issue isn't actually caused by the paint itself, and can be remedied by altering your painting process. Instead of diving right into repurposing particle board furniture, some helpful hacks are to sand the piece and to use a bonding primer to help the paint adhere better and create a smooth, clean finish.
The main reason why particle board needs special attention before you're able to paint it lies in the material. Generally, this is a manufactured waste material, meaning it's made from things like a combination of sawdust and some form of adhesive. This material makeup means that paint won't readily adhere to the surface without proper preparation, leading to an uneven final look. While you don't have to complete both of the below hacks to paint like a professional, utilizing them both together is your best defense against an unprofessional finish.
Sanding can help make paint stick to particle board
With particle board being one of the most popular cabinet materials and materials used in commercial furniture products due to its low cost, learning to repurpose these items rather than throw them away is key to helping keep them from ending up in a landfill. To make sure your DIY particle board upcycle looks great once finished, you'll want to take the time to sand the material down before painting. The first step to this is making repairs to any damages like chips or dents in the surface. Fill these areas in with putty, smooth it out, and allow to fully dry. Next, take some fine-grit sandpaper (around 120 grit) and use it to lightly scuff up the surface of the particle board.
You can also use a sanding block to complete this painting prep hack, but it's important to proceed with caution when opting for an electric sander. Due to the somewhat fragile nature of particle board, an electric sander combined with a heavy hand might cause irreversible damage to the material. Try to keep a light touch with the sander and pay close attention to working around the edges where the material may be notably weak.
Try using a bonding primer to help paint stick to particle board
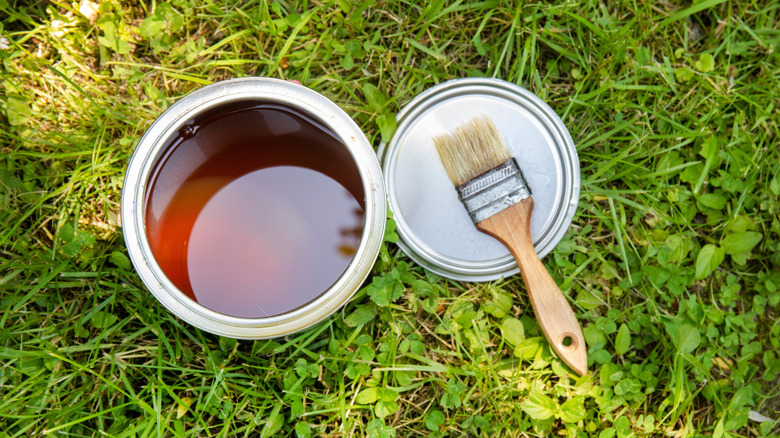
The next painting hack you can use to achieve a clean final look with painted particle board is to apply a bonding primer after sanding. A bonding primer is a specific type of preparation material that is designed to help paint stick to a tricky surface. When working with particle board, you'll want to opt for an oil-based primer rather than a water-based one. To start, crack open the can of primer and use a brush or roller to apply it, depending on the size of the board. Use two coats for best results, letting each coat fully dry after the last application. Generally, you'll want to wait at least 24 hours before moving on to paint.
It's important to note that oil-based primers can give off strong fumes that can cause health concerns if inhaled for too long. Always work in a well-ventilated area if you're applying an oil-based primer, and add a fan if you need to increase airflow in the area. If possible, it's even better to complete the project outdoors, both to reduce the risk of inhaling fumes and to help minimize any potential mess or damage to your indoor surfaces.