5 Tips For Painting Your Home Like A Professional
We may receive a commission on purchases made from links.
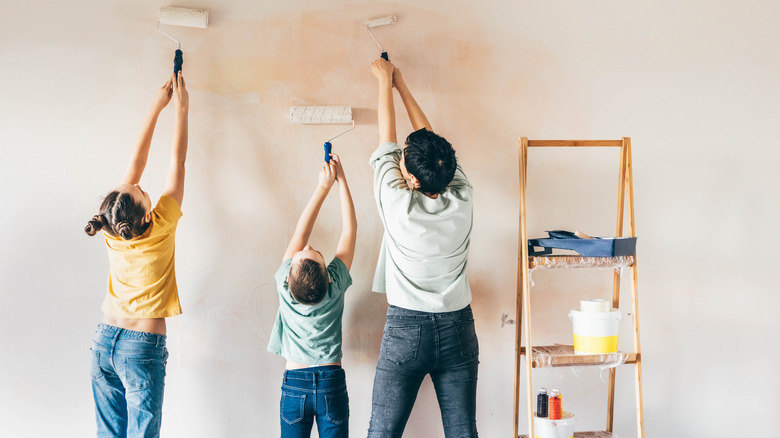
Painting your home is, for many, a rewarding task. Whether you're refreshing a room with a new coat of paint, or entirely redoing your home, the opportunity to renew your space is always an exciting time. It is also something that should be done much more frequently than you may realize, with PaintRite Pros recommending you touch up your paint at least every three to five years. While this may seem quite frequent, often used rooms like kitchens and hallways or those used by children and pets may quickly get dingy and damaged.
With this time frame in mind, learning how to properly paint your home is a skill worth investing time in. Hiring professionals is never a bad idea, but once you have the right tools, learning their tricks and tips can save you both time and money. On top of that, you'll be learning a valuable, and even profitable, skill.
Properly prep your walls

While preparing your walls for paint may seem like an exhausting, unnecessary process, professional painters never skip it. Taking the time to properly ready your walls will make the final paint job look that much smoother and brighter.
You should begin your preparation by assessing any damage, however minimal, to your walls. Use filler to patch over any cracks or nail and screw holes, and look for any other signs of damage that may need intervention. Once the filler is dry, Popular Mechanics advises sanding down your walls with 220 grit sandpaper. Begin by sanding vertically, from the bottom to top, and then horizontally. Once your walls are smooth, don't forget to clean the walls, which will prevent dirt and debris from getting caught in the paint. Use a mild soap and warm water to clean any dust off, or use baking soda to get rid of any tough stains that may be difficult to cover with paint, suggests Paintzen.
Choose an appropriate primer
In the same vein as preparing your walls for paint, you should be as meticulous as the professionals when it comes to applying primer. According to Clare, a primer is essential for a variety of reasons. For one, it adds a layer between the naked wall and the final paint, which hides stains, helps enhance the paint color, and also helps the paint stick to the wall.
The first step to a successful priming project is to select the right product. For example, some paint jobs will benefit from a tinted primer, such as when going from a dark color to light, or when using bolder colors, to cut down on how many coats of paint you'll need (via Diamond Vogel). Work in small sections with a well-saturated paint roller, going from top to bottom, until the wall is thoroughly coated, adding a second coat if needed, per Home Depot.
Avoid color discrepancies
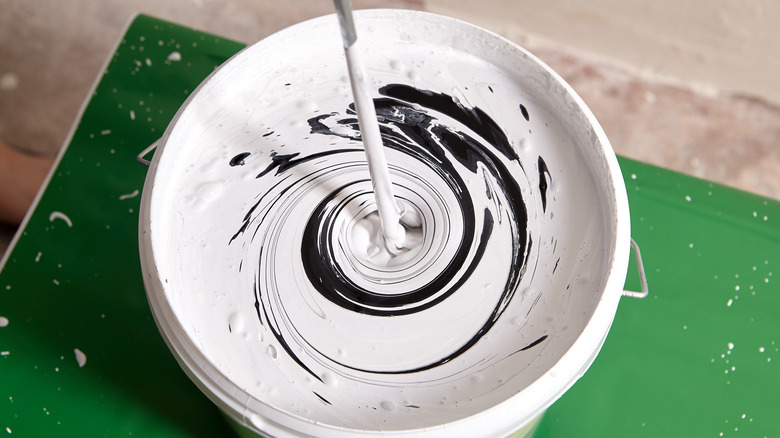
There is always a level of human error involved when paint is mixed to order at home improvement stores. As such, each can of paint can, and usually will, vary ever so slightly from the next, even if it has the same HEX code. For a quick paint job, this may not be an issue, but if you want your paint to look professional, you should work to avoid this.
This is why you should box your paint, or mix multiple cans of paint into one. This paint mixing method usually requires a five-gallon bucket, which is used to mix multiple one-gallon cans into one, explains RoePaint. This neutralizes the color differences and creates one cohesively integrated shade. Furthermore, this makes storing your paint a lot easier and safer. You can simply replace the lid on your five-gallon bucket, which secures and seals the paint, helping you avoid spills or drying out.
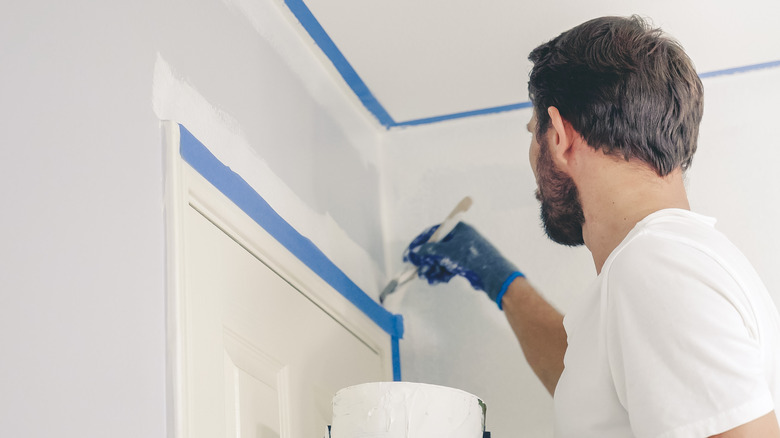
Secure your painter's tape
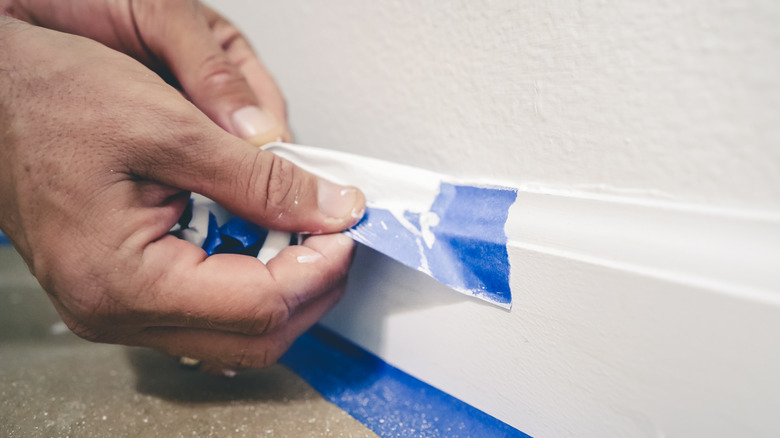
Painter's tape is a great tool to help get clean, straight lines when you finish painting. With that being said, the tape isn't infallible, and if not applied correctly, you may be very sad to see leaked paint and jagged lines when you pull it up at the end of the project. Professionals have no such issue, so learning how to do it like them will save you a lot of frustration.
Melanie Lissack Interiors recommends using a high-end painter's tape, which usually provides a sharper line and cleaner pull. Next, you should be very careful when applying the tape. Aside from making sure the wall is clean and dry, you need to ensure it's applied properly. Make sure all corners are sharp, neat, and properly stuck to the wall. Consider using a putty knife to help press the tape firmly onto the wall (via Popular Mechanics). Finally, paint away from the painter's tape, stroking up from the bottom or down from the top, which will help prevent bleeding.
Follow professional painting procedures
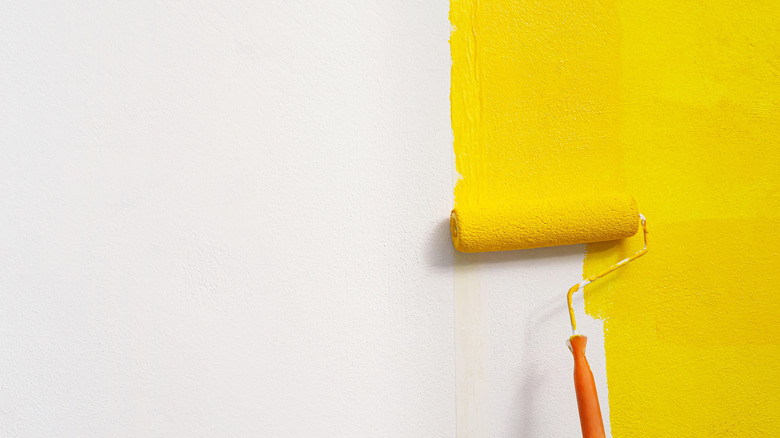
While thorough preparation contributes to a flawless final look, all of it is pointless if you have improper painting techniques. Knowing how to appropriately saturate your brush, which brushes to use, and how to avoid dripping and other visual imperfections will all culminate in a beautiful, professional-quality paint job.
Popular Mechanics recommends only working on one wall. Since you'll be working with two different textured applicators — brushes and sponge rollers — the different applications can dry differently. Instead, use a brush to paint the borders, and then immediately use your roller for the rest, letting the two dry together. Don't be afraid to heavily saturate your brushes, either. Dip your brush into your paint, letting it get thoroughly covered in paint. Then, instead of scraping the excess off the side of your paint bucket, give it a couple of firm taps to get rid of big drips but still retain saturation.