Is Horsehair The Secret To Perfectly Plastered Walls? The Truth Behind The Historic Practice
Horsehair plaster (also known as lime-hair plaster) is a mixture of lime, sand, water, and horsehair. Horsehair is added to the base coat of lime plaster for added texture and reinforcement, helping to hold the mixture together and adhere better to the wall. This unique wall plaster can actually be found in most prewar buildings in the U.S. and is commonly found in cottages throughout the U.K. The hair of cattle, pigs, and goats has also historically been used, but the length and abundance of horsehair makes it ideal.
Lime-hair plaster has many benefits over gypsum plaster (a.k.a. plaster of Paris), but the latter is more commonly used today because the former cures instead of sets, meaning it has a much slower drying time. When construction was booming in post-war United States, the quicker-drying gypsum plaster was needed. Horsehair plaster also requires more skill; there aren't many tradespeople left who are trained in the art of horsehair plaster. However, you can use this method yourself if you have the patience to do so. If you're refurbishing a historic home, it may even be an important step for keeping the historical integrity intact. The reward is incredibly durable walls that should stand for decades to come.
How to apply horsehair plaster
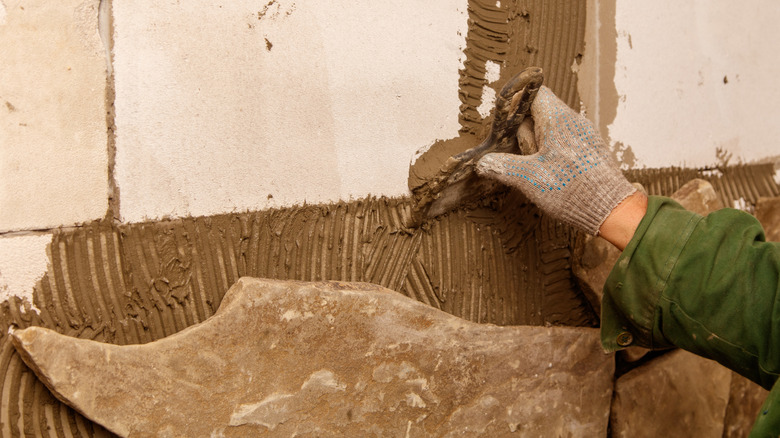
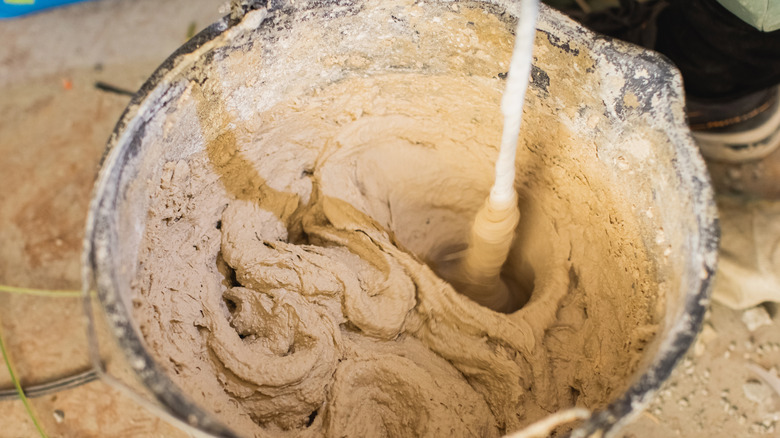
Horsehair plaster requires three separate coats with about a week of drying time in between. The first coat is called the scratch or bonding coat; it's where horsehair really comes into play. Mix together one part lime, three parts coarse sand, water if needed, and the horsehair before applying it to the wall immediately using a lathe or trowel. Don't let the horsehair sit in the mixture since it putrefies in the lime. You can be fairly thick and sloppy with this first layer, which is all about creating a good base coat and not about the look.
The second coat is known as the brown or float coat. It keeps the 1:3 ratio of lime and sand but doesn't require horsehair. Like the base layer, this layer can be quite thick, but smooth out any bumps. The final layer, called the finish, slim, or setting coat, uses finer sand and a 1:1 lime-to-sand ratio for a flawless finish. Again, no hair is necessary unless you like the look for historical purposes. If plastering an outer wall, choose a warm day to help with drying time and never apply in weather that could dip below 40 degrees Fahrenheit before the plaster has fully cured (which could cause cracks). Finally, always wear protective gear when mixing and applying lime plaster to avoid lime burns.
Is horsehair plaster really worth it?
Whether to choose horsehair plaster over the more popular gypsum plaster depends on the location of your home and the amount of time you have to complete the project. The biggest con for horsehair plaster is of course the extremely long drying time. If you are trying for a quick turnaround, gypsum dries so quickly that retardants are often included in the mix to extend plaster drying time. Gypsum also offers better sound insulation (important if you have close neighbors) and it's more fire-resistant, making it a better option for dry areas.
There are instances where horsehair plaster is worth the time and effort (besides wishing to maintain historical accuracy). Lime is the better option for keeping mold at bay if the humidity levels in your home are high because it's more breathable, allowing moisture to move in and out. It's also more weather-resistant, making it the only choice for an outer wall, and it's flexible enough to resist cracking if your building moves or shifts over time. While gypsum requires a firm, stable surface, the base coat of horsehair plaster can be used to stabilize decaying walls. Finally, horsehair plaster is more more eco-friendly since it's made from natural materials, and it even removes carbon from the air during the curing process.