How To Make A Retro Wood Record Table Using Only Hand Tools
We may receive a commission on purchases made from links.
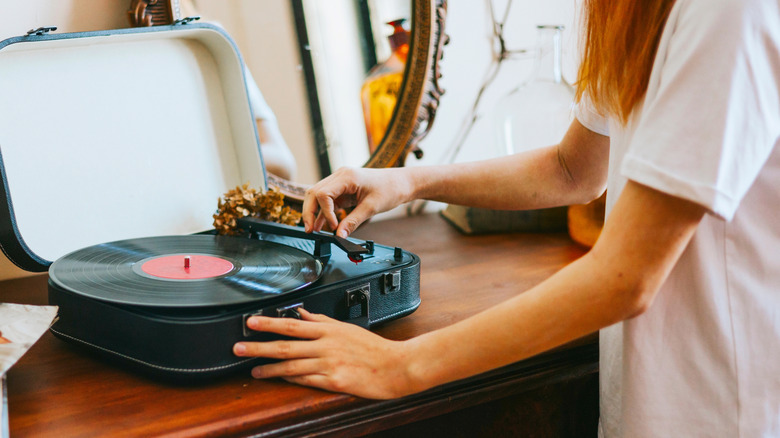
There is no shortage of fun ways to organize and display your vinyl collection. Whether you're merely dipping your toe in the world of wax or are a veteran vinyl enthusiast, making your own record table is a fun way to combine two hobbies — music and DIY. Besides, what better way to wrangle your records than a stylish period piece you made yourself using only hand tools? It's possible. It's inexpensive. It's fun.
Before dropping the needle to start the party, consider your design. You'll want a surface for your turntable and storage for your records. As for materials, laminated project panels are an affordable plywood alternative, easy to work with, and look great. Edge-glued pine panels are another option that can provide a solid structure. Whatever you choose, be sure to buy enough material to suit your design. You'll also need hairpin legs to prop up your retro table.
For tools, you'll need a hand saw. If you don't have one, you can buy a 20-inch, 11 TPI (teeth per inch) — a good size for projects like this — for under $20. Also, pick up fasteners. You may already own the remaining tools, but if not, it's an easy trip to the hardware store. A speed square and framing square will help with straight cuts and alignment. You'll likely need a few clamps to keep things aligned while you drive your fasteners. Finally, a few common DIY items, like a screwdriver or hammer, based on your fasteners of choice, a sanding block and sandpaper, and wood glue.
How to build your own record player stand
Gather your tools and materials. Depending on the size of your record table, you might get all your parts from one 16-inch by 8-foot laminated project panel. Measure and mark each piece on the board, accounting for your saw's blade width. Using a framing square will help ensure straight, 90-degree lines. Saw the parts with your hand saw, using a speed square to guide your cut. A sheet of rigid foam under your workpiece supports the piece, protects your cutting surface, and provides cleaner cuts. Sand the parts before assembly using a sanding block, and work through the grits for a smooth surface.
Whether you're using nails or screws to assemble your record table, be sure to drill the perfect pilot hole. Before driving your fasteners, run a bead of glue on each mating edge and clamp your assembly square. For a fastener-free look, drive them slightly below the surface and cover them up with wood filler. Once the fasteners are in place, unclamp the piece, clean up any glue that has squeezed out, and sand any filler smooth. Ease sharp edges with sandpaper or round over the corners for a nice edge treatment.
It's time to finish your piece. Stain the wood naturally, or opt for a store-bought stain or paint. Now, install hairpin legs. There are plenty of options on Amazon, like these Vevor Hairpin Table Legs, that will cost you less than $20. Finally, put on a record and enjoy the vintage vibes.