Make An Eye-Catching Paper Lantern Floor Lamp For Your Home
We may receive a commission on purchases made from links.
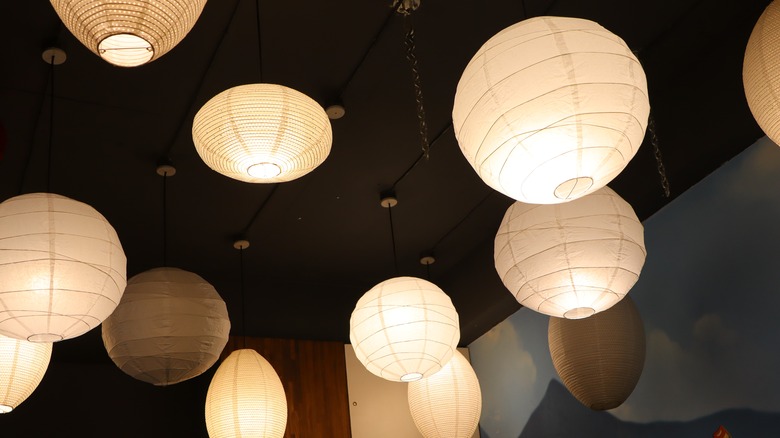
Could a room in your home use a lighting refresh? If your mind screams "YES" while your wallet responds "NO", assemble a few paper lanterns, an old floor lamp, and string lights into a glowing feature that will bring warmth and novelty to nearly any room. Instagrammer @redesignbybre put together a copy-worthy lamp made from peachy-colored paper lantern globes in two sizes. An old floor lamp that's tall and thin gets a wrapping of string lights, and an assortment of paper lanterns slides over the lamp in a stack. The results are an inarguably high-end look. With the right prep, DIY a statement-making floor lamp for a fraction of the cost of a similar ready-made piece.
Use a thrifted floor lamp or one that you already have (even a non-working one), and source a set of lanterns and extra-long string lights. With zip ties and hot glue, you can make this lamp in no time. Amazon is a reliable source for inexpensive paper lanterns like this set of white BEISHIDA 10-Piece Paper Lanterns that includes five different sizes. Use the two 12-inch and two 10-inch lanterns. Alternatively, you can use some or all of the remaining six to make a smaller tabletop version!
White lanterns are classic and extremely versatile. Use them as-is, or customize them with spray paint, stenciling, or free-hand designs with paint or marker. You can even use coffee to give your paper lanterns a vintage look without any paint. There is also a tempting variety of colorful, patterned, and printed paper lanterns on Amazon that will give your lamp its own flair without extra work or much extra cost.
Steps to a custom lantern lamp
Remove the lamp's shade and bulb. If the lamp doesn't work, cut off the cord to repurpose it around the house. To make wrapping the string lights around the lamp less frustrating, grab an empty paper towel tube to use as a makeshift spool. Tuck the plugless end of the string lights into a small cut at one end of the tube, and wrap the entire string around the tube.
Begin coiling the lights around the post from the plug end, starting at the base. Leave as much slack as possible on the end so that it will be easy to plug in. Affix the cord with zip ties above and below each bulb. You'll get the brightest lighting by looping the string lights as closely as possible to each other, since this will ensure the highest number of bulbs that will illuminate each lantern. You may need to purchase another string if yours doesn't fully cover the lamp.
Paper lanterns aren't particularly durable, so for a bit of life insurance on your DIY, apply a coating of Outdoor ModPodge once you've assembled each lantern. Slide one of the largest lanterns over the lamp, and let it rest on the base. Follow with a smaller lantern. Repeat this pattern. If these four lanterns don't fully cover the lamp's stem, you can use a few of the smaller lanterns to make an alternative pattern. If your lamp works, top it with a fresh bulb before placing the last lantern. Once you're content with the layout, add hot glue where the lanterns touch each other. Plug in and enjoy the glow!